
Peel and stick flooring removal Scarborough isn’t as simple as the name suggests. What starts as an easy installation can turn into a time-consuming headache when it’s time to remove it. The adhesive that makes these vinyl planks so convenient to install is exactly what makes them stubborn to take off—especially if they’ve been down for years.
Whether you’re replacing worn-out peel and stick in your Scarborough kitchen, prepping for new hardwood, or dealing with adhesive residue in a North York rental, the removal process requires the right technique and tools. Get it wrong, and you risk damaging your subfloor, which can cost thousands to repair. We’ve handled hundreds of flooring removals across the GTA, and we know exactly what to expect and how to handle it safely.
This guide walks you through what makes peel and stick stubborn, how the removal actually works, typical costs in the Toronto area, and what condition your subfloor will be in afterward.
What Makes Peel and Stick Flooring Hard to Remove
The adhesive used in peel and stick vinyl is designed to last. Most brands use pressure-sensitive acrylic or rubber-based adhesives that bond stronger over time, especially in warm, humid climates like the Greater Toronto Area. After 5–10 years, that adhesive has essentially fused the plank to the subfloor.
Age is the biggest factor. Newer peel and stick (1–2 years old) peels away relatively easily. Older flooring, especially in high-traffic areas, has had years to cure and grip the subfloor. Temperature and humidity in Scarborough—especially seasonal swings—cause the adhesive to expand and contract, creating an even tighter bond.
The subfloor material also matters. Concrete subfloors in basements or commercial spaces absorb moisture, which can activate the adhesive even more. Plywood or hardwood subfloors are less absorbent but easier to accidentally gouge with aggressive scraping. Existing sealers, primer, or dust under the planks create weak points that make removal messy and unpredictable.
Poor installation practices also leave residue behind. If the original installer didn’t roll the seams properly or left gaps, air pockets trap adhesive underneath, making those sections lift in chunks rather than cleanly.
How Peel and Stick Flooring Removal Actually Works
Professional removal follows a clear sequence. Rushing or skipping steps is how subfloors get damaged and costs spike.
Step 1: Heat and Loosen
We start with heat. A heat gun or low-speed floor stripper warms the adhesive to around 40–50°C, softening it without scorching the subfloor or releasing fumes. We work in 3–4 foot sections, keeping the heat gun moving to avoid hot spots. This typically takes 2–3 minutes per section depending on how well the flooring is stuck down.
Step 2: Peel and Scrape
Once warm, the plank is lifted slowly at a 45-degree angle. We use plastic scrapers or specialized floor removal tools—never metal, which gouges. If the plank tears (common with older vinyl), we scrape the remaining pieces off in smaller chunks, continuing to heat as needed. This is where patience matters. Aggressive scraping in a rush is the leading cause of subfloor damage we see in Scarborough and across Toronto.
Step 3: Remove Adhesive Residue
After all planks are up, adhesive residue remains. We use a combination of chemical adhesive removers (environmentally safe formulas), mineral spirits, or mild sanding depending on the subfloor type and adhesive thickness. Concrete floors can handle solvents and grinding better than wood. Wood subfloors need gentler methods to avoid splintering or unevenness.
Step 4: Inspect and Prep
Once clean, we inspect the subfloor for damage—dents, stains, soft spots, or uneven areas. In Scarborough homes with older concrete, we check for moisture issues using a moisture meter. Any damage is documented and addressed before new flooring installs. A level, dry, clean subfloor is essential for your next flooring installation to perform well.
This entire process typically takes 4–8 hours depending on the room size, plank condition, and subfloor type. Our experienced technicians carry the right tools and safety equipment to do this efficiently without cutting corners.
What Happens to Your Subfloor After Peel and Stick Removal
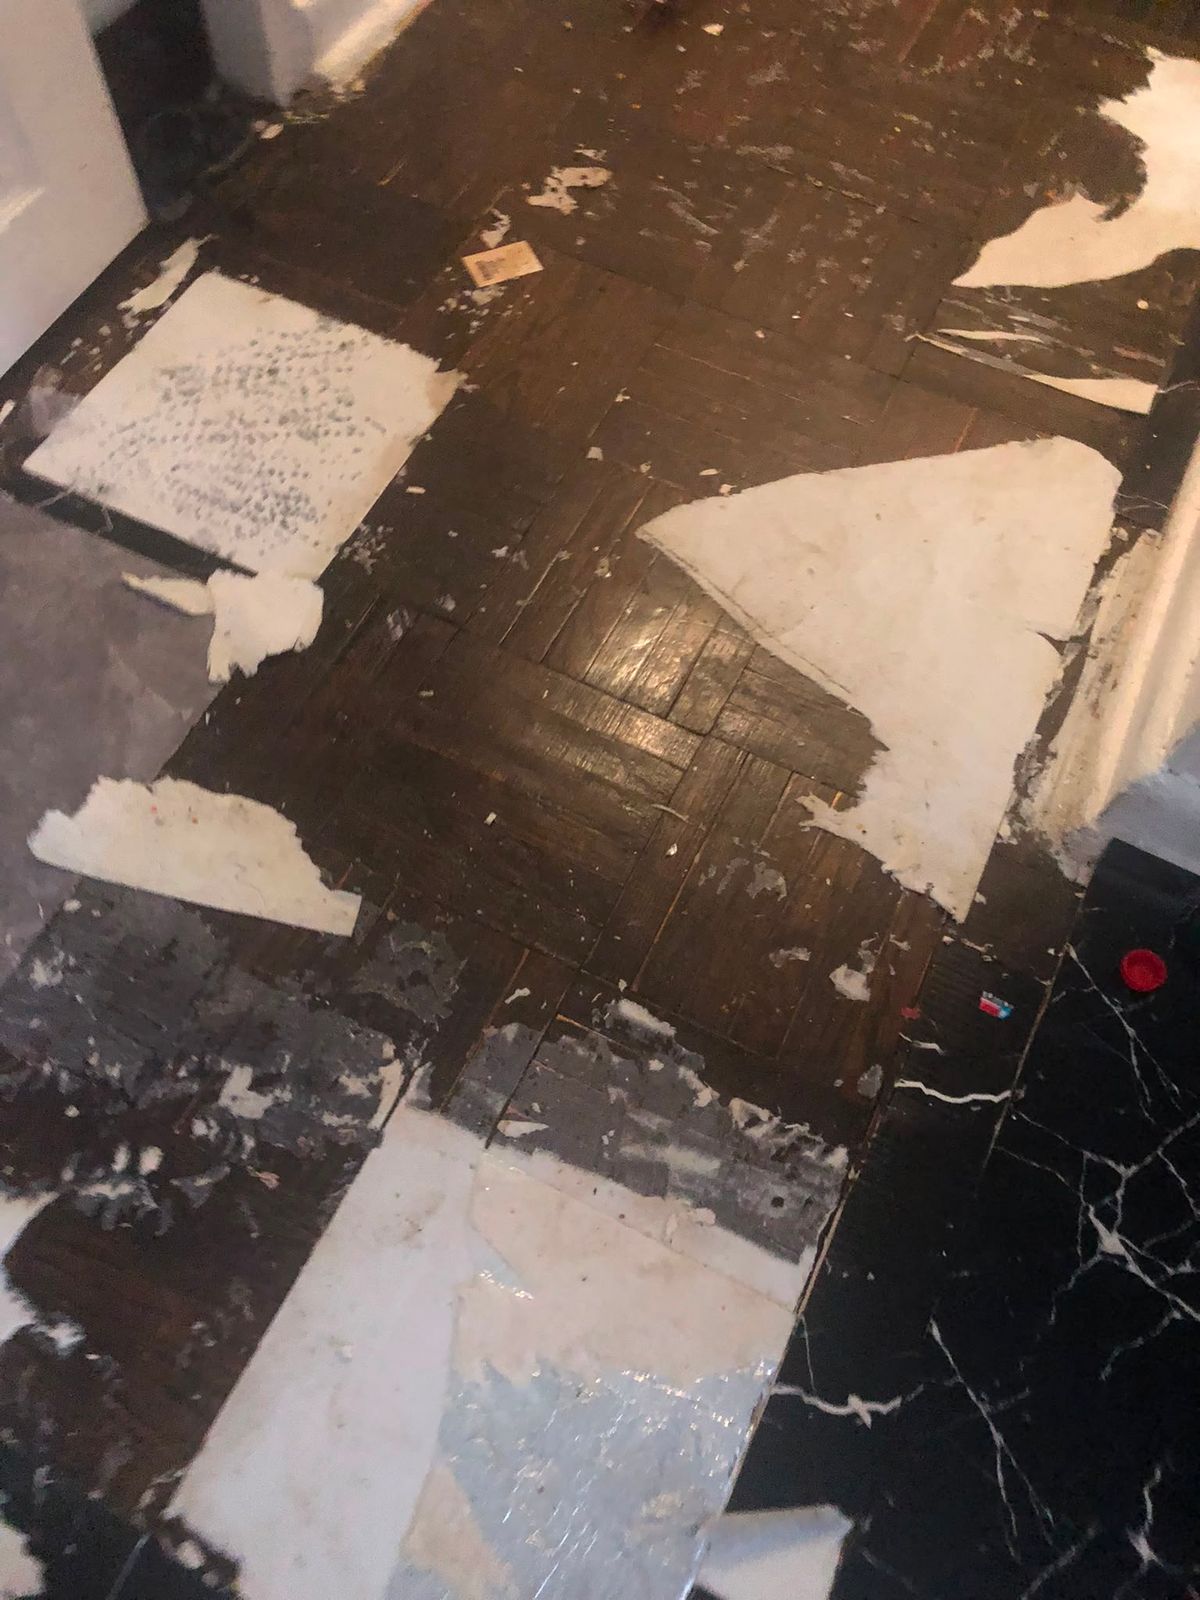
Once peel and stick flooring comes up, your subfloor tells the story of what happened underneath. The most common issue is adhesive residue—sticky buildup that hardens and clings to concrete or wood. If left untreated, it prevents new flooring from adhering properly and creates an uneven surface.
Damage varies by how long the vinyl sat there and how much moisture exposure occurred. Wood subfloors often show discoloration, soft spots, or slight cupping where water seeped in at seams. Concrete may have staining, minor spalling (flaking), or areas where the slab itself has absorbed moisture.
Common Subfloor Issues After Removal
- Adhesive residue: Stubborn glue that needs solvent removal or mechanical scraping
- Moisture damage: Darkening, warping, or delamination in wood; efflorescence on concrete
- Gouges and dents: From removal tools or age-related wear
- Uneven height: Old adhesive lumps or subfloor settling that requires leveling compound
At RenoHeal, we assess subfloor condition as part of every removal job in Scarborough. Minor adhesive residue takes a few extra hours; water damage may require localized subfloor replacement. The good news: catching it early during removal saves money later and ensures your new floor—whether luxury vinyl, tile, or hardwood—sits on a solid, clean foundation.
Peel and Stick Flooring Removal Cost Guide for Scarborough Homeowners
Removal costs in Scarborough depend on three things: floor area, adhesive difficulty, and subfloor repair needs. Basic removal (pulling up vinyl and light cleanup) runs lower; if adhesive is heavy or subfloor damage emerges, expect extra time and materials.
Below is a realistic pricing breakdown for typical Scarborough homes. Prices are in CAD and assume standard residential conditions. Always request a free quote for your specific space—photos help us give accurate estimates.
Removal Cost by Room Size (Labour + Basic Adhesive Removal)
| Room Size | Approx. Cost (CAD) | Notes |
|---|---|---|
| 100–150 sq ft (small bathroom, closet) | $200–$350 | Quick pull-up, minimal adhesive |
| 200–300 sq ft (bedroom, small kitchen) | $350–$550 | Standard removal, moderate cleanup |
| 400–500 sq ft (large kitchen/living area) | $550–$850 | Full room, may need solvent or scraper |
| 600+ sq ft (multiple rooms or open plan) | $850–$1,500 | Extended labour, equipment use |
Add-On Costs
| Service | Cost (CAD) | When You Need It |
|---|---|---|
| Heavy adhesive removal (solvent, grinding) | +$150–$400 | Stubborn residue, multiple layers |
| Subfloor leveling (self-leveling compound per sq ft) | +$1–$3/sq ft | Uneven height, minor damage |
| Localized wood subfloor repair (per sq ft) | +$5–$15/sq ft | Rot, water damage, soft spots |
| Mold remediation (if detected) | +$300–$1,200 | Moisture damage with mold growth |
| Disposal & hauling | +$100–$300 | Large volume of old flooring |
A typical 300 sq ft bedroom in Scarborough with standard peel and stick and light adhesive runs $350–$550. If the subfloor needs leveling, add $300–$600. If there’s water damage, you’re looking at $700–$1,200+ depending on how much wood needs replacing.
Why the range? Adhesive type matters. Budget vinyl with latex adhesive is easier to remove than premium products bonded with polyurethane. Concrete subfloors are usually faster than wood (no risk of damage during scraping). Our experienced technicians carry the right tools—power scrapers, chemical adhesive removers, moisture meters—so we don’t gouge or damage what’s underneath.
Sample Real-World Removal Scenario
400 sq ft kitchen, peel and stick over wood subfloor, moderate adhesive residue:
- Removal labour: $650
- Adhesive removal (solvent + scraping): $250
- Subfloor inspection and light leveling: $200
- Disposal: $150
- Total: ~$1,250
This job takes 4–5 hours with two technicians. If the subfloor is wet or has soft spots, costs rise. That’s why transparency matters: we walk you through what we find before we bill you.
Ready to remove old peel and stick and prep for new flooring? Contact us today for a free estimate in Scarborough, North York, Etobicoke, or anywhere in the GTA. We’ll inspect the subfloor, quote the full scope, and get it done same-day if possible.
DIY vs. Hiring a Professional for Peel and Stick Flooring Removal
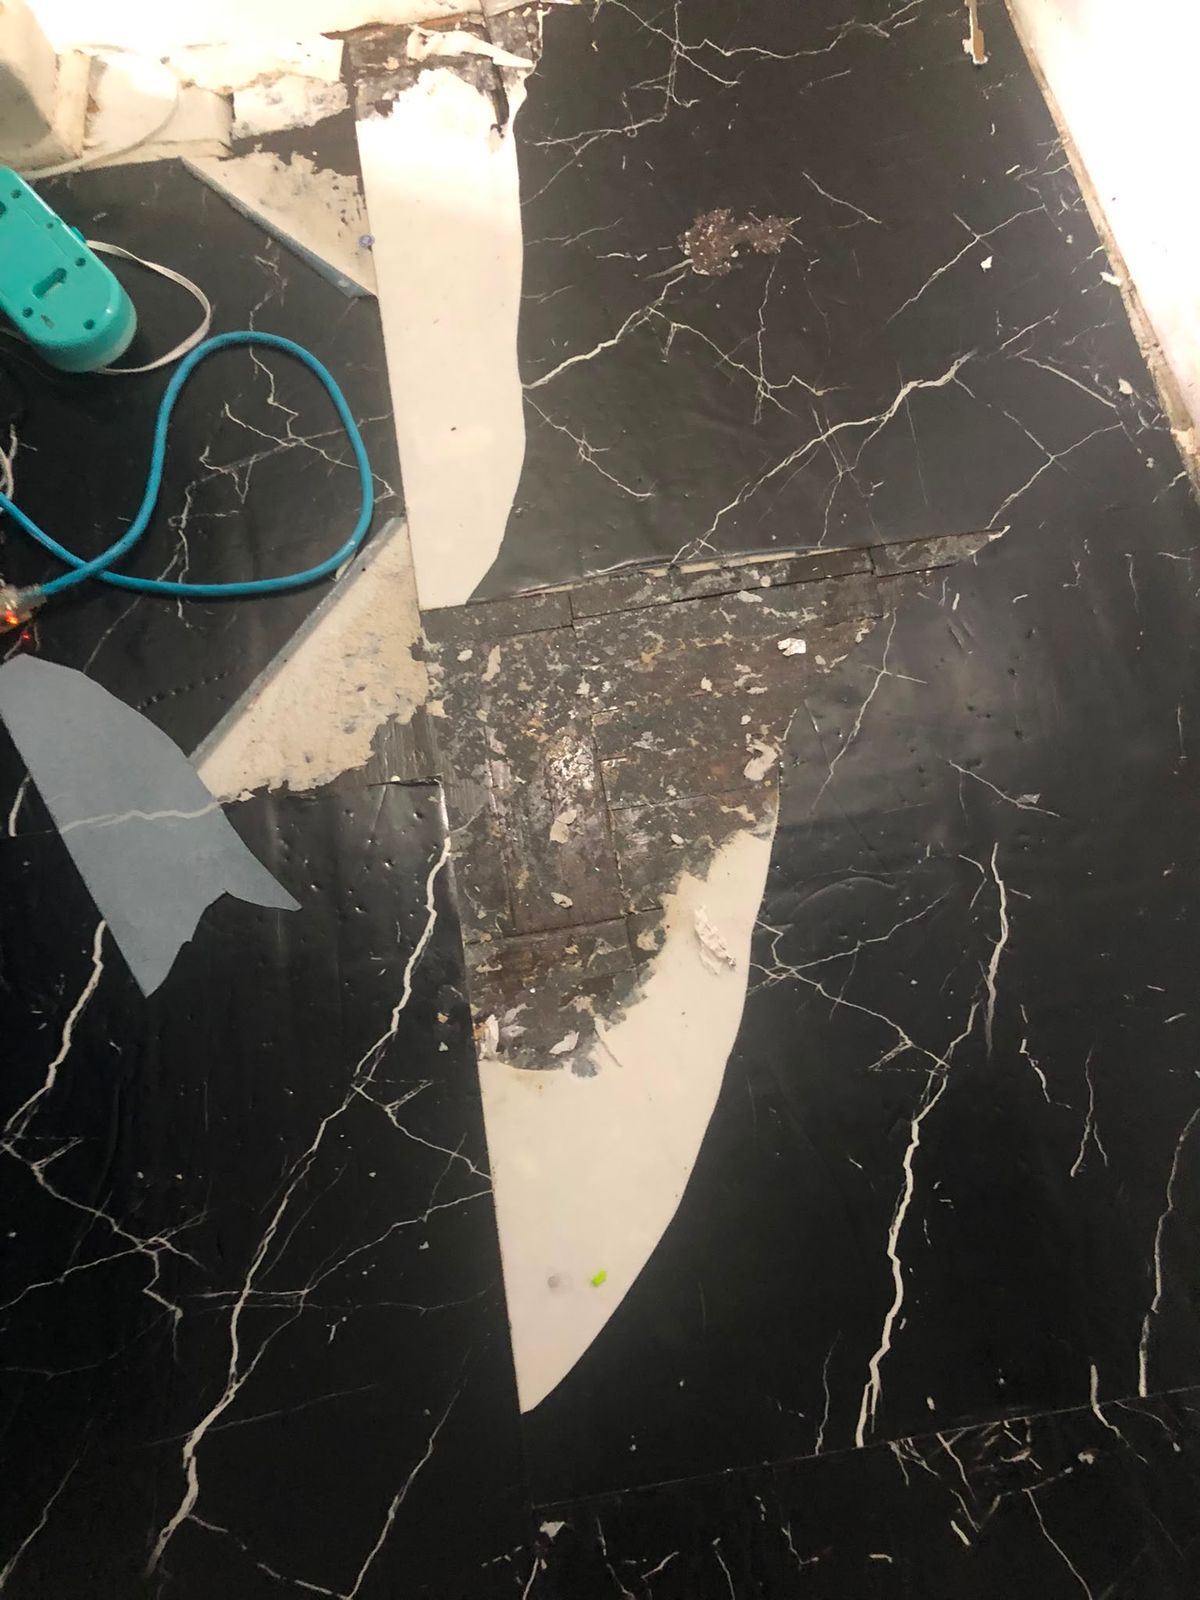
Peel and stick flooring removal looks straightforward—pull up the planks, scrape off adhesive, done. In reality, it demands patience, the right tools, and knowledge of subfloor protection. If you go the DIY route, you’ll need a plastic scraper (not metal), a heat gun to soften stubborn adhesive, mineral spirits or adhesive remover, a shop vacuum, and protective gloves. Most Scarborough homeowners underestimate how long this takes: a 200-square-foot room typically needs 6–10 hours of focused work.
The real risk isn’t the removal itself—it’s damaging your subfloor. Gouging plywood or OSB with an aggressive tool, or leaving moisture-trapping adhesive residue, can cost $2,000+ to repair later. Hiring a professional matters most if your subfloor is particle board (common in older Scarborough homes), already shows damage, or sits over radiant heating or concrete. A trained technician knows how much heat and pressure your specific subfloor can handle. Flooring professionals also have industrial-grade tools and removal solvents that work faster and cleaner than retail options.
If your home is post-2000 with solid plywood subfloors and you’re patient, DIY is doable. Otherwise, a professional removes risk and saves time—often within $300–$600 in Scarborough and the GTA. Get a free estimate to compare cost versus doing it yourself.
Common Mistakes That Damage Your Subfloor During Removal
Gouging and splintering happen fastest with metal scrapers on plywood. Homeowners press hard to speed up the job, then carve grooves or lift splinters that weaken the surface. Once plywood is gouged, moisture seeps in, leading to rot or soft spots under new flooring. Use plastic or wooden scrapers only, and scrape at a shallow 20–30-degree angle.
Leaving adhesive residue behind is deceptively risky. Old peel-and-stick glue traps moisture against the subfloor, creating ideal conditions for mold and wood decay. Some homeowners think “rough is fine for new flooring”—wrong. New luxury vinyl planks or laminate need a clean, smooth base. Skipping thorough adhesive removal adds 6–12 months to mold development in humid Scarborough basements.
Moisture damage during removal occurs when you wet the subfloor to soften adhesive, then fail to let it dry properly. Over-wetting OSB (oriented strand board) causes permanent swelling. Similarly, using aggressive water-based removers without ventilation traps humidity. Allow 24–48 hours of air drying before installing new flooring.
Other common errors: not testing your subfloor type before choosing removal methods, removing flooring from concrete slabs (which need professional moisture testing), and ignoring soft or spongy spots that signal underlying rot. These mistakes often force expensive subfloor replacement. General home repairs from experienced technicians catch and address these issues before they compound.
Getting Your Subfloor Ready for New Flooring After Removal
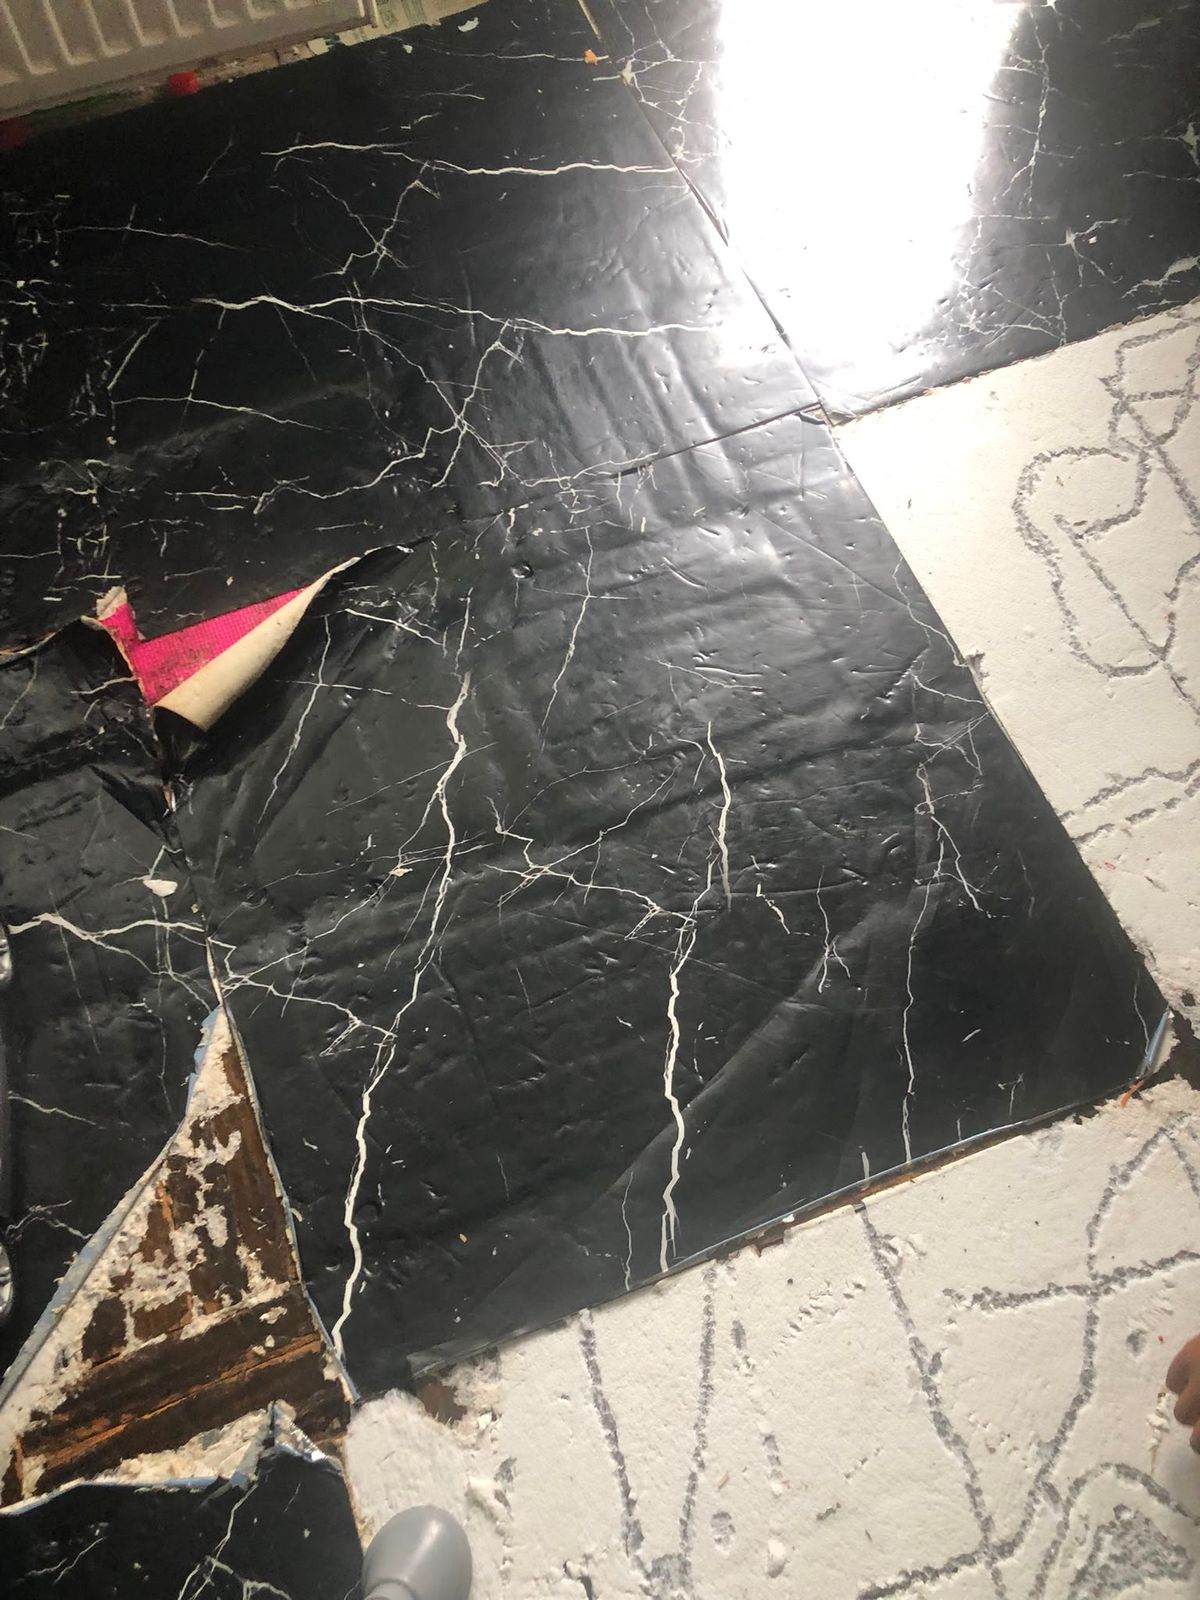
Once peel and stick flooring is removed and the subfloor is clean, the hard work isn’t finished—preparation is just beginning. If you want your new flooring to last, your subfloor needs to be flat, dry, and properly primed. In Scarborough’s humidity and temperature swings, skipping this step means your next floor will buckle, bubble, or fail within months.
Leveling the Subfloor
Concrete subfloors in older Scarborough homes often have low spots, high spots, or minor waves from settling. Use a 10-foot straightedge to check for dips and humps. Anything over 3/16 inch across 10 feet needs leveling before new flooring goes down.
- Fill low spots with self-leveling concrete compound (typically $40–$80 per bag, covers 50–100 sq ft per bag)
- Sand high spots smooth with a concrete grinder (rental or professional service, $150–$400)
- Allow leveling compound to cure fully—usually 24–48 hours in cool weather
Priming and Sealing
Bare concrete wicks moisture into your flooring, especially in basements or crawl spaces common in North York and Scarborough. Apply a concrete primer or sealer before laying new material.
- Choose a moisture-blocking primer rated for your climate zone
- One coat typically covers 250–400 sq ft and costs $50–$120
- Dry time: 4–8 hours (check the label—don’t rush this)
Timeline Before Your New Floor
Most homeowners need 3–5 days after removal before new flooring can be installed. This includes cleaning, drying, leveling, and priming. If adhesive residue is heavy or the subfloor is damaged, add another 2–3 days for repairs.
Ready to move forward? Get a free estimate from our team in Scarborough. We handle subfloor prep and new flooring installation as one seamless project—no guessing, no delays.
Frequently Asked Questions
How long does peel and stick flooring removal take for an average room?
A standard 150–200 sq ft room typically takes 3–6 hours, depending on how well the tiles are bonded and the subfloor condition underneath. Older tiles that have been down for 10+ years often take longer because the adhesive has hardened and fused more deeply. Adhesive cleanup after the tiles are up adds another 1–3 hours on top of that.
Will peel and stick tiles damage my subfloor when removed?
They can, especially if the tiles have been in place for many years or were installed over bare plywood or OSB without a skim coat. The most common issues are torn paper facing on gypcrete, gouged plywood fibres, and adhesive residue that hardens like concrete. Tiles removed from older homes in Scarborough sometimes pull up asbestos-containing backing material too, which requires professional handling.
Can I install new flooring directly after removing peel and stick tiles?
Almost never — not without subfloor prep first. Leftover adhesive creates an uneven surface that causes new flooring to buckle, click-lock joints to fail, or LVP to telegraph bumps through the wear layer. The subfloor needs to be scraped, sanded or skim-coated, and confirmed flat to within 3/16″ over 10 feet before any new product goes down.
What’s the best way to remove old adhesive left behind after tile removal?
For water-based adhesives, a floor scraper and warm water solution usually does the job. Solvent-based or pressure-sensitive adhesives respond better to a commercial adhesive remover like Goo Gone Pro-Power or a heat gun to re-soften the bond. On plywood subfloors, a belt sander with 40-grit paper is often the fastest option once the bulk is scraped off — just watch your depth so you don’t damage the veneer.
Is peel and stick flooring removal something I can do myself in a weekend?
It’s physically doable for a healthy adult with the right tools — a floor scraper, heat gun, knee pads, and patience. The DIY risk isn’t the tile removal itself; it’s misjudging the subfloor condition afterward and installing new flooring over a surface that isn’t properly prepped. If you find cracked subfloor panels, moisture damage, or suspect the old tiles contain asbestos (common in Scarborough homes built before 1985), stop and call a professional.
How much does peel and stick flooring removal cost in Scarborough?
Professional peel and stick flooring removal in Scarborough typically runs $1.50–$3.50 per sq ft for tile removal alone, plus $0.75–$2.00 per sq ft for adhesive cleanup and subfloor prep. A 200 sq ft room lands in the $450–$1,100 range all-in, depending on adhesive type, subfloor condition, and disposal fees. Getting a free on-site quote is the only reliable way to get an accurate number, since adhesive difficulty varies enormously between properties.
Peel and Stick Flooring Removal in Scarborough: The Bottom Line
Removing peel and stick flooring is rarely as simple as peeling up a few tiles. Adhesive residue, subfloor damage, and the occasional asbestos concern in older Scarborough homes can turn a straightforward Saturday project into a multi-day repair job if you’re not prepared. Getting the subfloor clean and flat after removal is just as important as the removal itself — skip that step and your new flooring will fail prematurely regardless of how much you spend on it.
The cost ranges from roughly $450–$1,100 for an average room when done professionally, and that includes subfloor prep so your next floor actually lasts. Whether you’re upgrading to LVP, hardwood, or tile, starting with a properly prepped surface is what makes the difference between a floor that looks great for years and one that buckles or separates by next winter.
RenoHeal handles peel and stick flooring removal across Scarborough and the GTA — same-day availability, $5M insurance, WSIB coverage, and a clean subfloor guaranteed before your new floor goes down. Request a free quote today, or learn more about our full flooring installation services to handle both removal and your new floor in one visit.