
When a homeowner in Richmond Hill contacted us about sink caulking, it turned into a bigger project than they initially expected—but in the best way. Three sinks across the home had failed caulk seals, water was starting to seep under the countertop edges, and they also needed a lamp holder installed in one of the bathrooms. We showed up with the right materials, fixed all three sinks properly, and had them water-tight the same day. This job is a perfect example of how caulking work in the GTA requires both precision and local climate knowledge.
Sink caulking isn’t glamorous work, but it’s critical. A failed seal around a sink basin can lead to rotted cabinets, mold growth, and costly water damage underneath. The homeowner noticed discoloration around two of the kitchen sink edges and soft spots near the bathroom vanity. They’d also been wanting to add task lighting in the powder room and figured they’d get it all handled at once.
We’ve completed over 3,500 projects across Toronto, North York, Scarborough, and the York Region—and sink caulking failures are one of the most common calls we get. This Richmond Hill project shows why hiring experienced technicians for these details matters.
The Richmond Hill Job: What We Were Asked to Fix
The homeowner had three sinks that needed recaulking: two in the kitchen (main and prep sink) and one master bathroom vanity. All three had original caulk that was yellowed, cracked, and pulling away from the basin edge. Water was collecting underneath and the damage was visible on the cabinet fronts below.
In addition to the caulking, they wanted a lamp holder with a pull-chain switch installed above the powder room sink. This required running a small fixture, mounting it securely, and ensuring the switch was within easy reach. It was a straightforward installation, but it needed to happen alongside the caulking work to make the bathroom renovation feel complete.
We recommended using both white and clear caulk depending on the finish of each sink. The kitchen sinks got white caulk to match the countertop edge, while the bathroom vanity received clear caulk to keep the area visually open. The lamp holder went in with a modern brushed nickel finish that matched the existing vanity hardware.
Why Sink Caulking in Richmond Hill Homes Fails Faster Than You’d Expect
Richmond Hill sits right at the edge of the GTA’s temperature swings. Winter lows dip well below zero, and spring thaw brings humidity spikes. This freeze-thaw cycle is brutal on caulk. Water soaks into microscopic gaps, freezes, expands, and cracks the seal. Then when it thaws, that cracks get bigger. Over two or three winters, most standard caulk fails completely.
The moisture in your bathroom also plays a role. Every shower and sink use pumps humid air into the space. If your exhaust fan isn’t running properly (or if people just don’t use it), that moisture settles on the caulk line. Mold and mildew grow at the weakest points. You’ll see black or green spots before the caulk actually separates—that’s a warning sign the seal is compromised.
Age is another factor. Caulk has a typical lifespan of 5 to 10 years depending on the product and conditions. If your home is older than that and still has original caulk, it’s drying out and shrinking. Cheaper caulk (the kind some contractors use to save money) fails even faster. It loses flexibility as it ages, which means it can’t handle the expansion and contraction that happens with temperature changes in Richmond Hill’s climate.
Hard water deposits also sit at the caulk line. The minerals in GTA tap water don’t just stain—they etch into the surface and create tiny channels where water can seep underneath. By the time you see visible damage under the sink, water has probably been working its way into the cabinet structure for weeks or months.
- Freeze-thaw cycles expand and contract caulk faster in Ontario winters
- High bathroom humidity promotes mold growth and caulk breakdown
- Age and UV exposure cause caulk to become brittle and shrink
- Hard water minerals etch caulk surfaces and create weak points
- Poor ventilation traps moisture against the caulk line
That’s why we recommend homeowners in Markham, Vaughan, Thornhill, and Richmond Hill check their sink caulk every couple of years. Catching it early—before water damage spreads—saves thousands in cabinet and subfloor replacement. And when it’s time to redo it, getting a professional estimate ensures you get the right product and technique for your local climate.
How We Recaulked 3 Sinks: White and Clear Caulk Explained
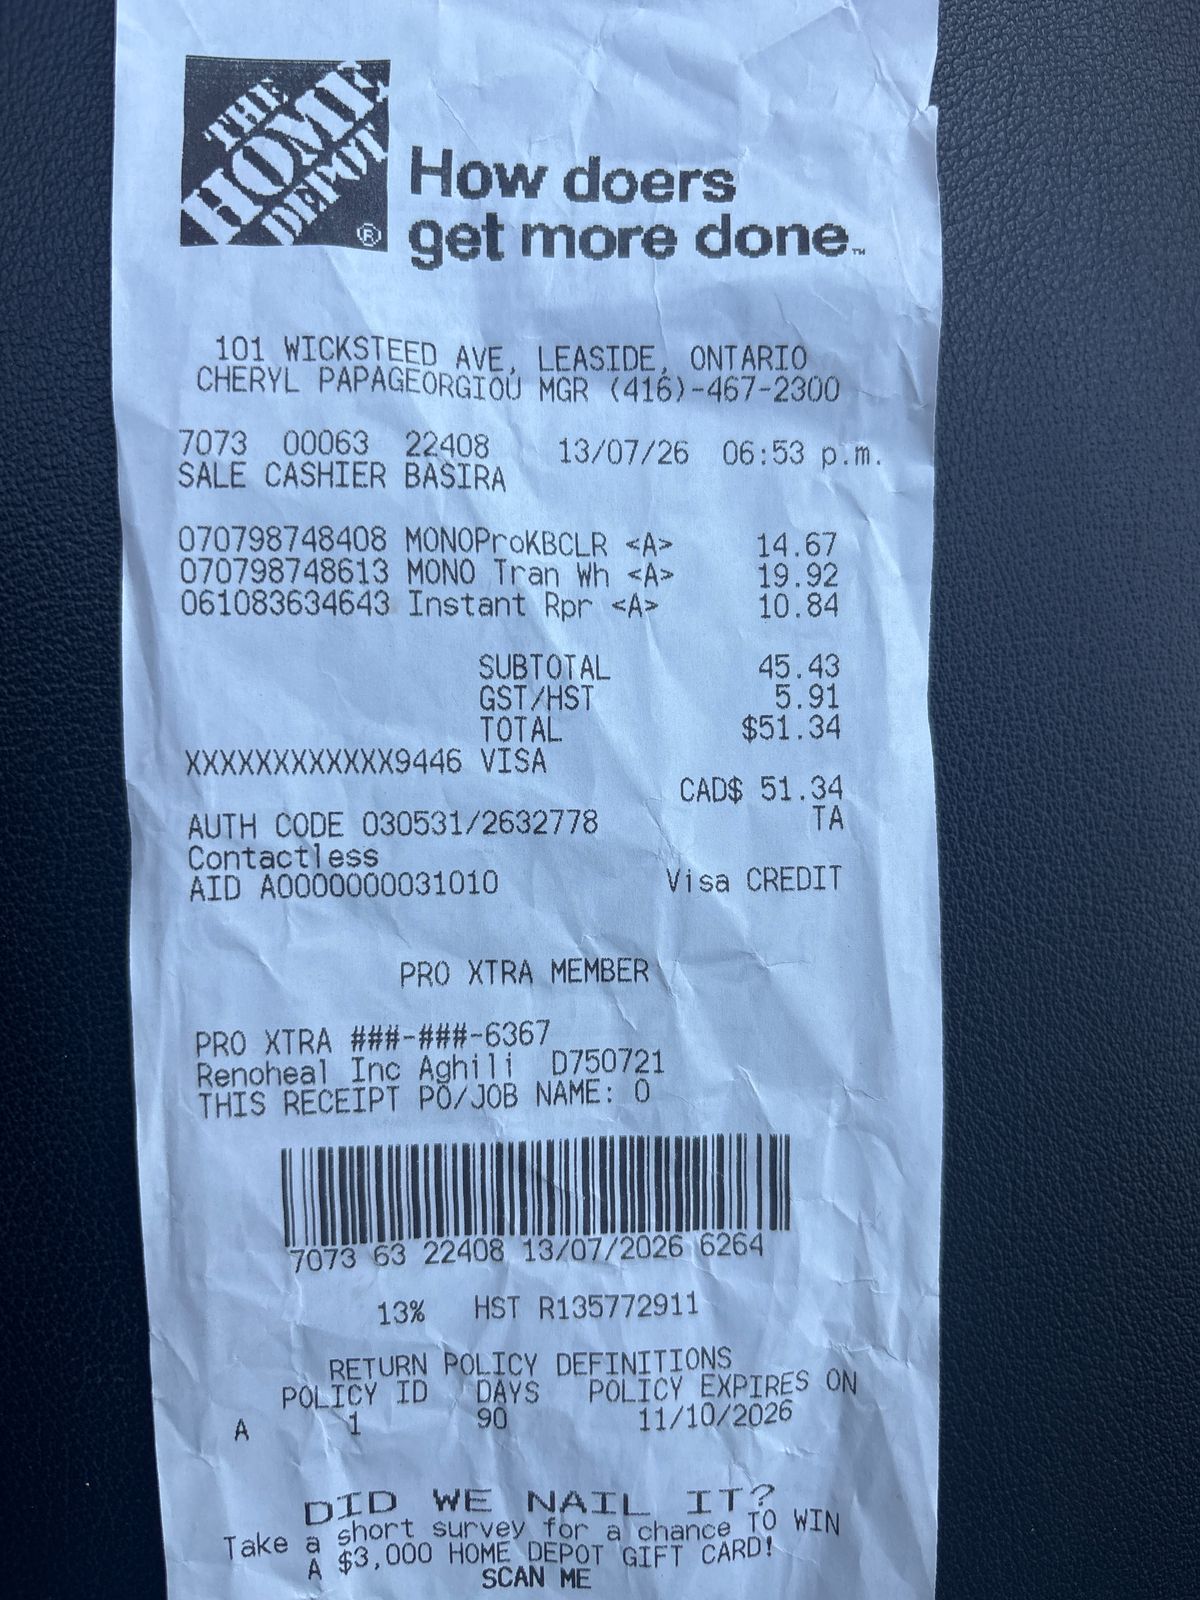
The homeowner in Richmond Hill had caulk around all three sinks that was discolored, cracked, and pulling away from the basin edges. This is common in kitchens and bathrooms—old caulk fails because it shrinks, gets hit by water spray, or just ages out after 5–10 years. We removed the old material, prepped properly, and applied fresh caulk in both white and clear, depending on the sink finish and aesthetic preference.
Removal and Prep
We used a caulk removal tool to scrape out the old bead—this is critical because new caulk won’t bond well over old, failed material. We also wiped the joint with a damp cloth, then let it dry completely. Any moisture trapped under new caulk leads to mold and early failure. On one of the sinks, we also cleaned out mineral deposits and soap buildup with a mild cleaner to ensure a clean surface.
Choosing White vs. Clear Caulk
White caulk works best on white porcelain or ceramic sinks and matches grout or white fixtures. Clear caulk is invisible and blends with any sink color—granite, stainless steel, or dark finishes. For this job, we used white on the primary kitchen sink (white ceramic) and clear on two bathroom vanity sinks (to keep the caulk line subtle). Both were 100% silicone—the only choice for wet areas in Ontario homes, since silicone stays flexible, resists mold, and lasts 10+ years.
Application
A steady hand and the right technique matter more than fancy tools. We cut the caulk tube at a 45-degree angle (small opening), applied steady pressure, and ran a wet finger along the bead to smooth it into the joint. This creates a waterproof seal and a finished look. The sinks were ready to use within 24 hours after curing.
The Lamp Holder with Pull Chain Switch: What the Install Involved
The homeowner also wanted a pendant-style lamp holder with a pull chain switch installed in the master bathroom. This is a compact, practical fixture—no hardwired switch needed, and the chain lets you turn the light on and off from any position under the fixture. We handled the electrical work, mounting, and fixture installation.
Fixture Type and Code Compliance
A lamp holder with a pull chain switch is a simple pendant fixture that screws into a standard light socket (or can be wired directly to a junction box). In Ontario bathrooms, lighting fixtures must be on a 20-amp dedicated circuit and positioned at least 0.6 meters (2 feet) from the bathtub or shower edge per Ontario Building Code. We confirmed the location was safe, installed an appropriate electrical box, and ran the wiring to tie into the existing bathroom circuit.
The Installation Process
We turned off power at the breaker, removed the old fixture (if one existed), and installed a new ceiling-mounted junction box rated for pendant fixtures. We wired the lamp holder—neutral to neutral, hot to hot, ground to ground—and secured the fixture with a locknut. The pull chain switch was pre-installed in the lamp body, so no additional switch wiring was needed. The whole job took about an hour, and the fixture was tested and working safely before we left the site.
If you’re thinking about bathroom lighting upgrades, bathroom services or a simple free estimate can help you explore options that fit your space and budget.

Sink Caulking Cost Guide: What to Budget in the GTA
Sink caulking in the GTA typically runs between $80–$200 per sink when you hire a professional. The final cost depends on sink size, caulk type (silicone vs. acrylic), and how much prep work is needed to remove old sealant.
Here’s what homeowners in Richmond Hill, Toronto, and Markham usually budget:
| Service | Cost Range (CAD) | Notes |
|---|---|---|
| Single sink caulking (bathroom) | $80–$150 | Includes removal of old caulk, cleaning, and fresh silicone application |
| Kitchen sink caulking | $100–$180 | Larger perimeter; may include undermount sink prep |
| Multiple sinks (3 sinks, like our Richmond Hill project) | $240–$450 | Volume discount applies; we charged fairly for mix of bathroom and kitchen work |
| Full bathroom caulking (tub, shower, sink) | $300–$600 | Complete waterproofing package; most durable option |
| Caulk removal only (heavily deteriorated) | $30–$80 per sink | If you’re removing old caulk before a contractor re-seals |
In the Richmond Hill project we completed, the homeowner had three sinks with outdated caulk around the perimeter—two bathroom vanities and one kitchen sink. We used professional-grade white and clear silicone caulk, removed all old material, and applied fresh bead. The total came to $320 for all three, which is mid-range for the GTA and reflects the quality materials and time spent on proper prep.
Hidden costs to watch: If old caulk has mold underneath, we may recommend mold removal first (adds $100–$300). Severely damaged countertops or grouting around the sink may require additional repairs. Always ask for a free estimate before committing—most GTA contractors, including RenoHeal, offer them at no obligation.
DIY vs. Hiring a Professional for Sink Caulking
Sink caulking looks simple: squeeze, smooth, done. In reality, it’s one of the easiest jobs to do poorly and one of the hardest to fix once it’s dried. Here’s the honest breakdown.
Why DIY Caulking Often Fails
Most homeowners underestimate prep work. Old caulk must be completely removed—not scraped halfway and left under a new layer. If you leave residue, the new caulk won’t bond and will peel within months. You also need to clean and dry the surface thoroughly, apply painter’s tape for clean edges, and work at the right speed (too fast and you get gaps; too slow and it skins over unevenly).
Application skill matters too. A caulk gun at the wrong angle creates a weak bead that cracks under water pressure. Water then seeps under the sink, rots the cabinetry, and causes mold—a $500+ repair bill.
When Professional Caulking Is Worth the Cost
If you’re caulking one small bathroom sink and you have patience and the right tools, DIY can save you $80–$100. But if you have multiple sinks, a kitchen setup, or water damage concerns, hire it out. A professional removes old caulk cleanly, uses commercial-grade silicone (better waterproofing), and guarantees the bead won’t crack or peel for years.
In Scarborough, Vaughan, and other GTA areas, we’ve been called to fix DIY caulking jobs far more often than to fix our own work. The cost to redo poor caulking often exceeds the original quote. Our caulking service includes workmanship warranty, so if something fails, we fix it. That peace of mind is worth the investment, especially in high-moisture areas like bathrooms and kitchens.
Common Caulking Mistakes That Make the Job Worse
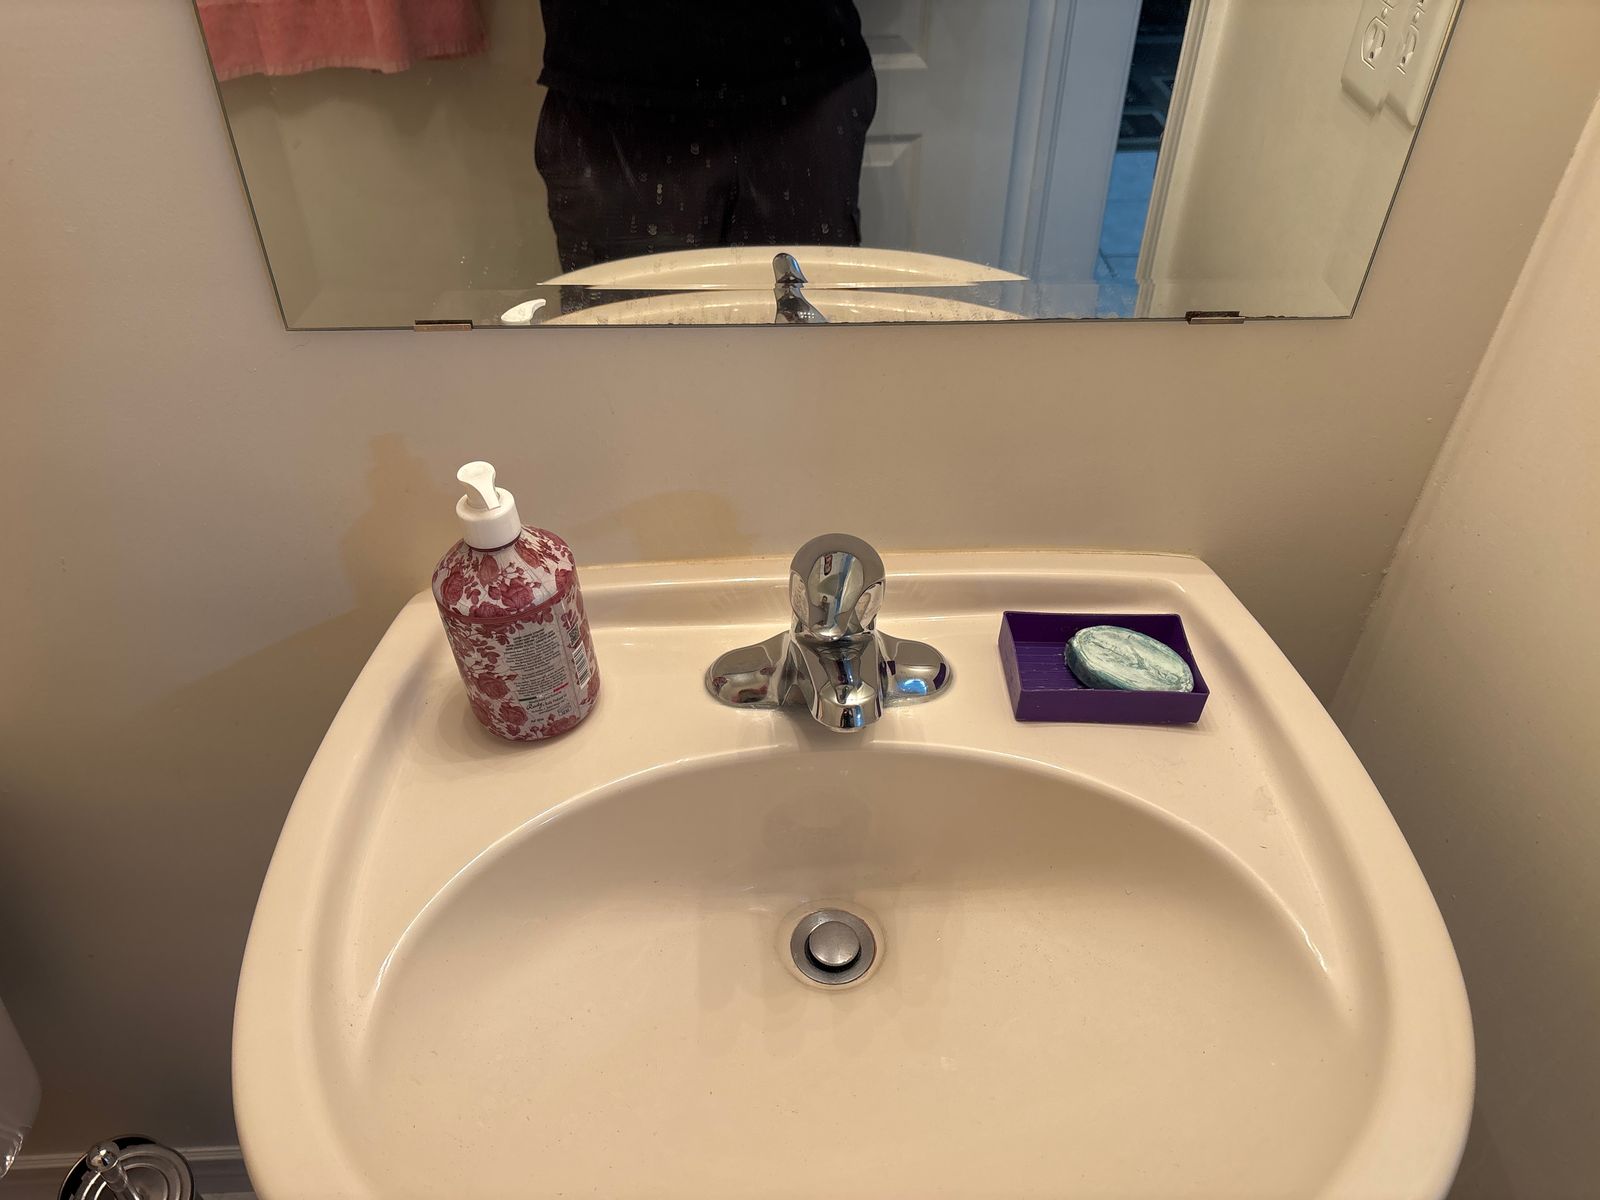
Most people rush through caulking and regret it within months. The biggest mistake is applying new caulk over old, failing caulk—it won’t stick properly and will fail faster than it took to apply. You have to remove the old caulk completely, even if it takes an extra 30 minutes. A caulk removal tool or utility knife works, but for stubborn sealant, isopropyl alcohol softens it faster.
Skipping dry time is the second mistake we see constantly. White and clear caulk need 24 to 48 hours to cure fully, depending on humidity and temperature. If you expose the joint to water—even a quick sink splash—before it’s cured, the caulk never sets properly and gaps appear. In Richmond Hill’s humid summers, add an extra 12 hours to the cure time.
Using the wrong caulk type kills the job at the start. Kitchen and bathroom sinks need 100% silicone or acrylic latex caulk rated for wet areas, not paintable caulk that breaks down from standing water. Check the label: it should say “mildew-resistant” and “kitchen and bath.” On our Richmond Hill sink caulking project, we used white caulk for visibility on light fixtures and clear silicone where the sink met the countertop—each serves a different purpose.
Poor tooling creates visible, uneven lines that look unfinished. After you apply caulk, you have 10 to 15 minutes to smooth it with a wet finger or caulk tool. Skip this step and you’ll see a thick, unprofessional bead.
Frequently Asked Questions
How long does new sink caulk take to dry before I can use the sink?
Most silicone caulk is skin-dry within 30 minutes but needs a full 24 hours before water exposure. In humid bathrooms, we always recommend waiting the full cure time — rushing it is the most common reason new caulk peels early. If you used a latex-based caulk, 24–48 hours is safer, especially in cooler temperatures.
What’s the difference between white and clear caulk — which should I use around my sink?
White caulk hides small gaps and grout lines cleanly, making it the go-to for white sinks and ceramic tile surrounds. Clear caulk blends into natural stone, dark grout, or glass and is less likely to yellow over time with certain silicone formulas. Our general rule: match the dominant surface colour, and always use a 100% silicone product rated for kitchen and bath use.
How often should sink caulk be replaced in a bathroom?
A properly applied silicone bead around a bathroom sink typically lasts 5–7 years before it starts cracking, shrinking, or showing mould that can’t be cleaned off. Homes with hard water, poor ventilation, or frequent heavy use will see deterioration sooner — closer to 3–4 years. A quick visual check once a year takes about 30 seconds and can save you from a costly water damage repair.
Can mouldy caulk be cleaned, or does it always need to be replaced?
Surface mould — the kind that appears as black spots on an otherwise intact bead — can sometimes be treated with a bleach-based bathroom cleaner and a stiff brush. But if the mould has penetrated the caulk or the caulk is already cracked and peeling, cleaning is a temporary fix at best; moisture is already getting underneath and replacement is the only lasting solution. We replaced all three sinks on this Richmond Hill job because the caulk had failed structurally, not just cosmetically.
Is a lamp holder with a pull chain switch safe to install in a bathroom in Ontario?
It depends entirely on the zone where it’s installed. Ontario’s Electrical Safety Authority follows the Canadian Electrical Code, which restricts certain fixture types within specific distances from a tub or shower — generally 1.5 metres horizontally and 2.5 metres vertically for Zone 2 areas. A pull-chain lamp holder installed in a dry zone, well away from water sources, is permitted; if you’re unsure about your specific layout, have a licensed electrician confirm compliance before installation.
How much does professional sink caulking cost in Richmond Hill?
For a single bathroom sink — removing the old caulk, prepping the surface, and applying a fresh silicone bead — professional service in Richmond Hill typically runs $80–$150 CAD depending on the sink size and condition of the existing caulk. If multiple sinks are done in the same visit, the per-sink cost drops because travel and setup time is shared. RenoHeal offers free estimates, so you know the exact price before any work begins.
Sink Caulking in Richmond Hill: Small Fix, Big Difference
Three sinks recaulked, one lamp holder installed, and the whole job wrapped up in a single visit — that’s what professional handyman work looks like when it’s done efficiently and correctly. Fresh silicone, proper surface prep, and clean sightlines make a bathroom feel noticeably better without a full renovation budget.
The biggest takeaway from this Richmond Hill job: don’t wait until caulk is visibly crumbling or mould has spread to the wall behind it. Catching a failing seal early costs under $150. Catching it late — after water has worked into the drywall or subfloor — can cost ten times that or more.
If your bathroom sink needs recaulking or you have a small repair or installation on your list, request a free quote from RenoHeal today. Our licensed, insured technicians serve Richmond Hill and the entire GTA — learn more about our full caulking services and what’s included.
Frequently Asked Questions
How long does new sink caulk take to dry before I can use the sink?
Most silicone caulk is touch-dry within 30 minutes but needs a full 24 hours to cure before water exposure. Rushing this step is one of the most common reasons caulk fails early — the seal never fully bonds if it gets wet too soon. If your bathroom is humid or poorly ventilated, give it the full 24 hours and crack a window to speed up curing.
What’s the difference between white and clear caulk — which should I use around my sink?
White caulk gives a clean, finished look and is easier to see when it starts to discolour or fail — which makes maintenance simpler. Clear caulk blends into the surface and works better where you want a near-invisible seal, like on glass or dark countertops. For most bathroom sinks in Richmond Hill homes, white 100% silicone caulk is the practical choice: it holds up against moisture, resists mould longer, and looks sharp against white porcelain or ceramic.
How often should sink caulk be replaced in a bathroom?
In a regularly used bathroom, sink caulk typically lasts 3 to 5 years before it starts cracking, peeling, or harbouring mould. Ontario’s humidity swings — dry winters from forced-air heating and steamy summers — accelerate wear faster than milder climates. A quick annual check is all it takes: if you see gaps, discolouration, or soft spots, it’s time to recaulk before water gets into the substrate.
Can mouldy caulk be cleaned, or does it always need to be replaced?
Surface mould on caulk can sometimes be scrubbed back with a bleach-based cleaner, but it almost always comes back within weeks because the mould root has already penetrated the caulk material itself. If you can see black or grey staining that won’t scrub off, or if the caulk has softened or lifted, full removal and replacement is the only lasting fix. Trying to caulk over mouldy old caulk is a common mistake — it traps moisture underneath and guarantees the problem returns faster.
Is a lamp holder with a pull chain switch safe to install in a bathroom in Ontario?
Yes, but location matters under the Ontario Electrical Safety Code. A pull-chain lamp holder must be installed outside the Zone 2 wet area — generally at least 600 mm (about 2 feet) horizontally from the edge of a bathtub or shower. In a dry area of the bathroom, like above a utility sink or in a storage section, a standard pull-chain socket is permitted. For anything inside a wet zone, a sealed, listed bathroom fixture is required — when in doubt, have a licensed electrician or qualified handyman confirm placement before installation.
How much does professional sink caulking cost in Richmond Hill?
Professional sink caulking in Richmond Hill typically runs $75 to $150 per sink depending on the condition of the old caulk, how much removal and prep work is needed, and the size of the sink. If the old caulk is heavily moulded or multi-layered, prep time goes up and so does the cost. Most jobs are completed in under an hour, and getting it done right the first time is almost always cheaper than dealing with water damage to cabinets or subflooring down the line.
Sink Caulking in Richmond Hill: Small Job, Big Protection
Across three bathroom sinks and one lamp holder installation, the work came down to the same principle: do the prep properly, use the right materials, and don’t cut corners on cure time. Old, cracked, or mouldy caulk isn’t just an eyesore — it’s an open door for water to reach the cabinet, the subfloor, and eventually the structure of the home.
Whether you have one sink that needs a fresh seal or a bathroom that’s overdue for a full refresh, the job goes faster and lasts longer when it’s done by someone who does it every day. RenoHeal has completed over 3,500 projects across Toronto and the GTA, and we bring that same care to every caulking call in Richmond Hill — no matter how small.
Ready to get it done right? Request a free quote and our team will get back to you the same day. Learn more about our full caulking services and what we can do for your home.