
Bathtub caulking in Toronto might sound like a simple 30-minute job—remove old caulk, spray new silicone, done. In reality, a professional service involves inspection, mould treatment, proper surface prep, and the right application technique to ensure your bathroom stays dry and healthy for years. We’ve completed thousands of caulking jobs across Toronto, North York, Scarborough, and the GTA, and what separates a quick patch from a lasting seal is attention to the details most DIYers miss.
Your bathtub or shower enclosure is under constant moisture stress. Water creeps into every gap, every corner, every imperfection in the old caulk line. When caulk fails—and it always does eventually, usually every 3–5 years in Ontario’s humid bathroom climate—water seeps behind it and creates conditions for mould, structural rot, and costly water damage. A professional caulking service doesn’t just replace the sealant; it removes the source of the problem and prevents it from happening again.
This article breaks down what you’re actually paying for when you hire a pro, why black spots under your tub are a sign of a bigger issue, and how to know if your current caulk needs attention.
What a Professional Bathtub Caulking Job Actually Involves
Professional bathtub caulking is a multi-step process, not a single task. The job starts with a thorough inspection of the existing caulk and surrounding surfaces—checking for soft spots, discolouration, gaps, or signs of water penetration into the wall or substructure.
Step 1: Old Caulk Removal
We scrape out all old caulk using specialized tools. This isn’t aggressive—you don’t want to damage the tub edge or tile grout—but it needs to be thorough. Any remaining caulk residue will prevent new sealant from bonding properly, which is a common reason DIY jobs fail within months.
Step 2: Mould and Debris Treatment
Once the caulk is removed, we inspect the gap underneath. If there’s mould (common in Toronto bathrooms), we treat it with an appropriate fungicide or mould-killing solution, then allow it to dry completely. This is critical and is often skipped in rushed jobs.
Step 3: Surface Drying and Prep
We wipe the gap clean with a lint-free cloth and, if needed, use a caulk gun fitted with a backing rod (foam or rope) to fill deep gaps. This prevents caulk from sinking too far into the joint and ensures proper depth for flexing and durability. Ontario’s temperature and humidity swings mean your caulk needs room to move.
Step 4: Caulk Application
We apply 100% silicone or siliconized latex caulk (depending on your preference and surface type) in a smooth, consistent bead. The angle and speed matter—pros use a caulking gun with steady pressure and often smooth the bead with a wet finger or tool for a professional finish.
Step 5: Cure Time
New caulk typically needs 24–48 hours to cure before you use the shower or tub. We’ll let you know exactly when it’s safe to use, and we’ll provide care instructions so your new caulk lasts as long as possible.
The Black Spots Problem: Mould Behind Old Caulk
Black spots under or around your bathtub caulk are mould colonies. They appear because old, degraded caulk creates a gap where water pools and sits, creating a dark, damp environment where mould thrives. It’s not a cosmetic issue—it’s a sign that water is getting behind your caulk and into spaces it shouldn’t be.
Why Mould Matters
Mould under bathroom caulk poses two serious risks. First, it affects air quality and can trigger respiratory issues, especially for people with asthma or mold sensitivities. Second, it indicates ongoing water infiltration, which eventually damages the substrate—drywall, subfloor, or framing—behind the tile or tub. In Mississauga, Brampton, and other GTA areas with newer homes, this damage can escalate quickly and become expensive to repair.
How Mould Gets There
Caulk is designed to flex and move as the tub and walls expand and contract with temperature changes. Over time, caulk hardens, cracks, and pulls away from the surface. Water finds those cracks and sits in the gap behind the caulk. Without proper ventilation (a fan running during and 20 minutes after showers), moisture stays trapped, and mould grows.
Professional Treatment
When we encounter black mould during a caulking job, we don’t just paint over it or apply new caulk on top. We remove the old caulk completely, treat the mouldy area with a mould-killing solution, allow it to dry thoroughly, and then apply new caulk. For stubborn or extensive mould, we may recommend our mold removal service before proceeding with caulking. This ensures the problem is solved, not hidden.
Preventing mould from returning involves two habits: run your bathroom exhaust fan during every shower and for 15–20 minutes afterward, and wipe down wet surfaces regularly. Combined with proper caulking, this dramatically extends the life of your sealant and keeps your bathroom healthy.
Professional Bathtub Caulking in Toronto: Step-by-Step Process
A proper bathtub caulking job in Toronto isn’t a quick squeeze-and-go operation. It takes six to eight steps, and skipping any one of them is why budget jobs fail in two years.
Step 1: Scrape Out Old Caulk
The technician removes all old caulk along the joint where the tub meets the wall or tile. A caulk removal tool, utility knife, or oscillating multi-tool speeds this up without gouging the tub or wall. This step takes 15–30 minutes depending on how many joints and how stubborn the old material is.
Step 2: Clean the Joint
Once the old caulk is gone, the gap is vacuumed, then wiped with a damp cloth to remove dust, soap scum, and debris. Many Toronto bathrooms also have black mold spots along the tub edge—like the project we completed in North York last month. A mild bleach solution or mold-killing cleaner is applied, left for 10 minutes, then scrubbed and rinsed thoroughly.
Step 3: Dry the Surface Completely
This is non-negotiable. The joint must be completely dry before primer or caulk goes down, or it won’t bond. A clean towel and a hair dryer on low heat finish the job. In humid Toronto summers, a technician may wait 20–30 minutes to ensure moisture doesn’t get trapped.
Step 4: Prime (If Required)
Some caulks need primer, others don’t. Silicone caulk usually doesn’t; acrylic latex does. A primer helps the caulk stick to porous surfaces like tile or grout, and it extends cure time control. One thin coat is applied with a small brush.
Step 5: Apply Caulk
The caulk gun is loaded with silicone, acrylic latex, or hybrid sealant. The nozzle is cut at a 45-degree angle and held at that angle along the joint. A smooth, continuous bead is applied in one motion. Stopping and starting leaves weak spots and visible seams.
Step 6: Tool and Smooth
Immediately after application, the caulk is tooled—smoothed and pressed into the joint using a wet finger, caulk tool, or spoon. This removes air pockets and ensures the caulk fills the gap fully. It takes 2–3 minutes per joint.
Step 7: Cure Time
Silicone cures in 24–48 hours; acrylic latex in 12–24 hours. During this time, the bathroom should not be used. No showers, no splashing, no humidity spikes if possible. Full cure means the caulk can then handle water exposure and temperature swings year-round.
Learn more about our caulking services, or get a free estimate for your Toronto or GTA bathtub caulking today.
Bathtub Caulking Cost in Toronto: What to Expect
Bathtub caulking prices in Toronto and the GTA vary based on the type of work, materials, and whether mold remediation or additional repairs are needed. Below is what you can expect to pay in CAD.
| Service | Price Range (CAD) | Details |
|---|---|---|
| Basic Bathtub Caulking | $200–$400 | Scrape, clean, caulk one tub surround (three sides). Standard silicone or acrylic latex. Includes tooling and cleanup. |
| Full Bathtub + Tile Surround Caulking | $400–$700 | Tub surround plus all tile joints and corners. Multiple caulk lines, primer, and careful finishing. |
| Mold Removal + Caulking | $350–$650 | Includes mold treatment, deep cleaning, drying, and caulking. Common in older Toronto and Scarborough homes. |
| Premium Materials (Hybrid/Urethane Sealant) | +$50–$150 | Longer-lasting, more flexible sealants than basic silicone. Better for high-moisture bathrooms. |
| Multiple Bathrooms | $600–$1,200 | Discounts apply when caulking 2+ bathrooms in the same visit (common in Mississauga and Brampton renovations). |
| Additional Work (Plug Cover, Furniture Moving) | +$75–$200 | Outlet covers, hardware installation, moving mattresses or furniture to create workspace. |
Why Prices Vary
Accessibility plays a role—a ground-floor bathroom in Etobicoke costs less to reach than one on a third floor in downtown Toronto. The condition of the existing tub and surrounding surfaces also matters. If mold is heavy, drywall is water-damaged, or old caulk won’t come out cleanly, labour time increases. The type of caulk matters too: basic silicone is cheaper; premium urethane or hybrid sealants cost more but last 10–15 years versus 5–7 for silicone.
All RenoHeal estimates are free and include a walkthrough of the work, materials, and timeline. We also offer warranties on caulking work and use high-quality sealants that stand up to Ontario’s humidity and temperature changes. Contact us today for a quote on your Toronto or GTA bathroom project.

DIY vs. Hiring a Professional for Bathtub Caulking
Bathtub caulking looks simple—apply silicone, smooth it out, done. In reality, the difference between a DIY attempt and professional work shows up within weeks. A poorly caulked tub leaks water behind the walls, where it feeds mold and rots framing you can’t see until damage costs thousands to fix.
The skill gap is real. Professionals know how to cut a clean line, apply consistent bead thickness, and feather caulk so it bonds properly to both surfaces. They also understand moisture behaviour in Toronto’s humid climate—knowing whether your bathroom needs paintable caulk, 100% silicone, or specialty mould-resistant product. DIY kits don’t explain this; they just say “apply and smooth.”
Tool-wise, you need a caulking gun (most people don’t own one), a smoothing tool, masking tape, and a utility knife. Even with everything, hand tremors or wrong angle create uneven beads. Professionals also prep the surface properly—removing old caulk residue, mold, and debris that DIY attempts typically skip.
Time matters too. A bathroom caulking job takes 2–3 hours for a pro who moves efficiently. For first-timers, plan 4–6 hours plus mistakes you’ll re-do. Most critically, professional caulking comes with a warranty; if it fails, RenoHeal comes back to fix it at no charge. DIY failures cost you a call to a contractor anyway.
Common Mistakes That Ruin a Caulking Job
The biggest mistake is skipping dry time between prep and caulking. Old caulk harbors trapped moisture and mold spores—layering new caulk over wet, moldy surface guarantees failure within months. A professional removes every trace of old caulk, cleans with appropriate antifungal cleaner, and waits for the surface to fully dry before starting.
Over-caulking is equally damaging. Too much silicone creates a weak bead that can’t flex when the tub moves slightly during use. It cracks faster and pulls away from edges. Pros apply a thin, consistent line—barely wider than needed.
Using the wrong product is another common trap. Paintable latex caulk is cheaper but fails in wet bathrooms; it breaks down within 1–2 years. Silicone holds up but can’t be painted if you want color coordination. Acrylic latex mold-resistant products offer middle ground but still don’t last as long as 100% silicone in high-moisture areas like Toronto bathrooms.
Not preparing the joint is overlooked constantly. If the gap is too wide, caulk sags and never sets properly. If residual soap, mineral deposits, or mold remain, the caulk won’t bond. Professional bathtub caulking includes thorough cleaning, proper gap sizing (usually 1/4 inch), and surface preparation—steps that determine whether your caulk lasts 3 years or 10.
What Else Was Done On This RenoHeal Job (And Why It Mattered)
Our Toronto crew didn’t just caulk the tub and leave. The homeowner had a couple of other requests that turned a single-task visit into a complete refresh—and that’s how professional handyman service actually works.
Plug Cover Installation
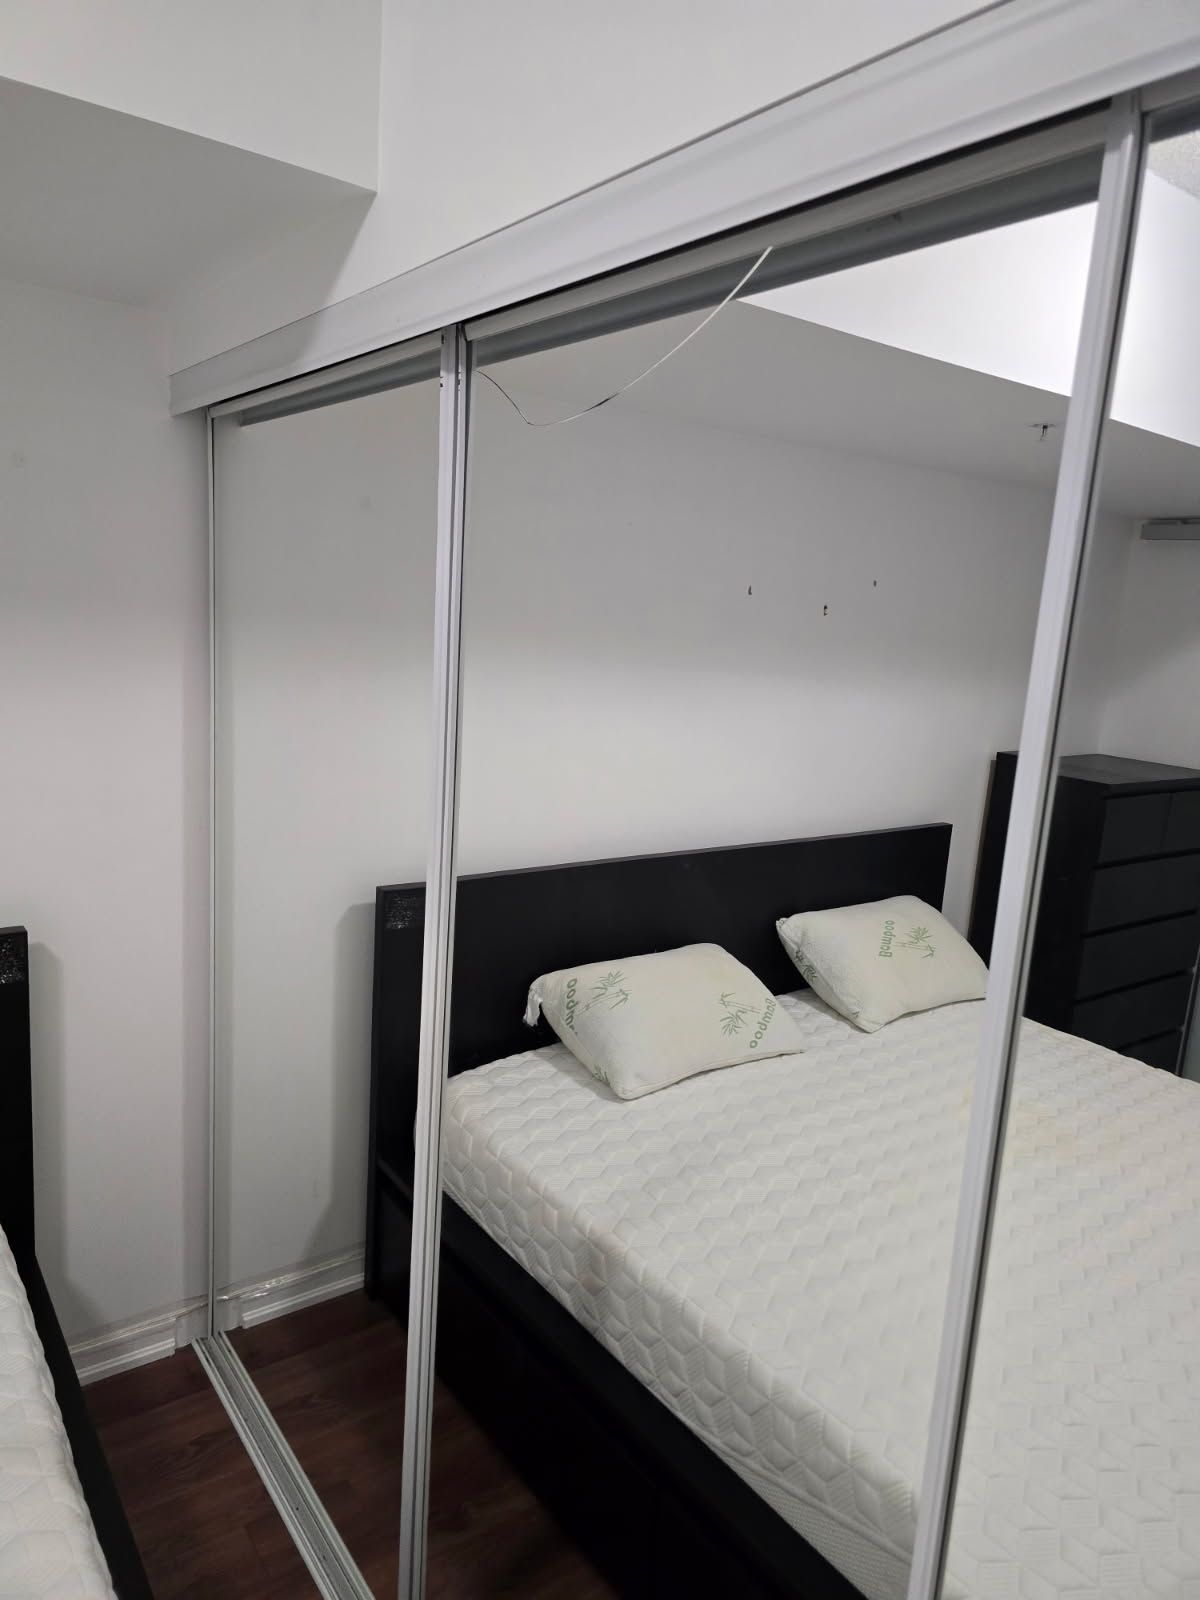
After the caulking service was complete, we installed a new plug cover. Old or missing drain covers collect debris, trap moisture, and look neglected. A fresh one keeps the bathroom looking finished and prevents hair and soap buildup from clogging your drain line—a small detail that saves money down the road.
Furniture Moving
The homeowner needed the mattress and couch moved downstairs during the work. While it sounds simple, moving heavy furniture safely prevents damage to walls, doorframes, and the pieces themselves. Our crew handled it without extra charges because we were already on-site and had the right equipment. In Scarborough, North York, and across the GTA, bundling these tasks into one visit saves time and money compared to booking separate services.
That’s the difference between a quick fix and a professional job: we handle what matters to you, not just the headline task.
Frequently Asked Questions
How long does bathtub caulking last before it needs to be replaced?
In most Toronto bathrooms, bathtub caulk lasts between 3 and 7 years depending on product quality, how often the tub is used, and how well the surface was prepped before application. Low-end caulk in a high-use bathroom can start cracking or peeling within 2 years. A professional application using 100% silicone on a properly cleaned and dried surface will consistently reach the longer end of that range.
Can I caulk over existing caulk instead of removing it?
It’s not recommended. Applying new caulk over old caulk creates a weak bond because the new product is adhering to degraded material rather than the tub or tile surface itself. The result usually peels faster than the original and can trap moisture underneath, accelerating mould growth. Proper removal and surface prep are what make a caulk job last — skipping that step costs you more in the long run.
How long do I need to wait before using the bathtub after caulking?
Most 100% silicone caulks require a full 24 hours to cure before the tub should be used, and some products specify up to 48 hours in cooler or less ventilated spaces. Rushing this step — even by a few hours — can cause the caulk to pull away from the surface before it has fully set. Keep the bathroom ventilated during curing and avoid any water contact until the caulk is completely firm to the touch.
What type of caulk should be used around a bathtub in Ontario’s climate?
100% silicone caulk is the right choice for bathtub surrounds in Ontario homes. It stays flexible through temperature and humidity swings — which matter in Toronto where bathrooms can shift between dry winter air and steamy summer conditions — and it resists mould better than latex or acrylic blends over time. For coloured grout lines or painted surrounds, a siliconized latex product may be used in specific spots, but pure silicone is the standard for the tub-to-wall joint.
How do I know if the black mould under my caulk is a serious problem?
Surface mould confined to the caulk bead itself is common and generally manageable — it means the caulk seal has failed and moisture has been sitting on top of or just beneath it. The concern escalates if you notice soft drywall, a musty smell coming from inside the wall, discoloration on adjacent surfaces, or mould that returns quickly after cleaning. Those signs suggest moisture has been penetrating into the wall cavity, and you should have the area assessed for water damage before recaulking.
How much does professional bathtub caulking cost in Toronto?
A professional bathtub recaulking job in Toronto typically runs between $150 and $350 CAD depending on the size of the tub surround, the condition of the existing caulk, and whether mould remediation or drywall repairs are needed first. Straightforward removal and reapplication on a standard tub falls toward the lower end of that range. Getting a free on-site estimate is the most reliable way to get an accurate number for your specific bathroom.
Bathtub Caulking in Toronto: Small Job, Big Consequences If Done Wrong
A failed caulk joint is one of the most common — and most underestimated — sources of water damage in Toronto homes. What looks like a cosmetic issue is often actively directing water behind your tile or into your subfloor every time the tub runs.
Done properly, bathtub caulking means full removal of the old material, thorough surface prep, the right silicone product applied cleanly, and enough cure time before the tub goes back into use. Each step matters. Cut one corner and the whole job comes apart faster than it should.
If your tub caulk is cracked, peeling, or showing black staining, it’s worth fixing now before the repair becomes a renovation. Request a free quote from RenoHeal and have one of our experienced technicians assess the job — or learn more about our full caulking services in Toronto to see what a professional application actually includes.