
Getting new curtain rods hung properly in your Vaughan home isn’t just about aesthetics—it’s about making sure your window treatments actually stay where you put them. A solid curtain rod installation Vaughan job requires understanding your walls, choosing the right hardware, and getting the level right so your curtains hang straight and function smoothly. Most homeowners underestimate how much wall condition matters, which often leads to sagging rods or callbacks months later.
At RenoHeal, we’ve completed over 3,500 projects across the GTA, including handyman work like curtain rod installations that come with professional workmanship and a warranty on eligible services. We’ve seen what works and what doesn’t on Toronto-area walls—drywall, plaster, brick, and everything in between. This guide walks you through what a real installation looks like, how to assess your walls, and why getting it level matters for both function and appearance.
What a Real Curtain Rod Installation Job Looks Like in Vaughan
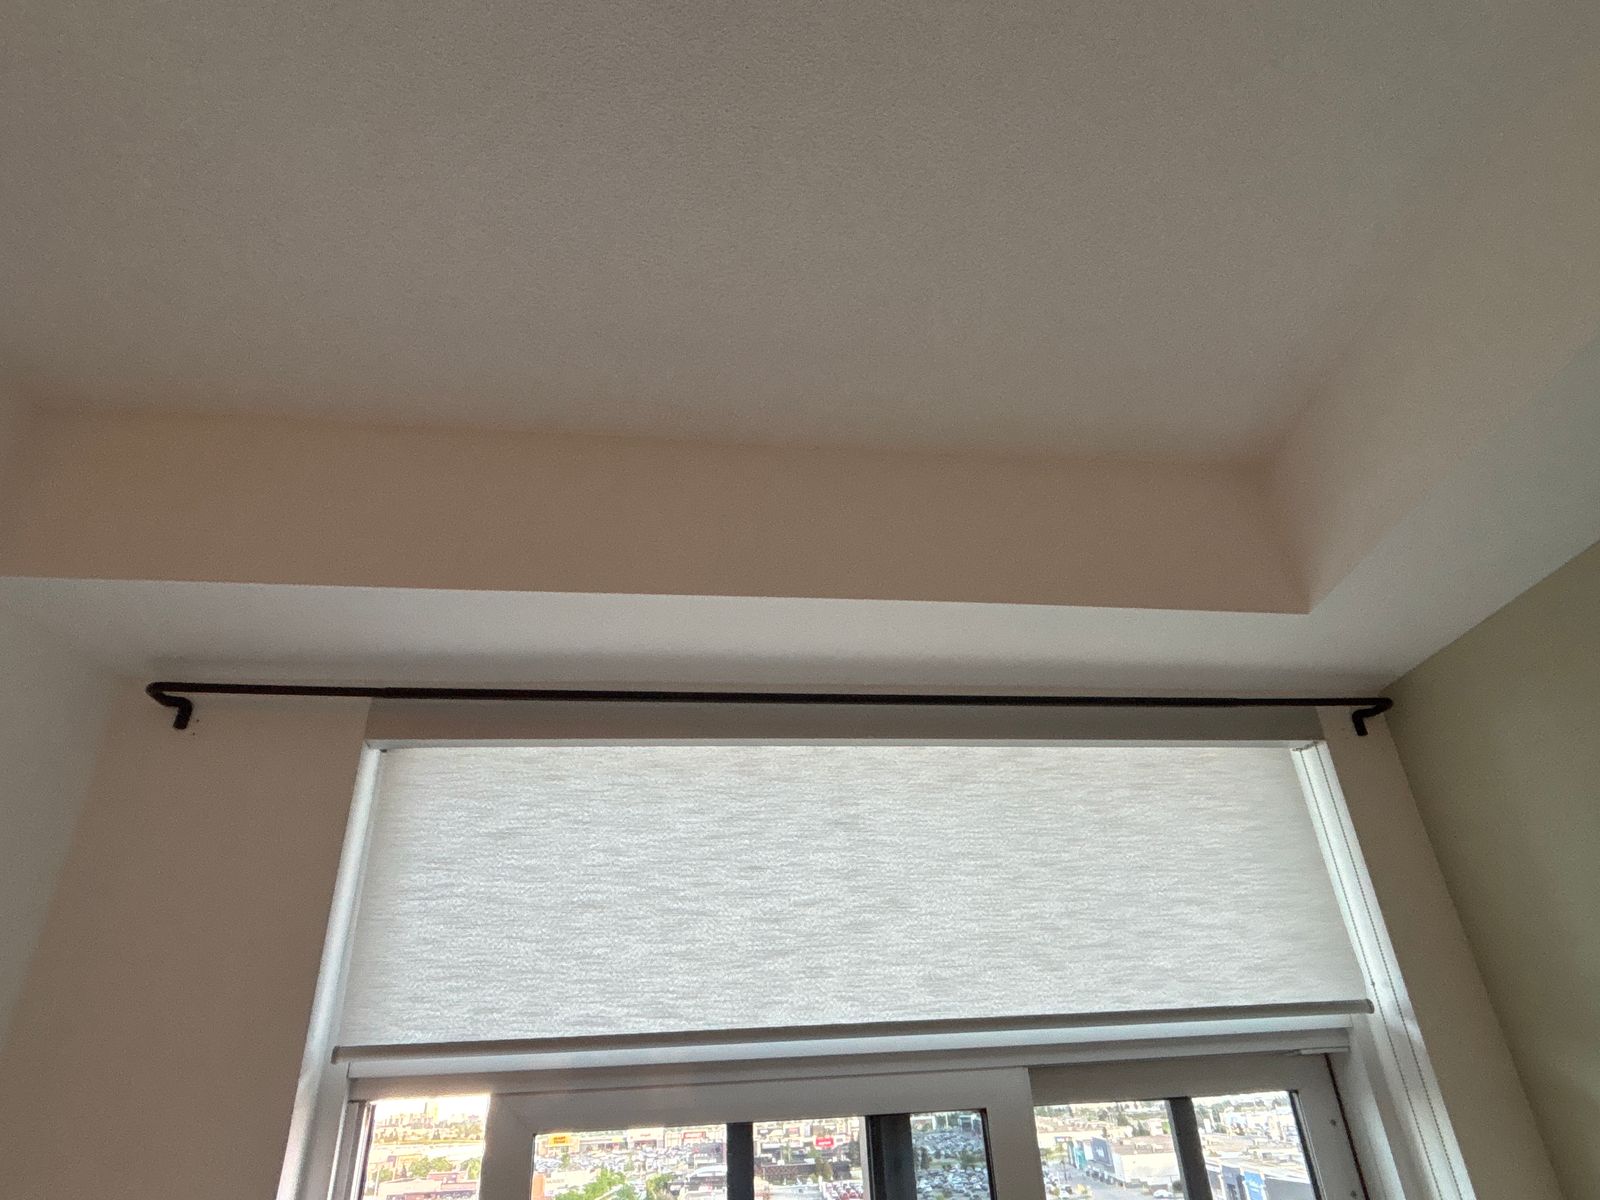
A typical bedroom and family room curtain rod installation in Vaughan involves more than just drilling holes and mounting brackets. On a recent RenoHeal job, we handled two rooms with different wall conditions and window widths, which meant choosing different hardware and anchor types for each space.
In the bedroom, the installation targeted drywall with wooden studs behind—the most common Vaughan interior wall setup. We located the studs using a stud finder, marked mounting points 12 to 16 inches from the window frame to accommodate standard bracket spacing, and drilled pilot holes before driving in wood screws directly into the studs. This approach eliminates wobble and ensures the rod stays level under the weight of heavy thermal or blackout curtains.
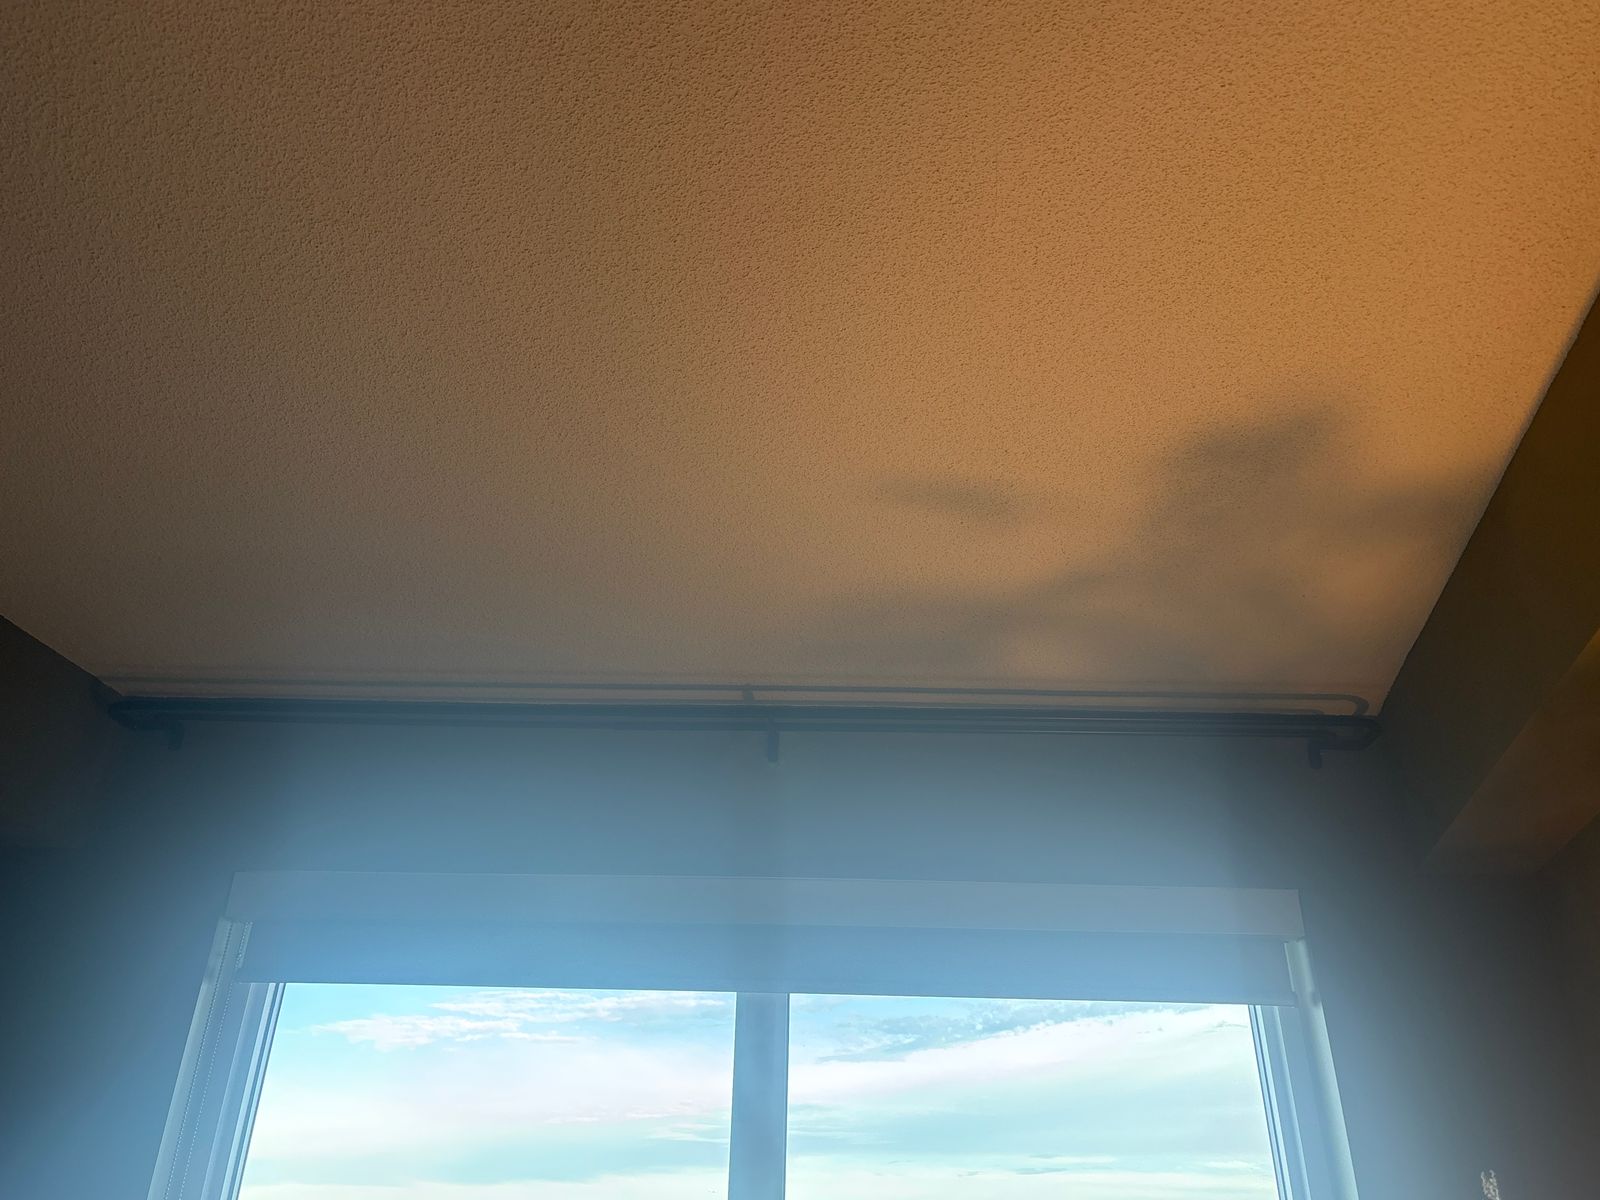
The family room required a different strategy. The wall had drywall but no studs at the ideal mounting height. Instead of anchoring into empty drywall space, we used heavy-duty expansion anchors rated for 20+ lbs per bracket—necessary because family room windows are often wider and hold heavier fabric. We also verified levelness three times during installation using a laser level, not just a standard bubble level, because even a quarter-inch off becomes obvious once curtains are hung.
Total time on-site was about two hours, including layout, bracket installation, and final rod mounting. The homeowner’s existing rods were uneven and sagging slightly; our installation resolved that and delivered smooth operation when opening and closing the curtains.
How Wall Type Changes Everything About Curtain Rod Installation Vaughan Homeowners Often Ignore
The biggest mistake homeowners make is treating all walls the same. Vaughan homes built in the last 30 years typically have drywall over wood or metal studs, but older properties in North York and Scarborough sometimes feature plaster over lath or brick—each requiring completely different anchoring strategies.
Drywall with studs present
This is your best-case scenario. If you can locate a stud behind the drywall (using a stud finder), screw directly into it using 2.5-inch wood screws or carriage bolts. No guesswork, no strength concerns, no settling issues. Studs are typically spaced 16 or 24 inches apart in Ontario homes.
Drywall without studs at your mounting height
This is where most installations fail. If your ideal bracket height falls between studs, you need wall anchors. Here’s what works in Vaughan homes:
- Toggle bolts: Best for heavy curtains (20+ lbs per bracket). They require a larger hole and are harder to remove, but they hold reliably in drywall.
- Expansion anchors (molly bolts): Good for medium-weight curtains (10–20 lbs). Easier to install than toggles and less noticeable once mounted.
- Plastic anchors with wood screws: Budget option for lightweight curtains only (under 10 lbs). They work but often fail after 2–3 years in Ontario’s humidity swings.
Plaster walls (older Toronto and North York homes)
Plaster is brittle and prone to cracking if you drill too aggressively. Use a masonry bit at low speed, pre-drill to avoid shattering, and consider plaster anchors rather than standard drywall anchors. If plaster is old and crumbling, relocate your brackets to hit the wooden lath underneath—it’s the only truly reliable anchor point.
Brick or stone (Etobicoke and older Richmond Hill properties)
Masonry anchors and concrete screws are required here. Hammer drills with masonry bits (not regular drill bits) are the only practical approach. Plan on slower installation and potentially calling a professional if you’re unsure about anchor placement.
Before starting any home repair, test your wall type with a small pilot hole in an inconspicuous spot. If you hit hollow drywall, you’ll need wall anchors. If you hit solid material immediately, you’re in stud, plaster, or masonry territory and can anchor accordingly.
Why Getting It Level Actually Matters (It’s Not Just About Looks)
A crooked curtain rod doesn’t just look off—it puts uneven stress on your walls and brackets. When a rod tilts, all the weight of your curtains pulls harder on one side, especially if you have heavy drapes or thermal-lined panels. Over time, that concentrated stress can crack drywall, strip screw threads, or cause brackets to pull out entirely.
Uneven installation also means your curtains won’t close or hang properly. Drapes that bunch on one side waste fabric, prevent full light blocking, and create gaps that defeat the purpose of blackout curtains in bedrooms. In a Vaughan home where humidity and temperature swings are common, uneven tension can also warp wooden rods and stress the rod itself.
A level installation distributes weight evenly across all brackets, prolongs the life of your hardware, and keeps drapes functioning smoothly. It’s the difference between a rod that lasts 10 years and one that starts sagging after two.
Curtain Rod Installation Cost Guide for Vaughan Homeowners
Curtain rod installation pricing in the GTA depends on room count, wall type, and rod material. Most handyman jobs are straightforward in drywall homes, but brick, plaster, or tile backsplashes add complexity and time. Here’s what you can expect to budget:
| Scope | Rod Type / Wall | Estimated Cost (CAD) | Notes |
|---|---|---|---|
| Single room (bedroom) | Standard metal rod, drywall | $180–$280 | Includes brackets, hardware, leveling, anchors |
| Two rooms (bedroom + family room) | Standard metal rod, drywall | $320–$500 | Most common request in Vaughan homes |
| Single room | Heavy-duty or wood rod, drywall | $250–$400 | Thicker hardware, more anchors needed |
| Single room | Any rod type, plaster or brick | $250–$450 | Slower drilling, specialized anchors |
| Bay window or complex install | Bend rods, multiple angles | $400–$650+ | Custom fitting, extra brackets |
Labour is typically $120–$180 per room. If you’re supplying your own rods and brackets, installation alone runs $100–$150 per room. Vaughan homes built between the 1990s and 2010s are mostly drywall, so most installations fall into the standard range.
Get a free estimate that accounts for your wall type and room layout. We measure and scope everything on-site to give you an accurate quote—no surprises.
Choosing the Right Hardware for Your Wall and Rod Weight
The anchor you choose makes or breaks your curtain rod installation. Different walls in Vaughan homes call for different fasteners—drywall, plaster, brick, and studs all require specific hardware to hold weight safely.
Understanding Wall Types and Anchor Selection
If you’re mounting into studs (the wooden framing behind your drywall), wood screws are your best option—they hold up to 50 lbs per screw in standard 2×4 lumber. For drywall-only installation, toggle bolts handle 20–30 lbs each, while heavy-duty molly anchors support 15–25 lbs. Brick and plaster homes in North York and Etobicoke need masonry anchors or lag bolts drilled into the masonry itself.
Finding studs first is essential. A basic stud finder costs $20–$40 and takes guesswork out of placement. If you locate studs, you’re already halfway to a secure install.
Rod Weight and Bracket Spacing
Most residential curtain rods weigh 3–8 lbs before you add fabric. Standard panels add another 2–5 lbs per pair depending on material. For safety, use at least two brackets spaced 4–6 feet apart—closer for heavier drapes, farther for lightweight sheers.
| Rod Type | Typical Weight (rod + brackets) | Minimum Bracket Spacing | Recommended Anchor Type |
|---|---|---|---|
| 1-inch standard rod with sheer panels | 5–8 lbs | 4–5 feet | Stud mount or toggle bolt |
| 1.25-inch rod with blackout panels | 8–15 lbs | 3–4 feet | Stud mount (preferred) |
| Double rod with heavy drapes | 15–25 lbs | 2–3 feet | Stud mount only |
Heavy blackout or thermal curtains in family rooms—like in the Vaughan project RenoHeal recently completed—demand closer bracket spacing and stud mounting. If studs don’t line up with your window, toggle bolts rated for your total weight are the next best choice.
Pro tip: Mark stud locations with light pencil marks before drilling. If you’re unsure about weight capacity or wall construction, get a free estimate from RenoHeal to confirm your walls can handle the load.
DIY vs Hiring a Professional for Curtain Rod Installation
Curtain rod installation looks straightforward, but poor execution shows every time you look at your window—crooked rods, sagging fabric, or worse, rods that fall mid-use. Here’s when DIY works and when calling a professional saves frustration and cost.
When DIY Makes Sense
If your walls are solid studs, your window geometry is square, and you’re hanging lightweight rods (under 10 lbs total), DIY is realistic. You’ll need a drill, level, tape measure, stud finder, and the right anchors. Basic installations typically take 30–60 minutes per window in Scarborough and Markham homes with straightforward layouts.
Cost for DIY: $30–$80 in hardware and tools (if you don’t already own them). The main risk is your time if something goes wrong—wrong anchor choice, crooked mounting, or damage to drywall.
When Professional Installation Saves Money
Hiring a pro makes sense if your walls are plaster or brick, you’re mounting heavy double rods, your window is uneven or arched, or you want multiple rooms done consistently. Vaughan homes with older plaster walls especially benefit from professional experience—plaster breaks easily, and wrong techniques cost far more in repair than the original install.
RenoHeal’s handyman service handles bedroom and family room installations with precision leveling and stud location verification. A single-window professional install typically costs $150–$300 in the GTA; two rooms $250–$500. That’s not much more than DIY when you factor in your time, risk of re-drilling, and potential drywall repairs.
Professional installers also catch problems DIYers miss: stud spacing that forces off-center mounting, wall moisture that could damage future drywall, or bracket weights that exceed anchor capacity. If you’re unsure, contact RenoHeal for an honest assessment of your situation and a fair price quote.
Common Mistakes That Lead to Falling Rods and Damaged Walls
Most curtain rod failures come down to three preventable errors. The first is using the wrong anchor type for your wall. Drywall anchors work on standard drywall, but they’ll fail fast if you’re hanging heavy velvet or blackout curtains—wood studs or toggle bolts are mandatory in those cases. In Vaughan homes built in the last 20 years, studs are typically 16 inches apart; locate them with a stud finder before drilling.
The second mistake is skipping studs altogether. Even light curtains should have at least one bracket anchored into solid wood. Drywall anchors alone can hold 10–25 pounds depending on the anchor type, but over time—especially in Ontario’s dry winters when drywall shrinks—they loosen. If both brackets are floating on drywall with no stud support, you’re setting yourself up for a crash.
Over-tightening is the third culprit. People think “tight = secure,” but crushing drywall around an anchor or stripping a wood screw thread actually weakens the hold. Tighten until snug, then stop. Improper bracket spacing also causes sagging—brackets should be no more than 32 inches apart for standard rods, and closer for heavy drapes. Our handyman team can handle the full install and avoid these pitfalls entirely.
Frequently Asked Questions
How much does curtain rod installation cost in Vaughan?
Most homeowners in Vaughan pay between $80 and $200 CAD for professional curtain rod installation, depending on the number of windows, wall type, and whether a centre support bracket is needed. Drywall installs are on the lower end; plaster, brick, or tile walls cost more due to the extra labour and hardware involved. RenoHeal offers free estimates so you know the exact price before any work begins.
Can I install curtain rods without hitting a stud?
Yes, but you need the right anchor for the wall type and the weight of your curtains. In standard drywall, toggle bolts or snap toggles can hold 30–50 lbs per anchor, which is enough for most curtain rods. A professional will assess the wall, choose the correct anchor, and ensure the bracket is secure before leaving — something a guessed DIY install often skips.
How high above the window should I mount a curtain rod?
The general rule is 4 to 6 inches above the window frame, but mounting 8 to 12 inches above — or just below the ceiling — makes the room feel taller and the window look larger. In Vaughan’s newer builds with 9-foot ceilings, high-mount installs are very popular and worth the extra few inches of measuring. Your installer will mark the exact height before drilling so there are no surprises.
What’s the best anchor to use for heavy curtain rods in drywall?
For heavier rods and thick curtains, snap toggle bolts (also called SnapToggles) are the most reliable anchor in drywall — they can hold 80 lbs or more per anchor when installed correctly. Plastic expansion anchors sold in most big-box kits are not rated for that load and tend to pull out over time. A professional installer will match the anchor to your specific rod weight and drywall thickness, which in many Vaughan homes is 5/8-inch fire-rated board.
How far apart should curtain rod brackets be placed?
End brackets should sit 3 to 6 inches beyond each side of the window frame so the curtains can stack off the glass when open. If the rod span exceeds 48 inches, a centre support bracket is strongly recommended to prevent bowing or sagging over time. Getting this spacing right at the start saves you from having to re-drill and patch holes later.
Will a handyman supply the curtain rods or do I need to buy them first?
Most homeowners purchase their own curtain rods so they can choose the style, finish, and length that fits their décor. RenoHeal technicians bring all the mounting hardware, anchors, and tools needed for a secure install — you just have the rod ready. If you’re unsure what size to buy, let us know the window dimensions and we can advise before your appointment.
Getting Curtain Rod Installation Right in Vaughan
A curtain rod that’s level, properly anchored, and mounted at the right height makes a real difference — not just in how your room looks, but in how long the installation lasts. The common mistakes (wrong anchors, brackets too close to the frame, rods that sag in the middle) are all avoidable with the right tools and a few minutes of careful measuring.
RenoHeal has completed installations across Vaughan in all wall types — from the standard drywall in newer Kleinburg and Maple builds to the older plaster walls in established Woodbridge homes. Our technicians arrive with the hardware to handle whatever the wall throws at them, and every job is backed by our workmanship warranty.
Ready to get your curtains up properly the first time? Request a free quote today, or learn more about everything we handle through our Handyman Services page. Same-day and next-day appointments are available throughout Vaughan and the GTA.