
A headboard wall mount installation in Richmond Hill sounds straightforward—find studs, secure brackets, hang the frame. But we’ve seen plenty of Toronto-area homeowners run into real problems when they try it themselves: wrong anchors for their wall type, studs that don’t line up where the headboard needs to sit, or hardware that can’t handle the weight. That’s where experience matters. We recently completed a bed headboard wall mount project in Richmond Hill that shows exactly why a professional approach keeps your bedroom safe and your wall intact.
Wall-mounted headboards have become popular because they free up floor space and create a clean, modern look. But they’re also one of those jobs where the visible result hides all the structural work underneath. Get the mounting wrong, and you’re looking at a headboard that pulls away from the wall, drywall damage, or worse—a 180-pound frame coming loose in the middle of the night.
That’s why we’ve put together this guide based on real work we’ve done across Richmond Hill, Thornhill, and Markham. We’ll walk you through what makes this job tricky, what our actual project involved, and what it costs to do it right.
Why Wall-Mounting a Headboard Is Trickier Than It Looks
Most bedrooms in the GTA have either standard drywall over wood studs or, in some older homes, plaster. Neither forgives mistakes. The biggest surprise homeowners face is stud spacing: most assume studs are 16 inches apart, but uneven walls, renovations, or building quirks mean they’re often 18 or even 24 inches apart. Mount a heavy headboard between studs using only drywall anchors, and you’re asking for trouble.
Weight is the second reality check. A typical wooden or upholstered headboard weighs 120 to 180 pounds, sometimes more. You need the right hardware to carry that load. Cheap anchors rated for 50 pounds each look fine on the shelf but fail under real pressure—especially if someone leans back or your mattress shifts the weight distribution.
- Stud location: Wall studs aren’t always where you expect them. Uneven spacing means some headboards can’t be positioned where you want.
- Wall type and condition: Drywall, plaster, or textured finishes all anchor differently. Hidden pipes, electrical wiring, or old repairs complicate drilling.
- Headboard material: Engineered wood, solid wood, upholstered frames, and metal all distribute weight differently and require different mounting points.
- Anchor strength: Standard drywall anchors hold about 50 pounds; toggle bolts go up to 100; heavy-duty anchors can handle more. But only if installed correctly.
- Hardware alignment: If mounting brackets aren’t level or evenly spaced, the headboard will hang unevenly or shift over time.
We’ve also seen headboards mounted to walls with water damage, settling, or weak drywall underneath. You won’t know that until you start drilling—and by then, it’s too late to adjust the plan. That’s why a quick in-person assessment saves a lot of headaches.
What the Headboard Wall Mount Installation in Richmond Hill Involved
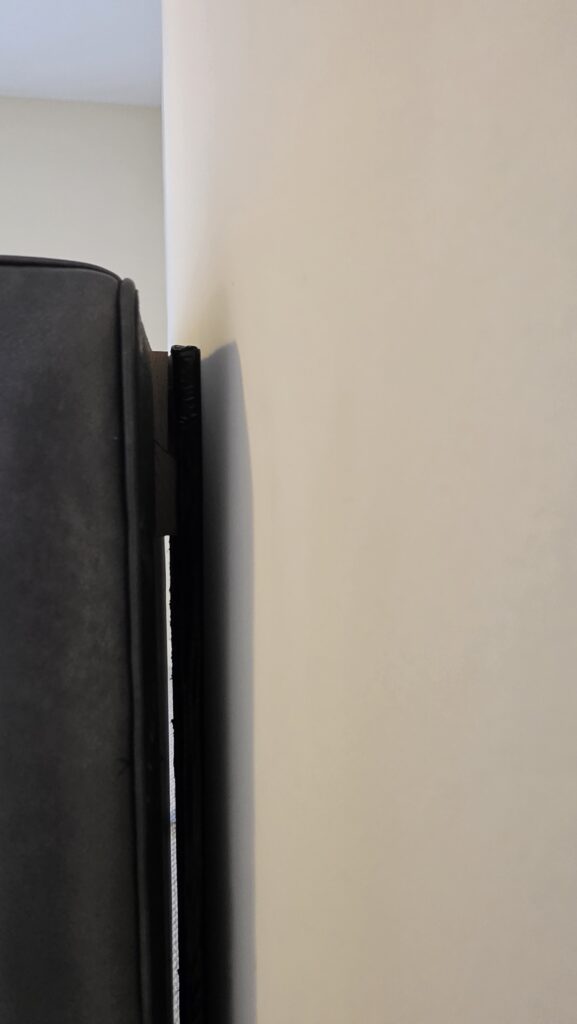
The Richmond Hill project we completed started with a straightforward request: mount a solid wood bed headboard to the master bedroom wall. The frame was about 60 inches wide and 48 inches tall—roughly 160 pounds when fully assembled. The wall was standard drywall over wood studs, but the studs were unevenly spaced at 16 and 18 inches, which meant we couldn’t rely on stud mounting alone for all the attachment points.
Here’s what we actually did on-site:
- Located and marked studs using a stud finder. We found four studs within the mounting area but had gaps on either side of where the headboard needed to sit.
- Installed heavy-duty toggle bolts (3/8-inch, rated for 180 pounds each) into the drywall sections between studs. These have wings that grip the back of the drywall and distribute load across a wider area.
- Used lag bolts and washers directly into the studs for the strongest anchor points. We used 5/16-inch bolts, 2.5 inches long, with large washers to prevent the brackets from digging into the wood frame.
- Mounted a custom steel bracket system with six mounting points: four into studs and two into toggle bolts. This gave us redundancy and ensured the headboard wouldn’t sag if one anchor failed.
- Leveled carefully before final tightening. A headboard that’s off by even half an inch is obvious from bed height.
- Patched and painted around the mounting areas to hide holes where our stud finder had poked through.
The whole job took about four hours, including assembly, wall prep, and finishing. The homeowner had already purchased the headboard, so we worked with what they had. We used our handyman expertise to assess the wall condition, choose the right hardware, and execute the install without any guesswork.
One thing that surprised the client: we replaced some of the mounting hardware that came with the headboard. The manufacturer had included standard drywall anchors rated for 50 pounds. For a 160-pound frame in a bedroom where people actually use it—leaning back, getting in and out of bed—those anchors weren’t strong enough. We upgraded to commercial-grade hardware at no extra cost because safety comes first.
If you’re planning a similar project in Thornhill, North York, or anywhere in the GTA, this is the standard we work to. You can get a free estimate from RenoHeal—we’ll assess your specific wall, hardware needs, and give you an exact quote before we start.
Hardware Guide: Brackets, Anchors & Fasteners That Actually Hold
The hardware you choose makes or breaks a headboard installation. A heavy upholstered headboard or platform bed can weigh 80–150 lbs, and if your anchor fails, you’re looking at damage, injury, and a costly repair. This is why many homeowners in Richmond Hill call professional handyman services instead of guessing.
French Cleats (Best for Heavy Headboards)
A French cleat is two interlocking wooden strips, one bolted to the wall and one to the headboard. This distributes load across multiple fasteners and can hold 100+ lbs safely. It’s the industry standard because the weight hangs straight down, not pulling away from the wall.
Toggle Bolts (Drywall Without Studs)
Toggle bolts work in hollow drywall by expanding behind the surface. A quality toggle bolt rated for drywall handles 25–50 lbs per bolt. Always use at least two, spaced 16 inches apart for stability.
Lag Screws Into Studs (Strongest Option)
If you can locate wall studs, ½-inch lag screws into solid wood hold 100+ lbs each. Most bedroom walls have studs at 16-inch intervals. This is the go-to for secure mounting and why a professional inspection pays off.
| Anchor Type | Best For | Weight Capacity (per anchor) | Drywall Safe? |
|---|---|---|---|
| French Cleat | Heavy headboards (80+ lbs) | 100+ lbs | Yes (if studs located) |
| Toggle Bolt | Medium headboards, no studs | 25–50 lbs | Yes |
| Lag Screw (#12, ½”) | Stud-mounted headboards | 100+ lbs | Yes (into studs only) |
| Drywall Anchor (plastic) | Light decor only | 5–10 lbs | Yes, but weak |
Pro tip: Always use at least two mounting points horizontally, and never rely on a single anchor. If your headboard is over 100 lbs or your walls are textured or older plaster (common in Richmond Hill homes), have a professional assess the wall first. They’ll use a stud finder and recommend the right hardware—which saves you from a headboard crashing down at midnight.
Headboard Wall Mount Cost Guide for Richmond Hill Homeowners
Headboard installation in Richmond Hill typically runs $300–$800 CAD installed, depending on wall condition, headboard weight, and whether studs are accessible. Here’s a realistic breakdown:
| Cost Component | Price Range (CAD) | Notes |
|---|---|---|
| Labour (2–3 hours) | $200–$400 | Stud location, level setting, mounting, wall repair if needed |
| Hardware Kit (toggle bolts, lag screws, brackets) | $30–$80 | Quality fasteners from Home Depot or Lowe’s |
| French Cleat System | $50–$120 | Heavier headboards; includes wood strips and fasteners |
| Wall Repair (plaster patching, paint touch-up) | $50–$150 | Older Richmond Hill homes may need patch/spackle |
| Stud Location Service (if included) | Included | Professional stud finder; prevents costly guessing |
Why Labour Costs Vary
A lightweight fabric headboard (40 lbs) on new drywall with accessible studs is quick—$300–$400. A 120 lb solid wood or upholstered headboard on older plaster walls in Scarborough, Markham, or Thornhill may need studs reinforced or anchors carefully placed, pushing the cost to $600–$800. Get a free estimate to see what your specific setup needs.
DIY vs. Professional Installation
Hardware alone costs $80–$150, and a stud finder adds another $30–$60. The real cost of a mistake—drywall patching, painting, injury—often exceeds professional labour. Most Richmond Hill homeowners find paying a professional handyman the safer, faster choice, especially for headboards in master bedrooms where failure isn’t an option.
DIY vs. Hiring a Handyman for Headboard Wall Mounting
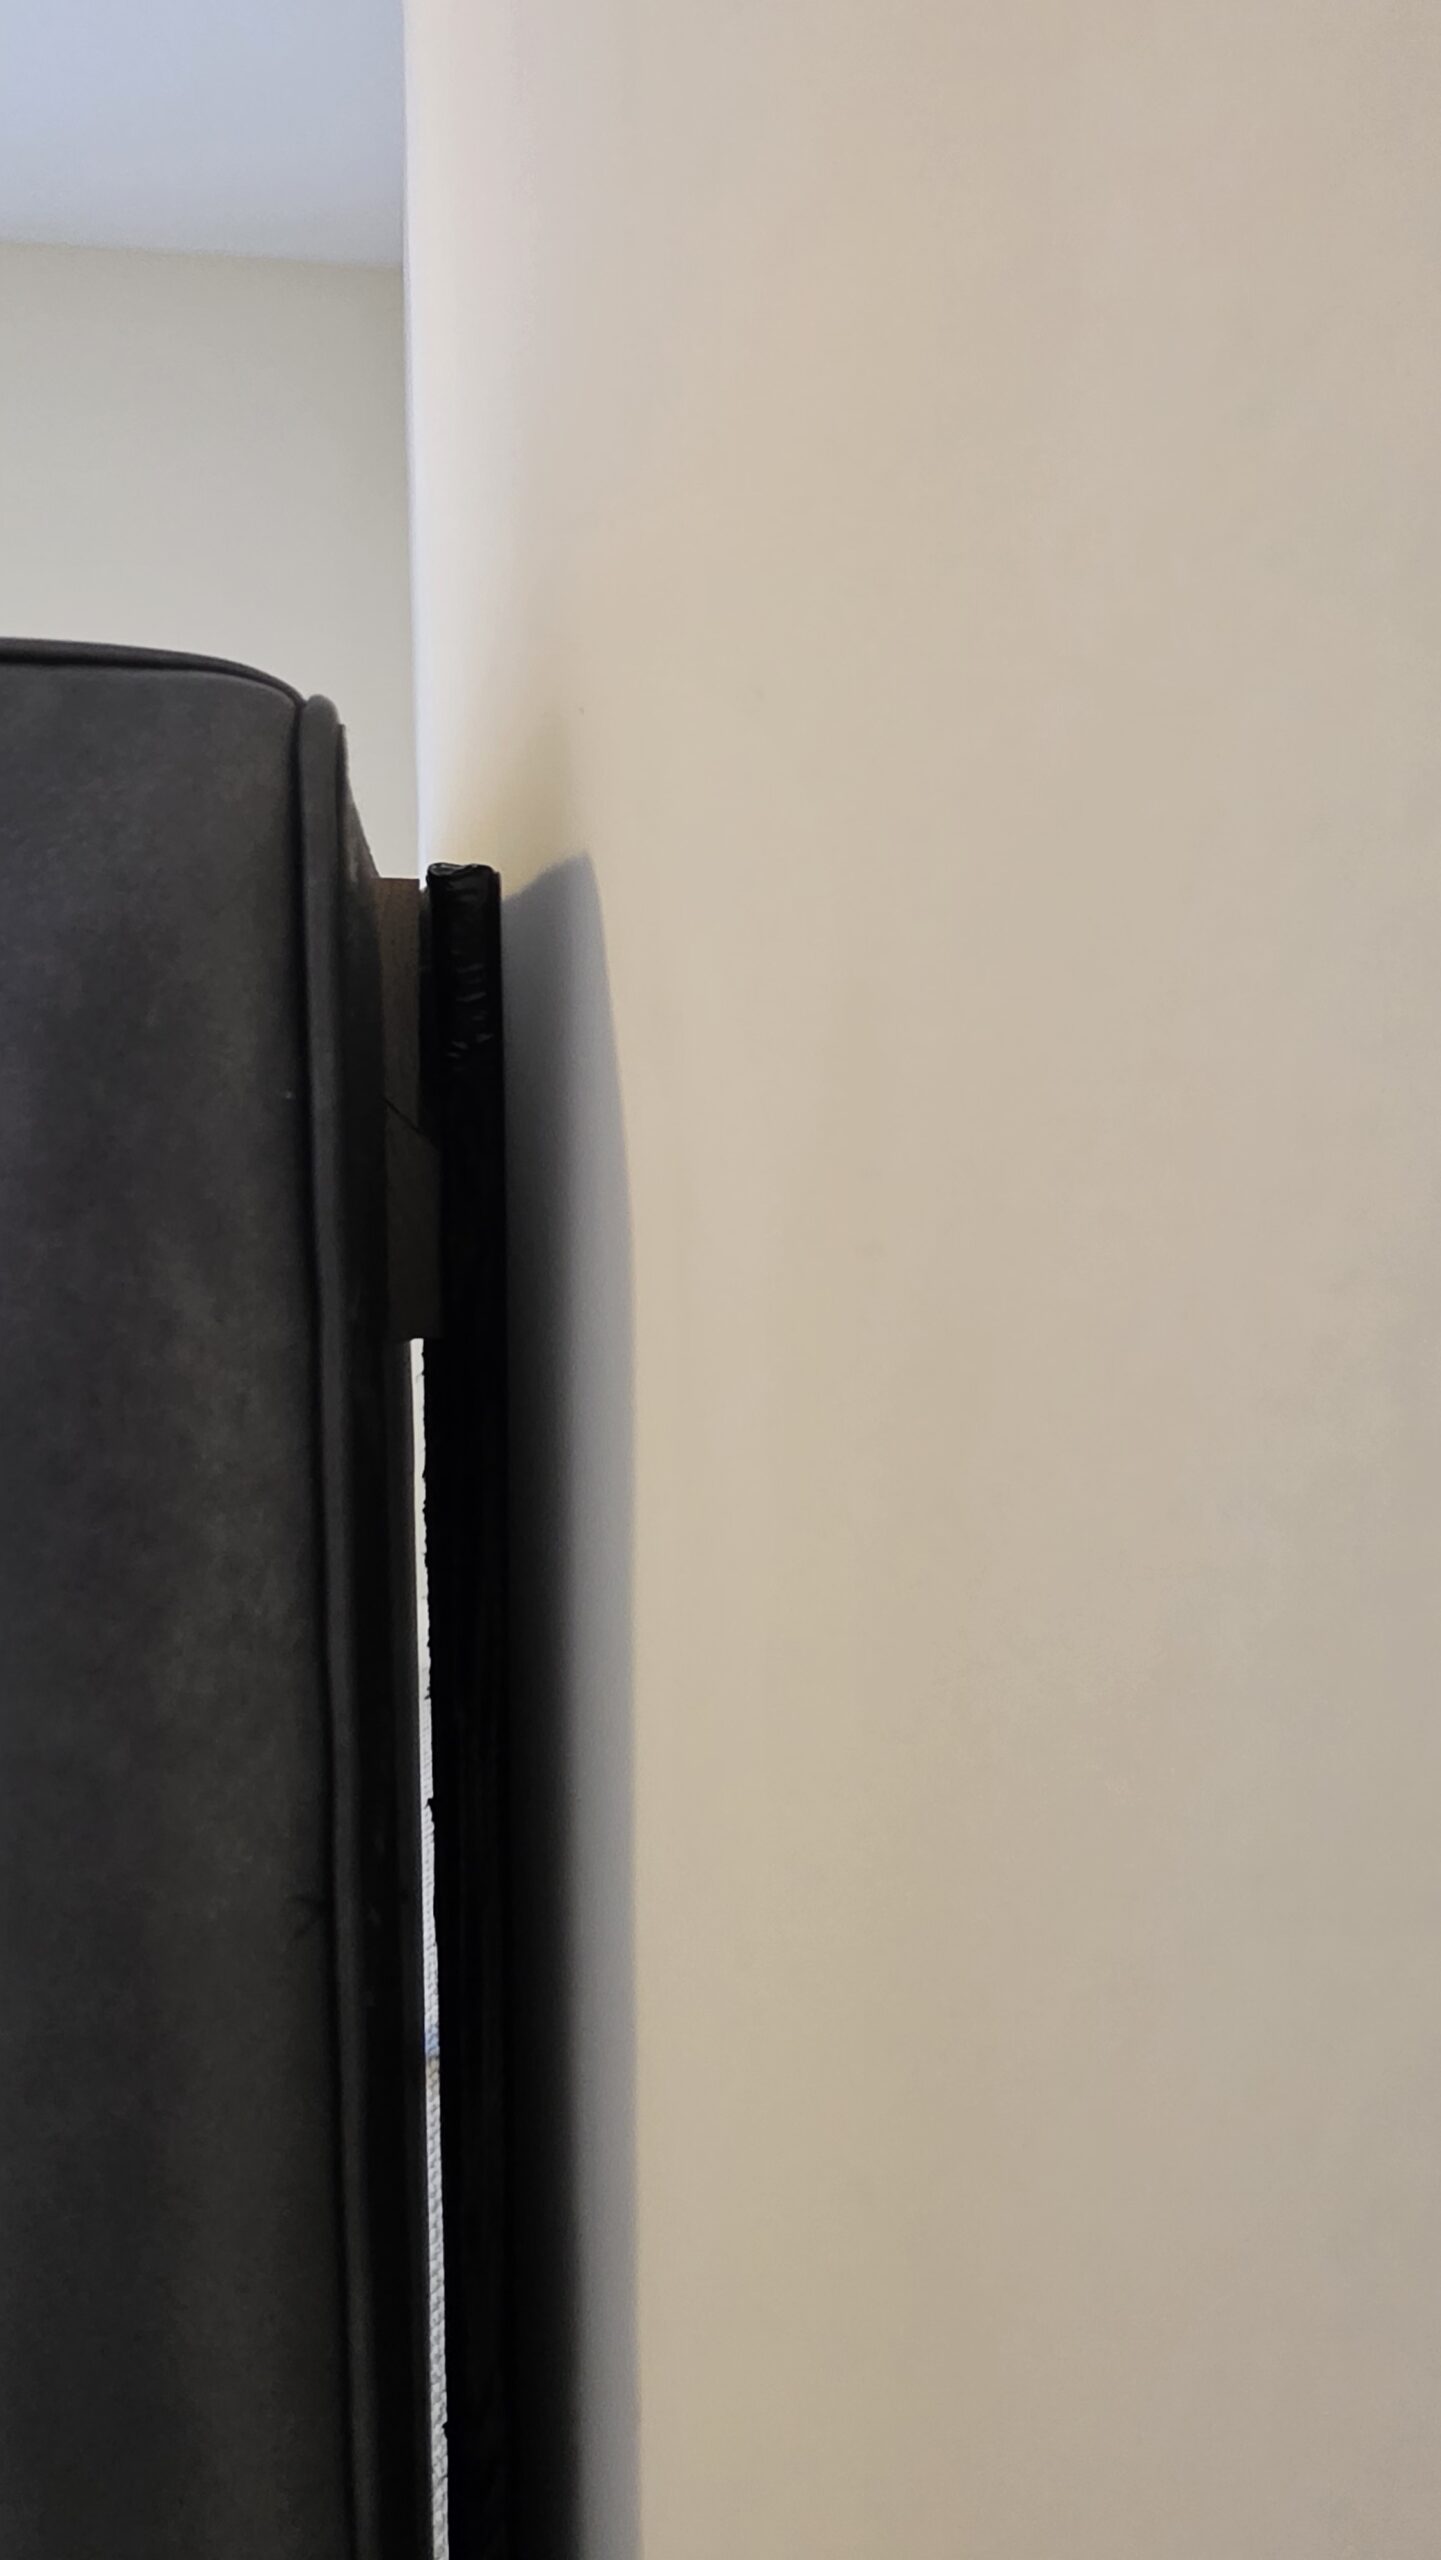
Wall-mounting a headboard looks straightforward until you’re standing in front of drywall with a drill and a $300+ headboard in your hands. The biggest risk: picking the wrong fasteners or missing the studs entirely, then waking up to a headboard on your bed (or worse, on you). A mounted headboard carries real load—especially upholstered or wooden frames—and failure means damage to your walls, your bed frame, and potentially injury.
DIY works if you have stud-finding experience, the right tools (stud finder, level, impact drill), and you’ve measured twice. But most homeowners underestimate wall conditions: Richmond Hill homes built in the 1980s–2000s often have uneven walls, hidden pipes, or weak drywall patches that defeat standard anchors. You’ll also need to account for the headboard’s weight distribution and ensure fasteners align with your bed’s frame geometry.
Hiring a handyman saves the guesswork. A pro like RenoHeal’s handyman team locates studs, selects the correct hardware for your wall type, levels everything, and tests the mount before you trust your head to it. We’ve completed 3500+ projects across Richmond Hill and the GTA, and we back our work with a warranty. Same-day service means your headboard is secure by evening—not abandoned mid-project on a weekend.
Common Mistakes That Lead to a Falling Headboard
Wrong Anchors for Your Wall Type
This is the number-one failure point. Drywall anchors rated for 25 pounds won’t hold a 60-pound headboard. If you’re not hitting studs, you need heavy-duty toggle bolts or lag bolts into wood, not plastic ribbed anchors. Many DIYers grab whatever’s in the garage and hope.
Skipping the Stud Check
A cheap stud finder ($10) isn’t the same as a reliable one ($40+). If you miss the studs and rely on anchors alone, you’ve already lost. Headboards mounted only to drywall are failure waiting to happen. Professionals use multiple stud-location methods to confirm.
Uneven or Off-Center Installation
A headboard that’s level on the wall but not aligned with your bed frame creates stress on fasteners. Asymmetrical weight distribution causes one side to pull harder, gradually loosening bolts. Measure from the bed center, use a laser level, and double-check before driving fasteners.
No Weight Verification
Manufacturers list headboard weight—check it. Then add 20% for safety margin and any weight you’ll rest against it. If your hardware is rated for 100 pounds and the headboard is 70 pounds, you’re cutting it close. Professionals confirm the load rating of every fastener used.
Need the job done safely? Get a free estimate from RenoHeal—we handle all fastener selection, wall assessment, and installation so your headboard stays up.
Frequently Asked Questions
Can a headboard be wall-mounted without hitting a stud?
It depends on the headboard’s weight. A lightweight fabric headboard under 15 lbs can sometimes be hung using high-rated drywall anchors, but anything heavier — especially solid wood or upholstered frames — needs stud support. A handyman will use a stud finder and, if studs don’t line up with your bracket holes, can add a horizontal mounting board across two studs to bridge the gap safely.
How much does it cost to have a handyman mount a headboard in Richmond Hill?
Most Richmond Hill homeowners pay between $80 and $175 CAD for professional headboard wall mount installation, depending on the headboard weight, wall material, and whether blocking or a mounting board is needed. Hardware costs are typically separate and range from $20 to $60 CAD for quality brackets and fasteners. RenoHeal offers free estimates so you know the exact number before any work begins.
What type of wall mount bracket works for a heavy wooden headboard?
Heavy wooden headboards — anything over 40 lbs — require heavy-duty French cleat brackets or dedicated headboard wall-mount plates rated for the load, fastened directly into wall studs with 3-inch structural screws. Standard picture-hanging hardware is not appropriate and will fail under that kind of weight and the regular movement a bed frame creates. Your technician should also verify the bracket’s weight rating exceeds the headboard’s actual weight by at least 50% for a safe safety margin.
Will wall-mounting a headboard damage my drywall?
Done correctly, wall-mounting leaves only small, clean fastener holes that are easy to patch if you ever remove the headboard. The risk of damage comes from improper installation — using anchors too small for the load, or overtightening screws that crumble the drywall face. A professional installs into studs wherever possible and uses correctly rated anchors when studs aren’t available, keeping the wall intact and the mount secure.
How long does headboard wall mount installation take?
A standard headboard wall mount installation in Richmond Hill typically takes 45 minutes to 1.5 hours. The timeline stretches when a mounting board needs to be cut and installed first, or when the headboard requires custom bracket positioning. RenoHeal’s same-day service means you’re not waiting weeks for a booking — the job gets done and your bedroom is back to normal the same day.
Can any headboard be wall-mounted, or do some not work?
Most headboards can be wall-mounted, but some designs make it harder. Headboards built as part of a platform bed frame, or those with irregular curved backs and no flat mounting surface, may need custom brackets or a backing board added first. Ikea-style headboards with pre-drilled mount holes are generally the easiest, while ornate solid-wood antique pieces require more planning around weight and attachment points. A quick assessment before purchasing hardware saves time and unnecessary holes in the wall.
Headboard Wall Mount Installation in Richmond Hill: Get It Done Right the First Time
Mounting a headboard to the wall is one of those jobs that looks straightforward until you’re standing on a mattress with a drill, hoping the anchor holds. The real variables — stud location, headboard weight, bracket rating, and drywall condition — all need to line up correctly for the installation to be safe and long-lasting.
Richmond Hill homes often have standard 16-inch stud spacing, but older builds and condos can vary, and hitting a stud in exactly the right spot for your headboard width isn’t guaranteed. That’s where an experienced technician saves you from a failed mount, a damaged wall, or worse, a headboard that comes down in the middle of the night.
RenoHeal’s team has completed 3,500+ projects across Toronto and the GTA, carries $5M in liability insurance and WSIB coverage, and backs eligible work with a warranty. If you want this done safely, on the same day, with zero guesswork — request a free quote today and let our team handle it, or learn more about the full range of work we do on our Handyman Services page.