
Kitchen sink backsplash caulking in Toronto takes a beating. Daily moisture, temperature swings, and the constant vibration from water and dishwashing wear it down faster than most homeowners realize. A caulk joint that looked perfect on installation day can fail within 2–3 years if the wrong product was used or if corners were cut during application.
We’ve replaced countless backsplash caulk lines in Toronto, North York, and Scarborough where the original work was done by someone who didn’t understand the specific demands of a kitchen environment. The gap between your sink and tile isn’t just aesthetic—it’s a moisture barrier. When it fails, water creeps behind the backsplash, leading to mold, soft drywall, and costly damage you won’t see until it’s too late.
This guide breaks down why kitchen backsplash caulk fails, how to spot the warning signs, what it actually costs to fix it right, and why professional installation matters in our Ontario climate.
Why Kitchen Sink Backsplash Caulk Fails Faster Than You’d Expect
Your kitchen sink backsplash caulk is under constant assault. Every time you wash dishes, splash water on the counter, or wipe down the tile, moisture gets into and around that caulk joint. Unlike a bathroom corner caulk that only gets wet during showers, kitchen backsplash caulk cycles wet and dry dozens of times per day.
Ontario’s temperature swings make it worse. In winter, your home heats up indoors while the exterior wall stays cold. In summer, humidity spikes. These thermal and humidity cycles cause caulk to expand and contract repeatedly, creating tiny cracks that let water penetrate.
The Most Common Failure Causes
- Wrong caulk type: Cheap acrylic caulk or paintable caulk breaks down in 12–18 months in wet kitchens. Silicone or polyurethane lasts 5–10 years.
- No surface prep: If the gap wasn’t cleaned, dried, and primed, the new caulk has nothing to bond to and peels away within months.
- Overstuffed or underfilled joints: A caulk bead that’s too thick or too thin fails prematurely because it can’t move with the tile and backsplash naturally.
- Improper tool technique: Sloppy tooling leaves air pockets and weak edges that crack first.
- Caulked over old, failing caulk: If old caulk wasn’t fully removed before recaulking, the new layer sits on a crumbling base and fails quickly.
- Poor ventilation during cure: Caulk needs airflow to set properly. Kitchens with no exhaust fan or sealed windows prevent proper curing.
We completed a caulking project on a Toronto condo that had the perfect example: the previous caulk was applied over old, deteriorating material and the tile surface had soap residue and mineral deposits. Within weeks, the new caulk started peeling at the edges because it never bonded properly. Professional removal and reinstallation solved it permanently.
Warning Signs Your Kitchen Caulk Needs Replacing Now
Don’t wait until water damage shows up on your ceiling below. These signs mean your caulk has already failed or is failing:
Visual Red Flags
- Visible cracks or splits: Any gap wider than a hairline in the caulk bead means water is getting behind it.
- Peeling or lifting edges: Caulk pulling away from the tile or countertop is a total failure. It won’t reseal itself.
- Black mold or mildew: Black spots in or around the caulk line mean moisture is trapped and mold is growing. This is a health concern and needs immediate attention.
- Separation from the joint: A visible gap between the caulk and tile (not a crack in the caulk itself) means the seal is broken.
- Discoloration or staining: Yellow, brown, or rust-colored staining in the caulk often signals water intrusion and mineral deposits.
- Soft or spongy areas: Press gently on the caulk. If it feels mushy or compresses easily, it’s degraded and needs replacement.
If you’re in Toronto, Etobicoke, or Mississauga and you spot any of these, your caulk has already started letting water through. The longer you wait, the more damage happens behind the backsplash.
Hidden Damage Signs
Sometimes the caulk looks okay but damage is happening behind it. Look for soft drywall, bubbling paint, or musty smells near the backsplash area. Water staining on the underside of cabinets or on the wall below the sink is a major red flag. By the time you see these signs, the caulk has been failing for weeks.
If you’re seeing any of these warning signs, get a free estimate from a professional. Catching it early saves you thousands in hidden water damage repair.
How a Pro Fixes Kitchen Sink Backsplash Caulking in Toronto
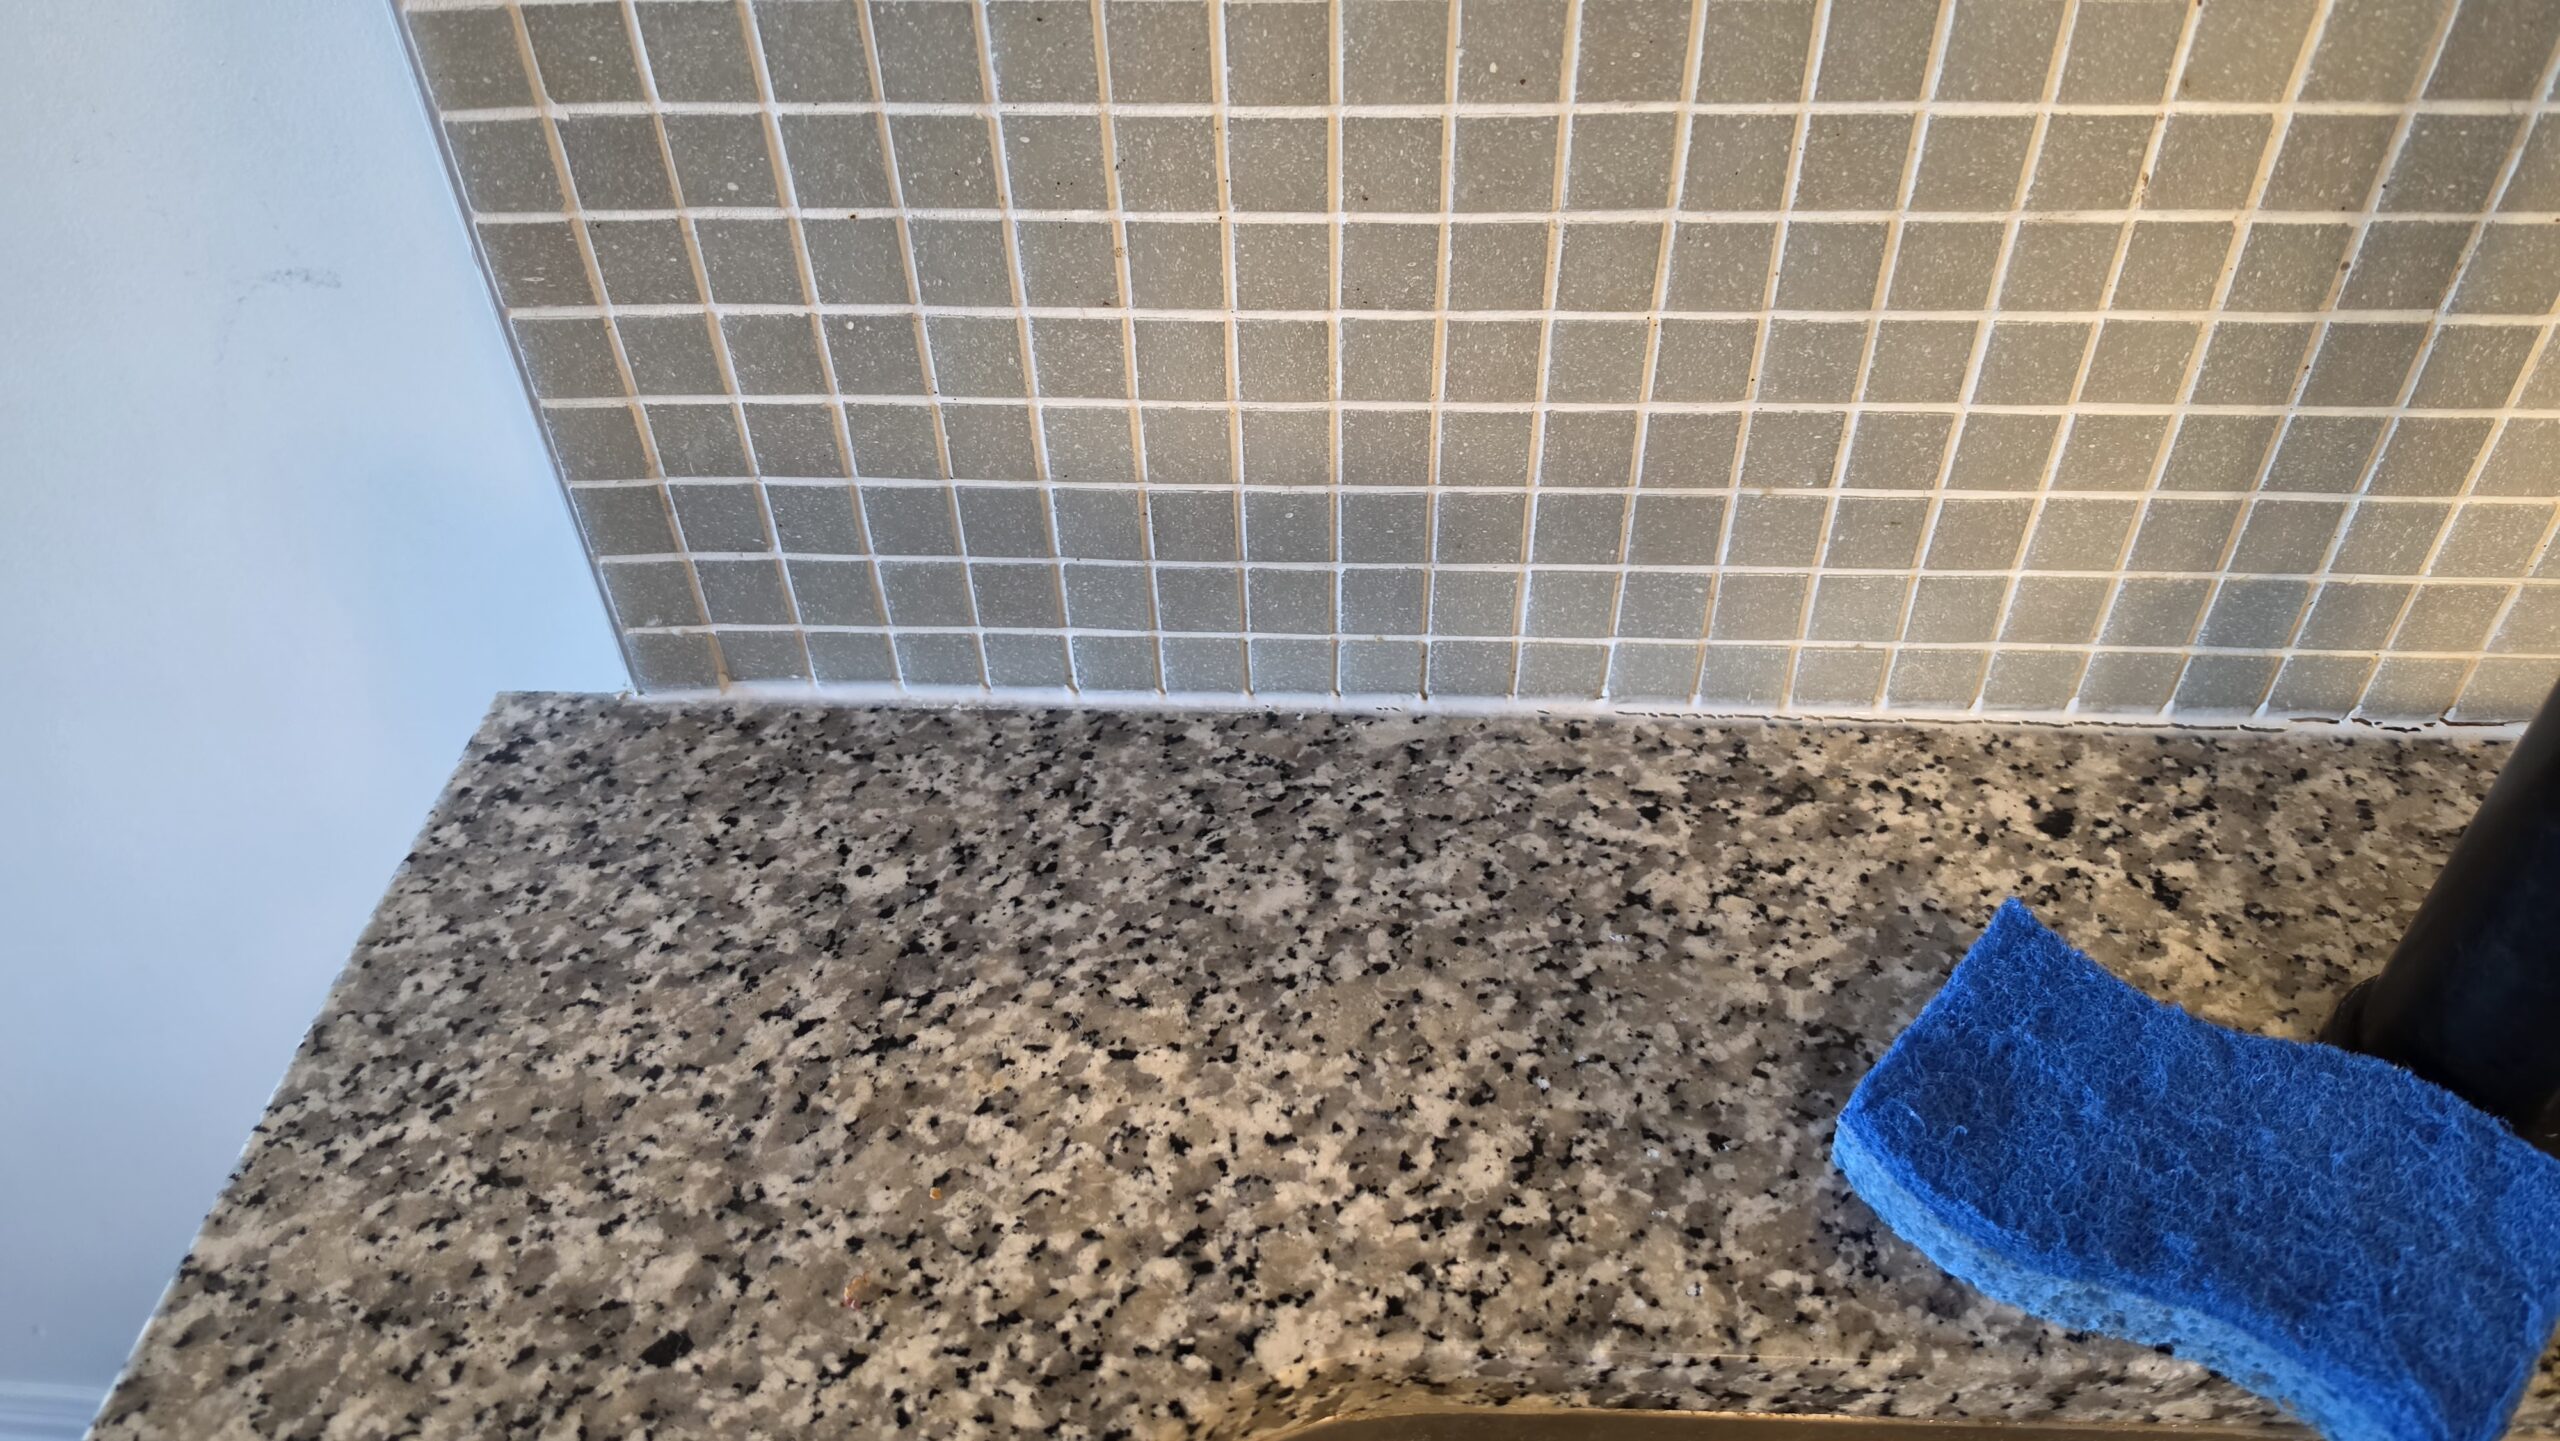
Fixing kitchen sink backsplash caulking properly takes patience and the right technique. A professional starts by completely removing the old, failed caulk—scraping it out with a caulk removal tool or specialized gun, then cleaning the joint with a damp cloth to remove residue, soap, and mildew.
Once the joint is clean and dry (at least 24 hours in Toronto’s humid climate), the prep matters as much as the caulk itself. A pro will apply painter’s tape on both sides of the joint, leaving about 1/8 inch of gap exposed. This creates a clean edge and prevents caulk from smearing onto tile or countertop.
For kitchen sink backsplashes, silicone or acrylic latex caulk rated for kitchens is standard. Silicone is more durable and water-resistant, making it better for high-splash zones near the sink. The applicator cuts the caulk tube nozzle at a 45-degree angle to match the joint width, then applies a steady, continuous bead by pushing (not pulling) the gun.
Tooling—smoothing the caulk with a wet finger or tool—happens within 15 minutes while it’s still workable. This creates a concave seal that sheds water better and looks professional. After tooling, the tape comes off immediately, and the caulk cures fully in 24–48 hours depending on product and humidity. Our team at RenoHeal handles kitchen caulking projects across Toronto, Mississauga, and Markham with this exact standard.
Kitchen Sink Backsplash Caulking Cost in Toronto: What to Budget
The cost of professional kitchen sink backsplash caulking in Toronto ranges from $150 to $400 depending on the scope, material, and condition of the existing joint. A simple re-caulk of a small backsplash section typically runs $150–$250, while a full kitchen perimeter (backsplash plus sink edges) can reach $350–$500.
| Service Type | Scope | DIY Cost (Material) | Pro Cost (Labour + Material) | Notes |
|---|---|---|---|---|
| Small backsplash re-caulk | 4–6 linear feet | $15–$30 | $150–$250 | Removal, prep, caulk, cure |
| Full kitchen backsplash | 8–12 linear feet | $25–$50 | $250–$350 | Includes edges around sink |
| Kitchen + sink perimeter | 15–20+ linear feet | $40–$80 | $350–$500 | Complex geometry, multiple angles |
| Premium silicone caulk | Any scope | +$10–$20 | +$50–$100 | Better durability, 20+ year life |
What drives the cost up? Old caulk that’s stubborn to remove, uneven grout joints, mold behind the backsplash, or complex tile layouts. In Toronto condos (like the North York unit we recently serviced), limited access can add time. Premium silicone caulks from brands like DAP or GE last longer and resist mildew better than latex, so they cost more upfront but save you money on future repairs.
Most homeowners in the GTA save money long-term with a pro fix because incorrect application leads to water damage and re-work within a year. Get a free estimate to see exact pricing for your kitchen’s layout.
DIY vs. Hiring a Professional for Caulking in Toronto
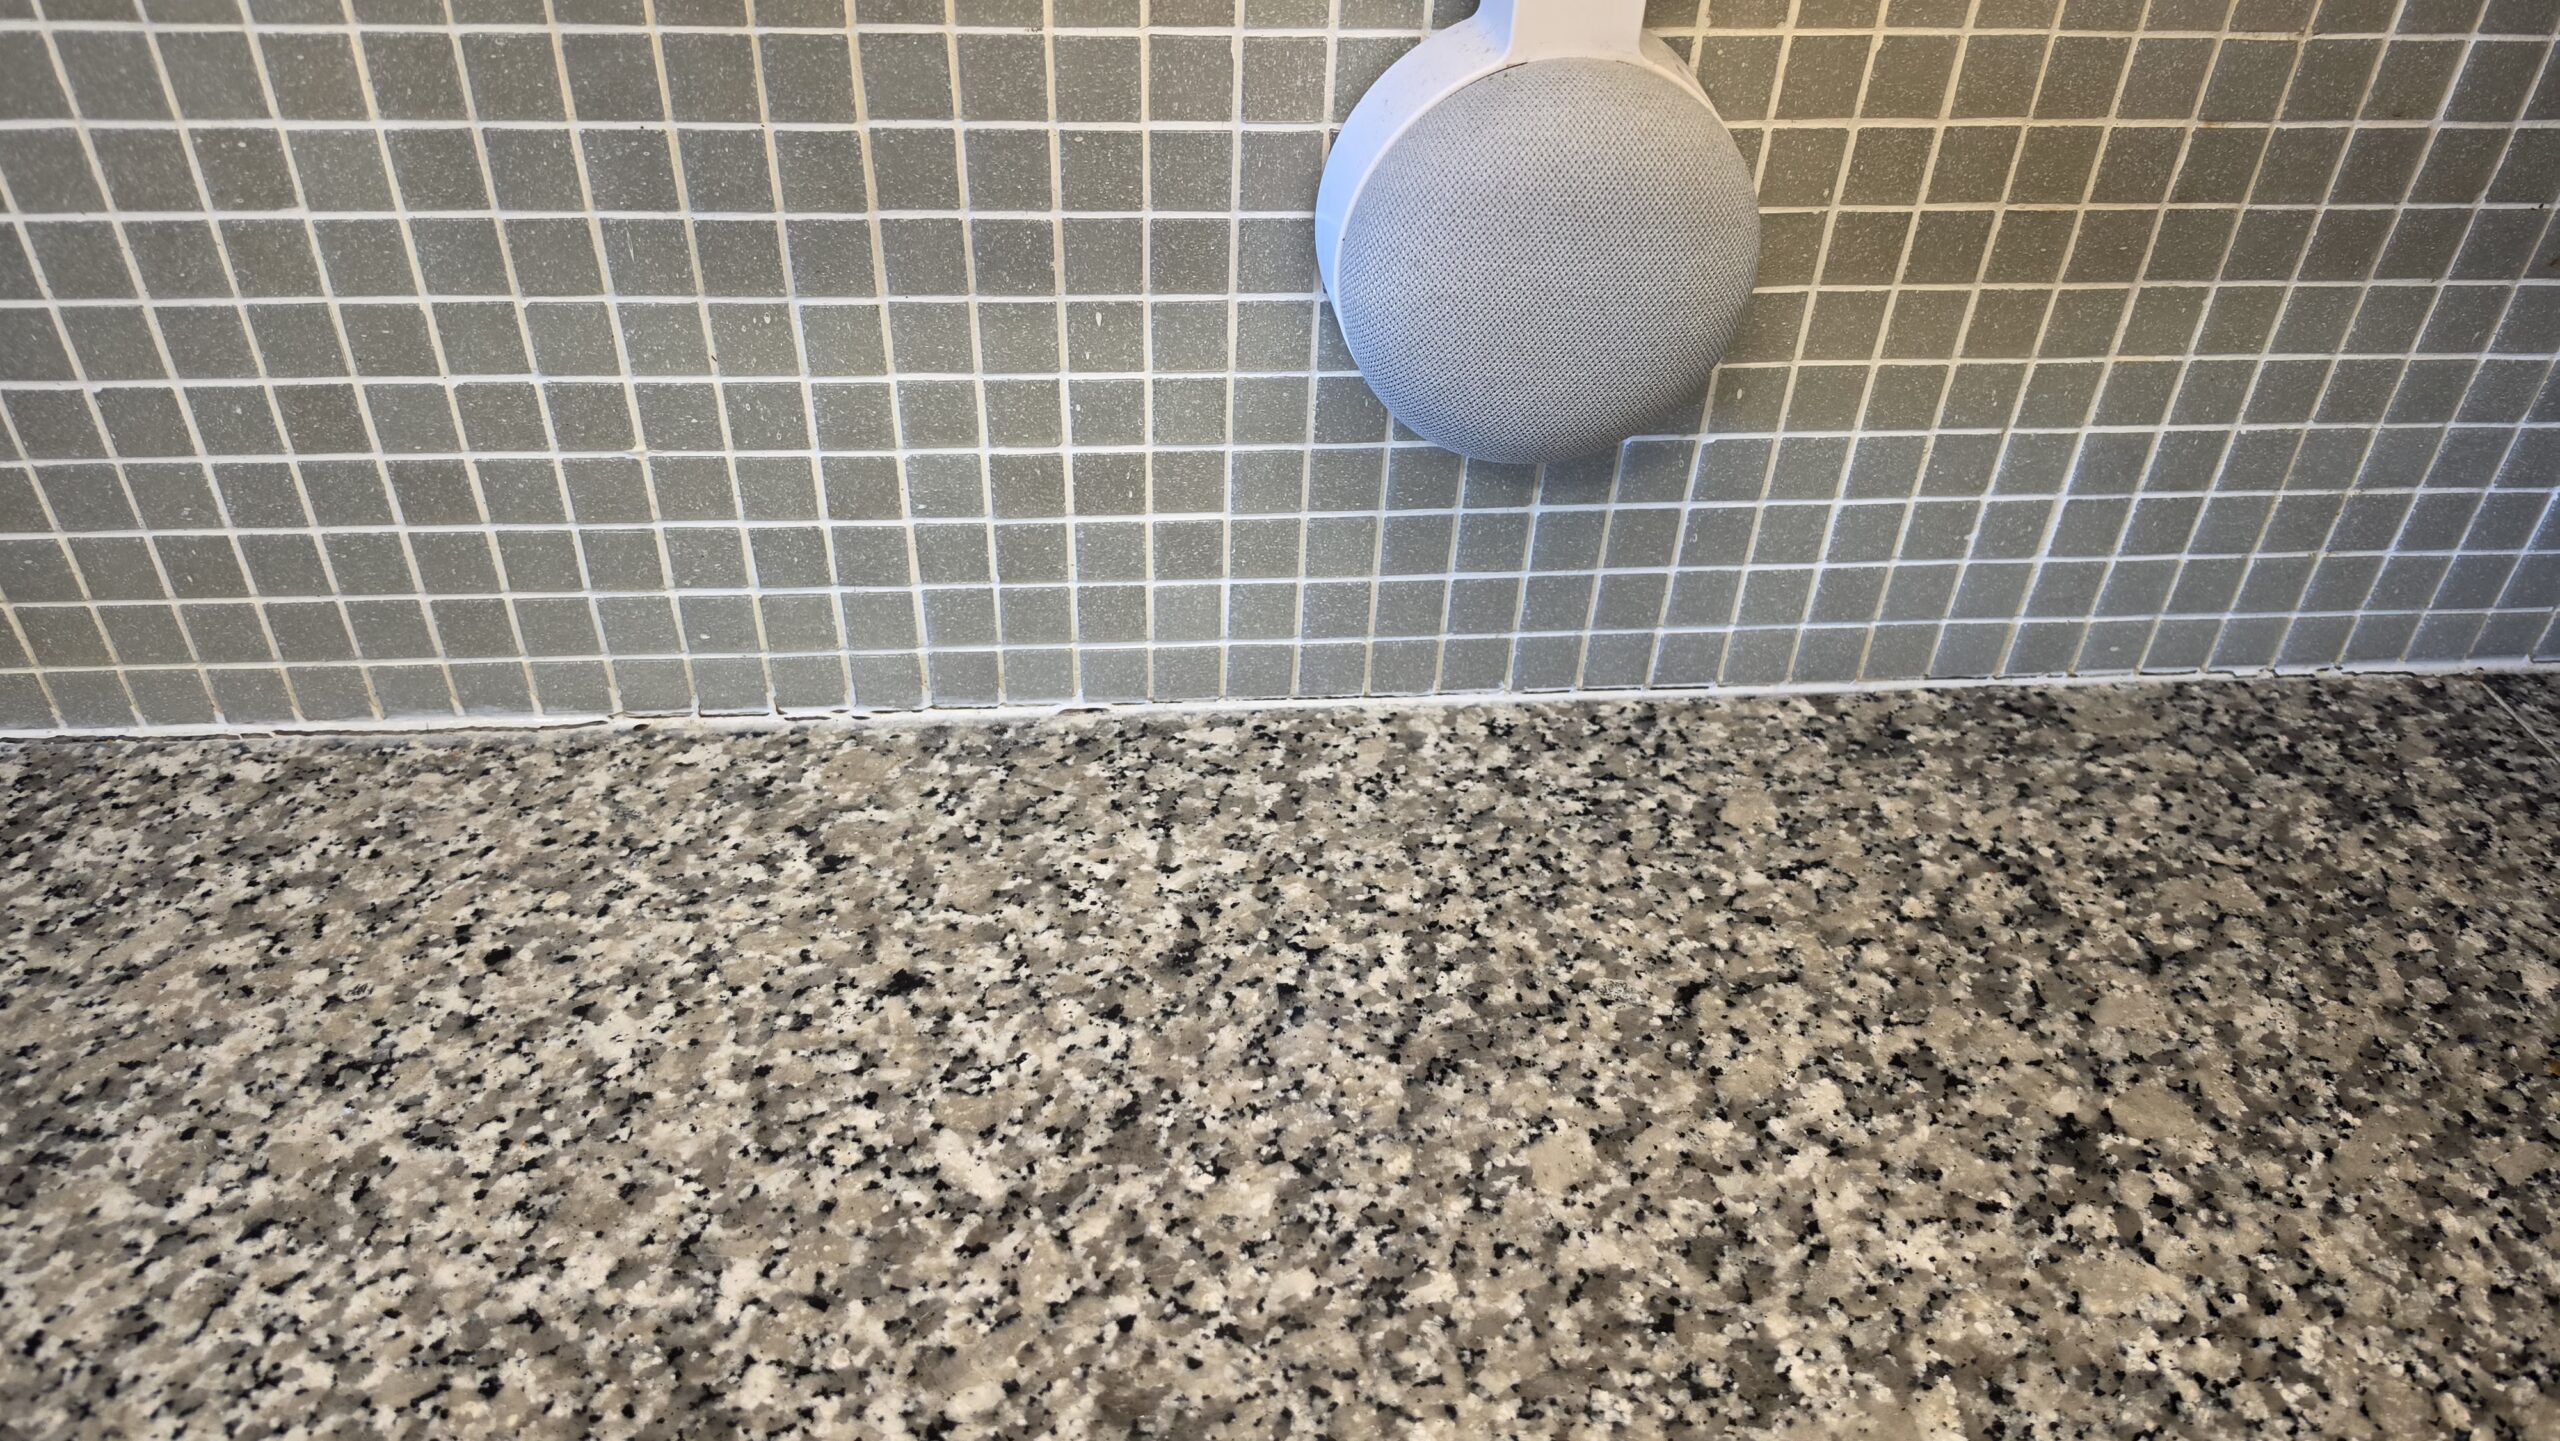
Caulking a kitchen sink backsplash looks straightforward until you’re holding a caulk gun at an awkward angle above a wet sink. The difference between a clean, lasting bead and a messy, weeping gap comes down to technique, the right tools, and material selection—all things that take practice.
The DIY Reality
You’ll spend $30–$60 on materials (caulk, caulk gun, putty knife, painter’s tape). The real cost is time: expect 2–4 hours for a standard single-sink installation, plus learning curve mistakes. Most homeowners either use the wrong caulk type (acrylic instead of silicone), apply it too thick, or skip surface prep entirely. The result typically fails within 6–12 months in Toronto’s humid climate and temperature swings.
You also won’t get a warranty on your work, and if moisture gets behind the backsplash, you’re liable for water damage repair.
Why Hire a Professional
Professional caulking from a company like RenoHeal ensures the right product for your surface (silicone for tile, paintable caulk for drywall), proper surface prep (cleaning, drying, priming where needed), and a consistent bead that’s both functional and finished. A pro completes the job in 1–2 hours and backs it with a warranty. You avoid the risk of moisture intrusion, mold growth, and costly water damage.
In Toronto and the GTA, professional caulking runs $150–$400 per sink backsplash depending on length and complexity. That’s a reasonable insurance policy on a room that uses water daily.
Common Caulking Mistakes That Lead to Early Failure
Most kitchen sink backsplash caulking jobs fail not because of bad luck, but because one or two preventable mistakes compound over time.
Wrong Caulk Product
Many homeowners grab acrylic latex caulk because it’s cheap and paintable. But acrylic shrinks as it cures, doesn’t flex with seasonal wood/drywall movement, and absorbs water. It’s fine for non-wet areas. For a wet backsplash behind a sink, you need 100% silicone (water-proof, flexible, long-lasting) or a high-quality polyurethane caulk. Using the wrong product is the single biggest reason for gaps and mold within a year.
Skipping Surface Prep
Caulk doesn’t stick to grease, dust, or old deteriorated caulk. If the backsplash isn’t cleaned (degreaser, warm water), dried completely, and any old caulk removed, the new bead will lift or fail within weeks. Many DIYers brush away loose debris and call it done—that’s not enough.
Applying Too Much or Too Little Caulk
A bead that’s too thick won’t cure properly at its core and becomes a trap for dirt. One that’s too thin won’t seal gaps. The bead should be roughly triangular in cross-section and fill the joint fully but not excessively.
Caulking Over Mold or Moisture
If there’s any visible mold, discoloration, or soft substrate behind the backsplash, caulking over it traps the problem. Moisture and mold will continue growing under the new caulk, eventually breaking through. The area must be dried, treated, and confirmed clean before caulking.
RenoHeal’s technicians inspect for these red flags before starting any backsplash or caulking work in Toronto kitchens. It’s the difference between a quick patch and a fix that lasts.

What to Expect When RenoHeal Handles Your Caulking Job
When you call RenoHeal for kitchen sink backsplash caulking in Toronto, you’re working with a team that’s completed over 3,500 projects across the GTA—including the exact job you’re facing. We start with a free estimate to assess the scope: how much old caulk needs removal, whether the tile or substrate has damage, and which caulk type suits your kitchen’s moisture and temperature swings.
The job itself takes a few hours for a standard sink backsplash. We remove all failed caulk, clean and dry the joint thoroughly, apply painter’s tape for clean edges, and lay down professional-grade kitchen-rated caulk (typically silicone or polyurethane). Same-day completion is common for most residential kitchens in Toronto, North York, and Scarborough.
Our work is fully insured ($5M liability), backed by 7+ years of handyman and renovation experience, and includes a warranty on eligible caulking services. We handle everything—no surprises, no returned visits for poor edges or premature cracking. That’s why we maintain a 4.9-star rating and why homeowners across Etobicoke, Mississauga, and Markham trust us to get it right the first time.
Frequently Asked Questions
How long does kitchen sink backsplash caulk last in Toronto?
In a typical Toronto kitchen, a properly applied silicone caulk bead lasts 5 to 10 years before it needs replacing. Kitchens that see heavy daily use — lots of splashing, steam, and cleaning — tend to land closer to the 5-year mark. Harsh Canadian winters can also stress joints in older homes as walls shift slightly with freeze-thaw cycles, shortening the lifespan further.
What type of caulk should I use around a kitchen sink backsplash?
100% silicone caulk is the right choice for the joint between a kitchen sink and backsplash — it stays flexible, bonds tightly to non-porous surfaces like ceramic tile and stainless steel, and won’t support mold growth the way latex caulk does. Look for a kitchen-grade formula with a mold-inhibiting additive (NSF/ANSI 51 rated if the bead will be near food prep areas). Avoid acrylic latex caulk in this spot; it absorbs moisture and fails fast under constant wet-dry cycling.
Can I caulk over existing caulk instead of removing it first?
You can, but it almost always fails within months. New caulk bonds to clean, dry substrate — tile, grout, or countertop — not to a layer of old, possibly contaminated caulk underneath. Skipping removal leaves soft spots and trapped moisture that break the adhesion bond quickly. The right move is to cut out the old bead entirely, clean the joint, let it dry fully, then apply fresh caulk.
How long does fresh caulk need to dry before the sink can get wet?
Most silicone kitchen caulks are touch-dry within 30 to 60 minutes but need a full 24 hours to cure before the joint gets wet. Some manufacturers specify up to 48 hours for complete waterproof cure, especially in cooler or humid conditions — common in Toronto basements or kitchens with poor ventilation. Rushing this step is one of the top reasons a fresh caulk job fails within weeks.
Is black caulk around my kitchen sink a health risk?
Black discoloration in caulk is almost always mold — specifically Cladosporium or Aspergillus species — growing inside or on the surface of a degraded bead. In a kitchen, that’s a real concern because mold spores can settle on food prep surfaces and worsen respiratory symptoms for sensitive individuals. The correct fix is full caulk removal, cleaning the joint with a mold-killing solution, and replacing with fresh mold-resistant silicone — not painting over it or applying a second bead on top.
How much does it cost to have a handyman re-caulk a kitchen sink in Toronto?
Most Toronto homeowners pay between $120 and $250 for a professional kitchen sink backsplash re-caulk, depending on the length of the joint, how much old caulk removal is needed, and whether any minor surface prep (cleaning mold, wiping down grout) is required. Jobs with extensive mold or damaged grout that needs patching first will sit at the higher end. RenoHeal offers free estimates so you know the exact cost before any work begins.
Getting Kitchen Sink Backsplash Caulking Right in Toronto
Kitchen sink backsplash caulking is one of those small details that quietly protects a lot — your cabinets, your walls, your countertop substrate, and your indoor air quality. When the bead fails, water finds its way in fast, and the damage it causes costs far more to fix than a straightforward re-caulk job ever would.
The key takeaways: use 100% silicone, always remove the old bead before applying new caulk, give it a full 24 to 48 hours to cure, and treat any black mold you find seriously rather than covering it up. Done right by an experienced hand, a fresh caulk line around your kitchen sink should hold for years without a second thought.
If your caulk is cracked, peeling, discolored, or simply overdue for replacement, RenoHeal’s insured technicians serve Toronto and the GTA with same-day availability, $5M liability insurance, and a 4.9-star track record across 3,500+ completed projects. Request a free quote today, or learn more about our full range of caulking services in Toronto — no pressure, no obligation, just an honest assessment of what your kitchen needs.