
A kitchen sink reglue in Toronto job is one of those repairs that homeowners tend to put off — until water starts pooling under the rim or the gap gets wide enough to collect grease and debris. It looks minor, but a detached sink creates a direct path for moisture to reach your cabinet below, which can mean rot, mould, and a much bigger repair bill down the road.
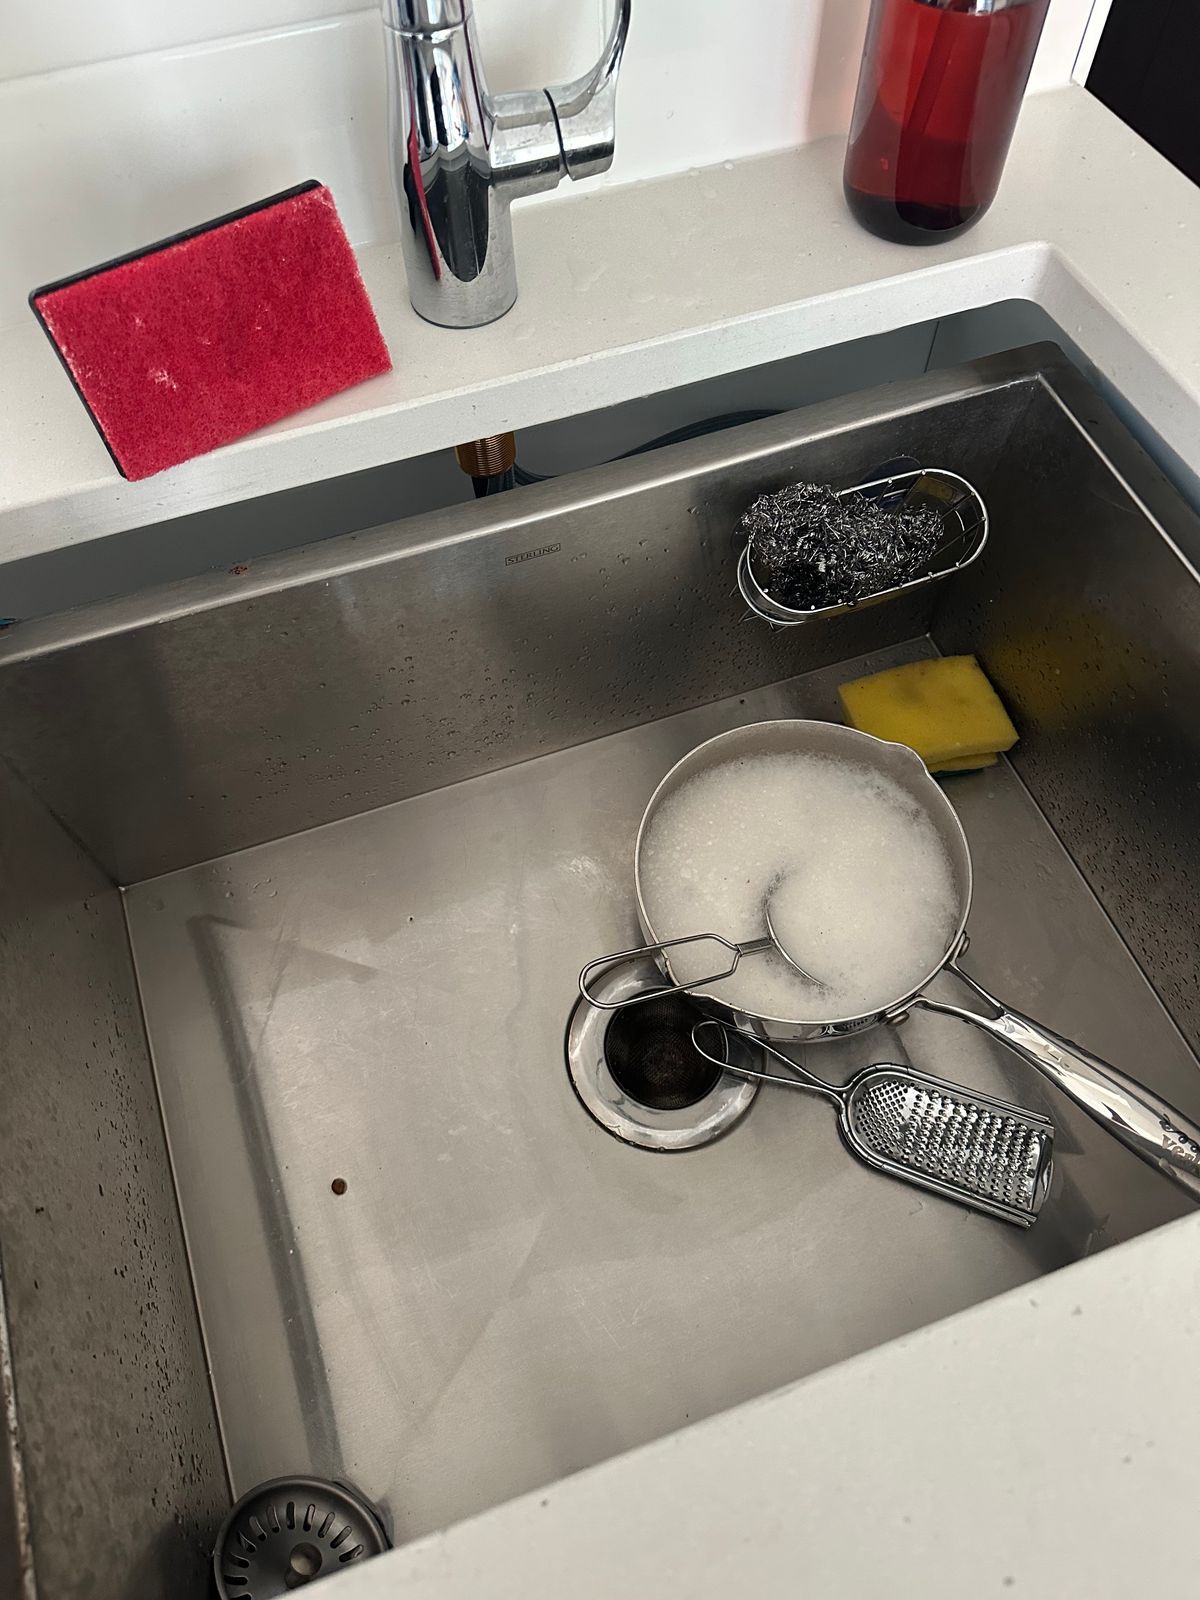
RenoHeal recently completed exactly this type of job for a homeowner in Toronto whose undermount sink had gradually pulled away from the countertop over several years. The fix required proper adhesive removal, surface prep, and the right silicone — all done the same day. It’s the kind of straightforward handyman repair that makes a real difference when it’s done correctly the first time.
Whether your kitchen is in North York, Scarborough, or Etobicoke, this guide covers why sinks detach, what the repair process actually involves, and what you should expect to pay in the GTA. If you’d rather skip ahead and get someone out today, you can always get a free quote from RenoHeal and have it sorted quickly.
Why Kitchen Sinks Pull Away from the Countertop
Sinks don’t pop loose overnight. The bond between the sink flange and the countertop breaks down gradually, and by the time you notice a visible gap, the adhesive has usually been failing for months.
Adhesive Age and Breakdown
Most undermount and drop-in sinks are secured with silicone caulk or epoxy adhesive. Even quality silicone has a practical lifespan of 7–10 years under kitchen conditions. Heat from dishwater, repeated thermal expansion and contraction, and constant vibration from daily use all accelerate how quickly it loses its grip.
Moisture Damage
Water is the main culprit in most cases RenoHeal sees. Splashing around the rim, slow drips from the faucet base, and steam from cooking all work their way under the sink edge. Once moisture gets between the sink flange and the countertop surface, it breaks the adhesive bond from the inside out. On laminate countertops especially, the substrate can swell and make re-bonding harder if it’s left too long.
Heavy Use and Physical Stress
Leaning on the sink edge, placing heavy pots directly in the basin, or even aggressive scrubbing near the rim puts repeated stress on the bond line. In busy family kitchens — common in areas like Mississauga and Brampton — this kind of daily load adds up faster than most people expect.
Poor Original Installation
Sometimes the adhesive was never applied correctly in the first place — too little product, wrong type of silicone, or a surface that wasn’t properly cleaned before bonding. A weak original install will fail earlier, often within just a few years. Professional kitchen repairs eliminate this risk from the start.
How a Kitchen Sink Reglue to a Countertop Works (Step by Step)
This isn’t a job you rush. Cutting corners on prep or skipping the curing time are the two most common reasons a reglued sink fails again within a year. Here’s exactly how RenoHeal approaches it.
- Access and inspection: The technician checks the full perimeter of the sink, assesses the countertop substrate condition, and confirms whether any water damage has reached the cabinet below. If there’s mould present, that gets flagged before any adhesive work begins.
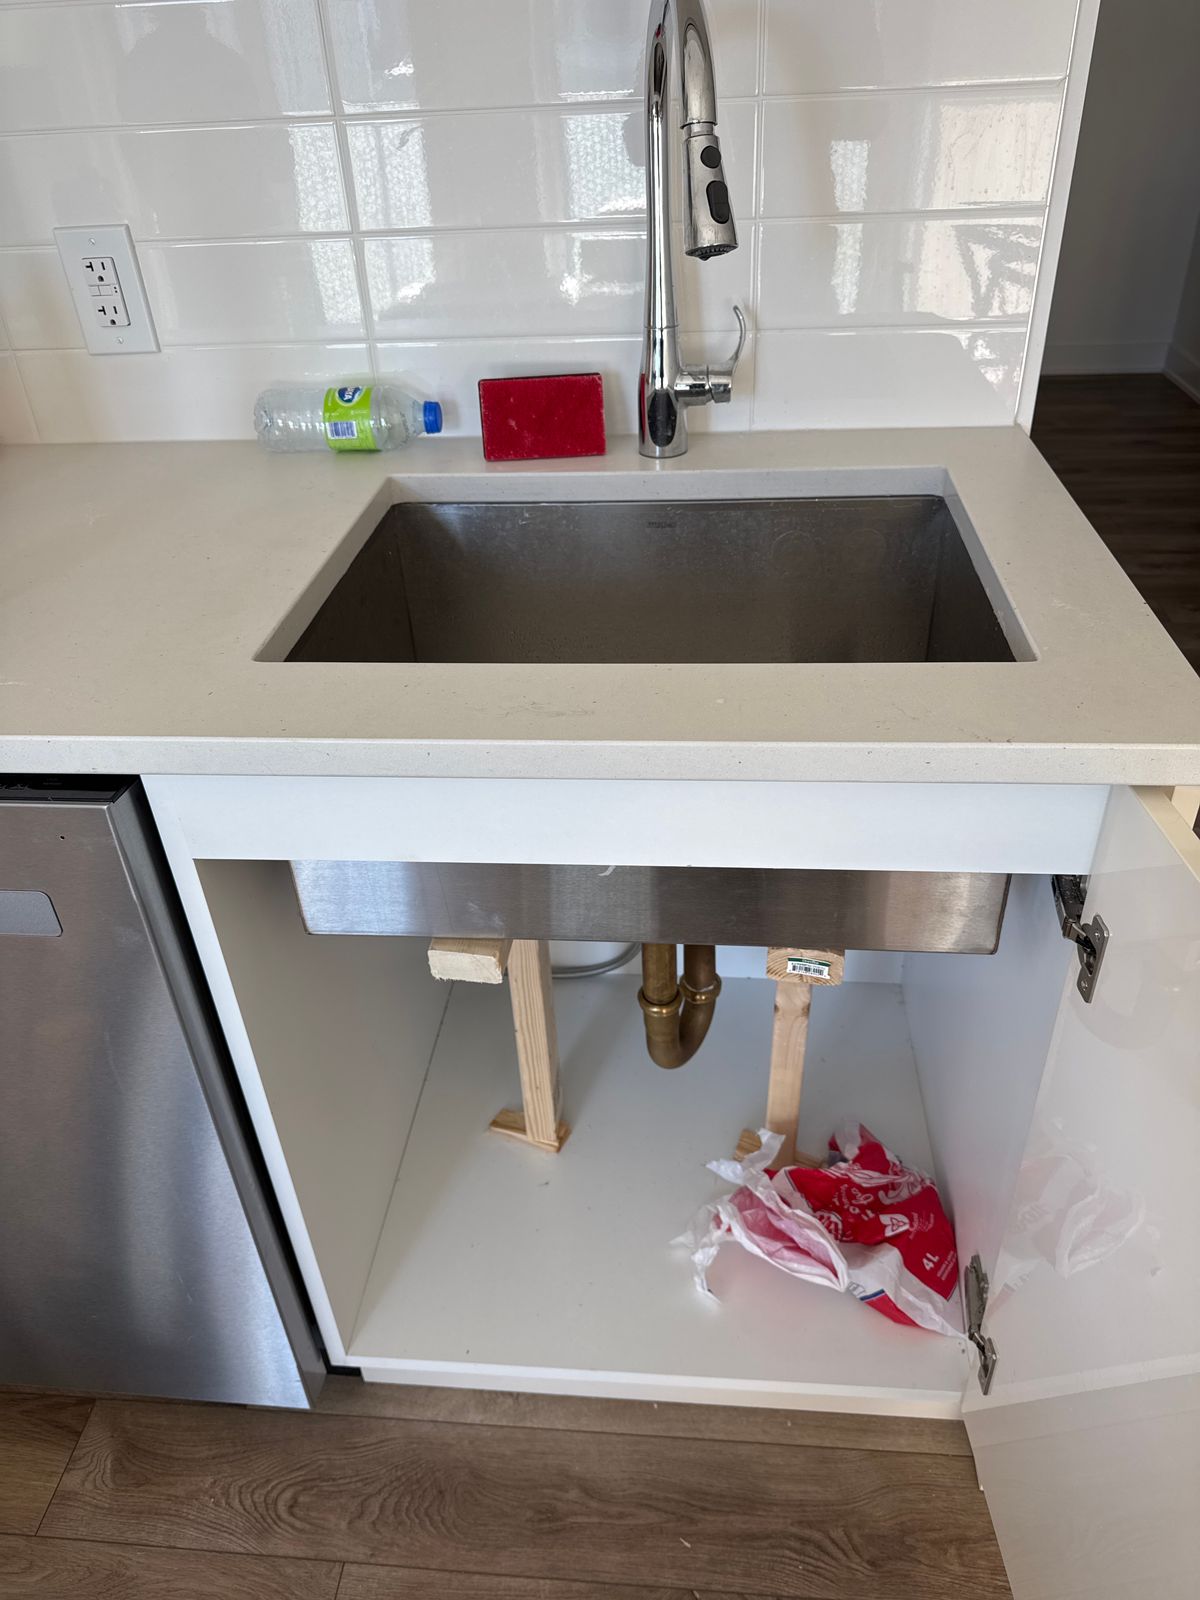
- Support the sink: Before anything is cut away, the sink weight is supported from below using temporary bracing or suction supports. Letting it drop even slightly can crack a stone countertop or damage the drain plumbing.
- Remove old adhesive: All existing silicone or epoxy is cut away using an oscillating tool and scraper. This step takes time — every trace of old adhesive must come off both the sink flange and the countertop edge to get a reliable new bond.
- Surface cleaning and priming: Both surfaces are cleaned with isopropyl alcohol to remove grease, soap film, and dust. On non-porous surfaces like quartz or granite, a silicone primer is applied to improve adhesion.
- Apply new adhesive: A continuous bead of high-quality, kitchen-rated silicone — typically a neutral-cure product rated for wet environments — is applied evenly around the full perimeter. For heavier sinks, epoxy anchors or mounting clips are added for mechanical support.
- Seat and clamp: The sink is pressed firmly into position and held with suction clamps or rim clamps while the adhesive sets. Alignment is checked before any pressure is applied.
- Curing time: Silicone requires a full 24 hours to cure properly before the sink is used. RenoHeal advises homeowners to avoid running water in the sink overnight — a small step that protects the entire repair.
For a look at the full range of work our technicians handle, visit our handyman services page. We bring the right tools and adhesives to every job, so you’re not left with a repair that needs redoing in two years.
How to Tell If Your Sink Needs Regluing or Something More Serious
Not every loose sink needs a full replacement. The first step is identifying whether regluing will actually solve the problem or if there’s deeper damage underneath.
Clear Signs Your Sink Just Needs Regluing
If you can see a visible gap between the sink rim and the countertop edge, or if the sink moves when you press down on it, the adhesive has failed. This is the most common issue we see in Toronto kitchens—especially in older homes where original silicone or polyurethane adhesive has dried out over 10+ years. Water pooling around the sink edge is another telltale sign: the seal has broken, and moisture is getting between the sink and counter.
Red Flags That Mean More Than Just Reglue
Look underneath the sink. If you spot soft, discolored wood, mold growth, or a musty smell, water has been penetrating the substrate for months. This requires mold removal and possible particle board replacement before regluing. Check the countertop surface near the sink for cracks, swelling, or warping—these suggest structural failure, not just adhesive failure. If the sink basin itself has cracks or your countertop is severely cracked around the perimeter, a new sink or countertop install may be the better long-term investment.
Clip or mounting bracket failure is also common in Scarborough and North York homes. If metal fasteners underneath are rusted or broken, regluing alone won’t hold. Our technicians inspect all these factors during a free estimate so you know exactly what you’re paying for.
Kitchen Sink Reglue in Toronto: What It Costs in 2025
Sink regluing is one of the most affordable kitchen fixes available in the GTA. Most jobs are completed same-day with no hidden fees.
Typical Labour & Material Breakdown
| Service | Labour Cost (CAD) | Materials | Total Range |
|---|---|---|---|
| Standard sink reglue (ceramic, steel) | $150–$250 | Silicone, caulk removal, cleanup | $150–$280 |
| Undermount sink reglue | $200–$350 | Epoxy adhesive, brackets | $200–$400 |
| Reglue + mold remediation | $300–$600 | Mold treatment, wood sealing | $400–$750 |
| Full sink replacement (labour only) | $400–$800 | New sink, adhesive, hardware | $800–$2,500+ |
What Affects Your Final Price
Sink type matters: A standard drop-in ceramic sink takes 45 minutes to reglue. An undermount stainless steel sink requires epoxy and careful repositioning, adding time and material cost. If your countertop has laminate, granite, or quartz, the adhesive selection changes—quartz requires specific epoxy-based products, not standard silicone.
Prep work adds cost: If old caulk is heavily built up or there’s mold underneath, removal and treatment add $150–$300. In Mississauga and Brampton homes with high humidity, moisture barriers sometimes need to be installed, increasing labour by 1–2 hours.
Comparison to full replacement: A new drop-in sink with installation runs $800–$1,500 in the Toronto area. A quality undermount sink install can reach $2,500+. Regluing costs 20–30% of that, making it the smart choice if the sink itself is in good condition. We’ve completed over 3,500 projects across the GTA—most clients choose reglue when the sink is salvageable.
Ready to get a firm quote? Our kitchen services team provides free estimates and can often schedule your reglue within 48 hours in Toronto, Thornhill, Markham, and surrounding areas.
DIY vs. Hiring a Professional for Sink Regluing
Regluing a kitchen sink sounds straightforward—clean, apply adhesive, clamp, wait. But it’s one of those jobs where skipping steps or using the wrong materials costs you more in the end.
Why DIY Regluing Often Fails
The biggest issue is adhesive choice. Most homeowners grab silicone caulk or standard construction adhesive from Home Depot. Neither bonds a stainless steel sink to laminate or solid surface the way a specialized sink adhesive does. Silicone especially is flexible—it moves—which means the bond fails again within weeks. You also need to properly remove old adhesive and dry the surface completely; moisture is the silent killer of sink bonds.
Second: clamps. Kitchen sinks are heavy (40–80 lbs depending on material). You need proper clamps or weights to hold pressure evenly for 24 hours. Most DIYers skip this or don’t maintain even pressure, resulting in a weak bond along edges.
When a Professional Is Worth It
For under $300–500 in the Toronto and GTA area, a professional handyman brings the right adhesive, knows how to prep surfaces properly, and has equipment to clamp correctly. They’ll also seal the gap properly once cured, preventing water damage underneath—the real danger of a lifted sink.
If you’re renting, your lease likely forbids major DIY work anyway. If you own your home, a professional handles warranty and insurance. That peace of mind is worth the service call.
Tools You’d Need for DIY
- Oscillating multi-tool or scraper (to remove old adhesive without gouging)
- Stainless steel or silicone caulk remover
- Rags and isopropyl alcohol (for surface prep)
- Two-part epoxy or polyurethane sink adhesive
- Clamps or plywood and weights (for pressure, 24+ hours)
- Caulk gun (for resealing)
- Sealant (marine-grade silicone or polyurethane)
If you don’t already own these and don’t plan to use them again, the cost of tools plus materials approaches professional pricing—and without the guarantee.
Common Mistakes That Make the Problem Worse
Regluing a sink is forgiving if you do it right, brutal if you don’t. Here’s what kills the job.
Using the Wrong Adhesive
Silicone caulk is not an adhesive—it’s a sealant. It stretches and contracts with temperature and humidity. Stainless steel sinks move slightly when you run water and wash dishes; silicone can’t handle that. Use a two-part epoxy, polyurethane sink adhesive, or marine-grade construction adhesive rated for kitchen use. Check the label: it should explicitly say “water-resistant” and bond metal to laminate or solid surface.
Skipping Surface Prep
Old adhesive, grease, and moisture are adhesive killers. Many people just slap new adhesive over the old stuff. The sink detaches again within days. You need to scrape off all old material, clean with isopropyl alcohol, and let the surface dry completely. In humid Toronto winters, that can mean 2–3 hours of air drying, not 10 minutes.
Caulking Over a Gap Instead of Fixing the Bond
If there’s visible daylight between the sink and countertop, caulking over it is cosmetic only. Water seeps underneath, rots the cabinet, and molds grow. You must reglue first, cure fully, then caulk the perimeter to seal it. Caulk alone won’t hold a heavy sink.
Not Allowing Full Cure Time
Epoxy or polyurethane adhesives need 24 hours minimum—sometimes 48—before you use the sink. Running water or loading weight early breaks the bond before it’s strong. Many DIYers use the sink after 8–12 hours because the surface feels dry. Interior drying takes longer. Set a timer, wait the full time, and only then remove clamps.
When in doubt, get a free estimate from RenoHeal. We’ve completed over 3,500 projects across Scarborough, North York, Mississauga, and beyond—kitchen sink work included—with a 4.9-star rating and full insurance coverage.

How Long the Repair Lasts — and How to Protect It
A properly reglued kitchen sink typically stays secure for 5 to 10 years, depending on use and countertop material. If adhesive bonds fail early, it’s usually due to moisture seeping underneath or excessive weight on the rim.
Caulk and Sealant Maintenance
The caulk bead around your sink rim isn’t just aesthetic—it’s a moisture barrier. Check it every 6 months for cracks, gaps, or mold. If you spot damage, clean out the old caulk with a utility knife and reseal it with kitchen-grade silicone caulk. This simple task adds years to your bond.
Weight Limits and Daily Use
- Avoid leaning heavily on the sink rim or standing in it
- Don’t place hot cast-iron cookware directly under the sink edge
- Wipe spills and standing water immediately—moisture is the biggest adhesive killer
- Keep plumbing inspections regular to catch leaks before they affect the bond
In Toronto’s humid climate, moisture management is critical. If you notice the sink shifting or water pooling underneath, contact a handyman right away to prevent costly water damage to your cabinets and subfloor.
Frequently Asked Questions
How long does it take to reglue a kitchen sink to a countertop?
For most drop-in sinks, the hands-on work takes 1–2 hours — that includes cleaning off the old adhesive, applying fresh silicone, and reseating the sink. Add another 24 hours of cure time before the sink should be used with full water exposure.
What adhesive is used to glue a kitchen sink to a countertop?
100% silicone sealant is the standard choice — it stays flexible, handles temperature swings, and bonds well to porcelain, stainless steel, granite, and quartz. Avoid general-purpose caulk or construction adhesive; they go brittle over time and are harder to remove cleanly for the next repair.
Can I use the sink the same day it’s reglued?
Light use like hand-washing is usually fine after about 4–6 hours once the silicone has skinned over. For heavy water exposure — running the dishwasher, filling a large pot — wait a full 24 hours so the bond cures completely and doesn’t shift under load.
Is it worth regluing an old sink or should I just replace it?
If the sink itself is structurally sound with no cracks, chips through the enamel, or rust holes, regluing is absolutely worth it — it costs a fraction of a replacement and typically takes less than a day. Replacement makes more sense if you’re already renovating the countertop, the sink is heavily damaged, or it’s an outdated style you’ve been wanting to change anyway.
Will regluing fix the gap between my sink and countertop?
Yes, in most cases. When a technician reseats the sink properly, fresh silicone fills and seals the gap around the rim, eliminating the space where water, soap scum, and mould were collecting. If the gap is unusually wide due to a warped rim or an undersized cutout, they may use a backer rod first to give the silicone proper support.
Does homeowner’s insurance cover a detached kitchen sink?
Generally no — a sink that has simply separated from the countertop due to adhesive failure or age is considered a maintenance issue, not sudden accidental damage, so most policies won’t cover the repair cost. Where insurance may apply is if water damage to cabinets or flooring resulted from the gap, though you’d still need to document the cause carefully and check your specific policy.
Kitchen Sink Reglue to Countertop in Toronto: Quick Fix, Long-Term Results
A lifting sink isn’t just an annoyance — it’s an active water-damage risk for your cabinets and subfloor. Catching it early and having it properly reglued with the right silicone costs far less than dealing with swollen cabinetry or mould remediation down the line.
The fix itself is straightforward when done correctly: strip the old adhesive completely, clean and dry both surfaces, apply a continuous bead of 100% silicone, reseat the sink under weight, and let it cure. Cut corners on any of those steps and you’ll be dealing with the same problem again within a year.
If your sink is lifting, gapping, or rocking on the countertop, don’t wait for the next water bill to tell you something went wrong. Request a free quote from RenoHeal today — our technicians serve Toronto and the GTA with same-day availability, and every job is backed by our workmanship warranty. Learn more about our full range of kitchen services and see what else we can tackle while we’re there.