
Picture hanging in Toronto sounds simple until you’re standing in front of a blank wall with seven frames, a mirror, a level that doesn’t agree with your eye, and no idea where the studs are. Getting it right means the difference between a gallery that looks intentional and one that screams “I eyeballed this.” Most homeowners either underscore the challenge—a couple of nails, call it done—or overthink it into paralysis. The truth is somewhere in between: proper handyman picture hanging combines basic technique, the right tools, and attention to detail that most people skip.
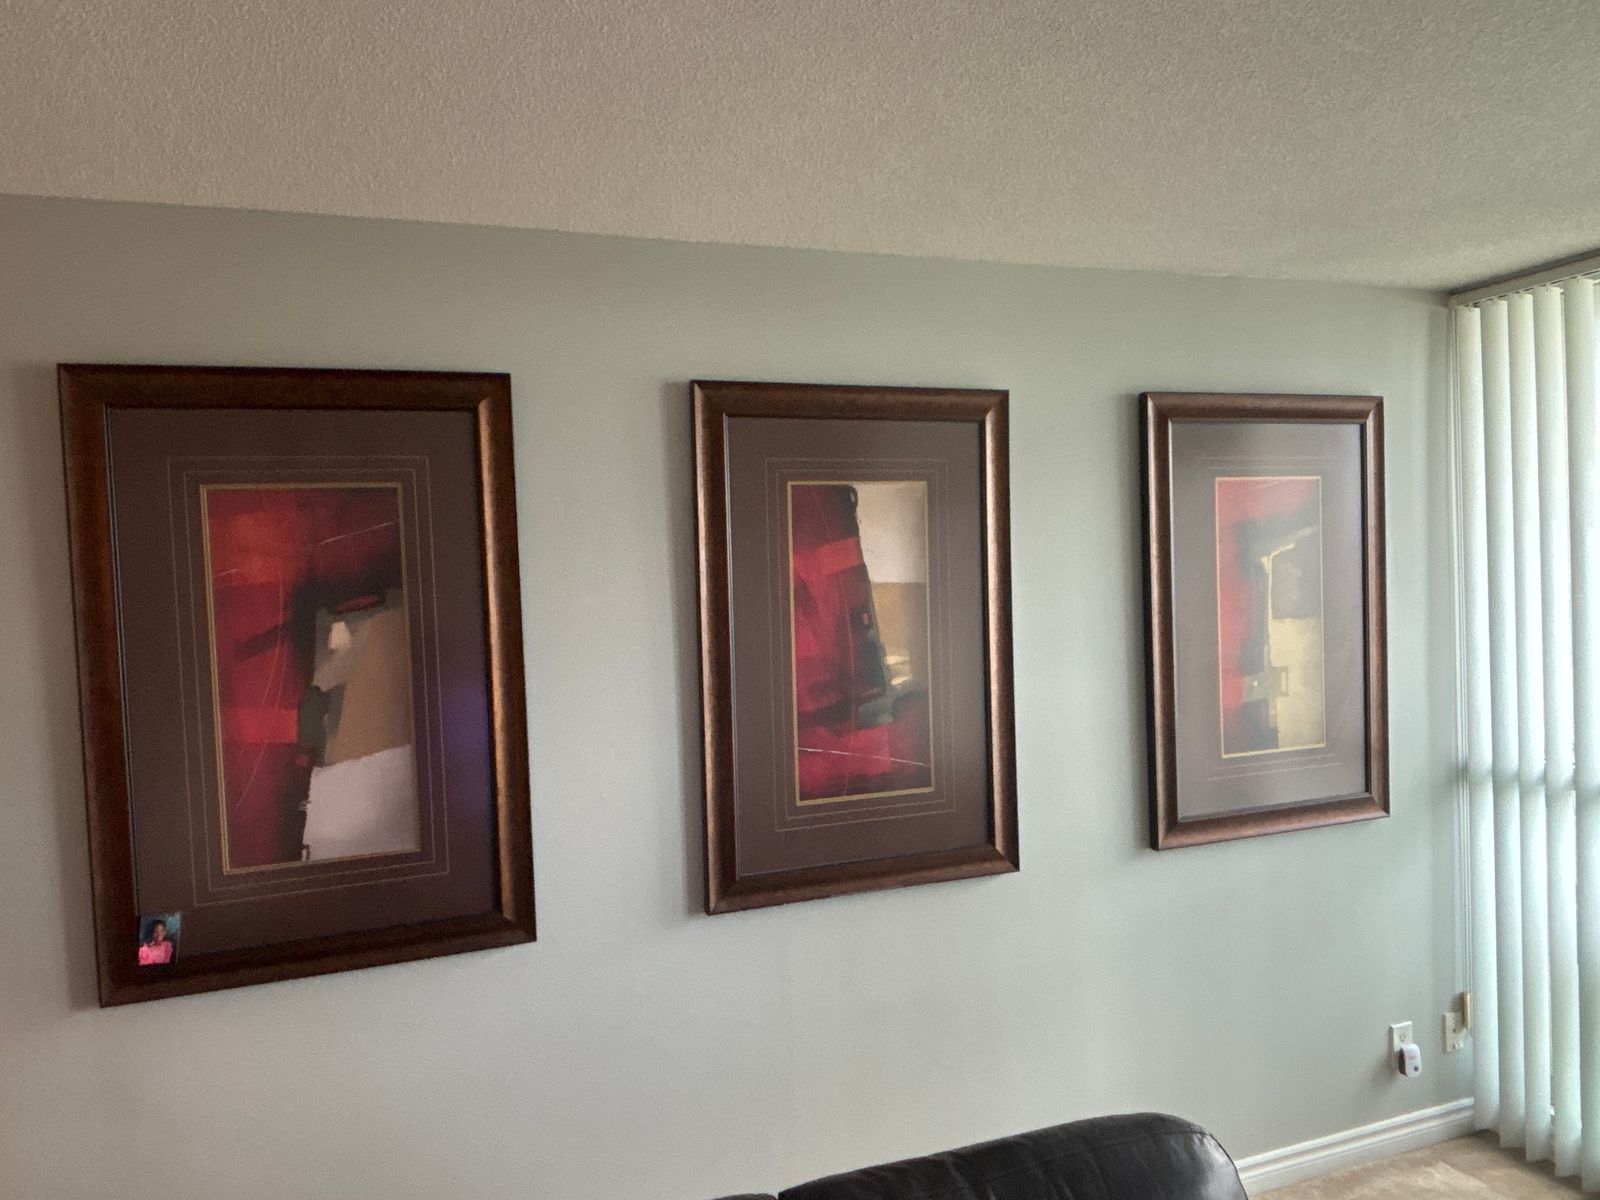
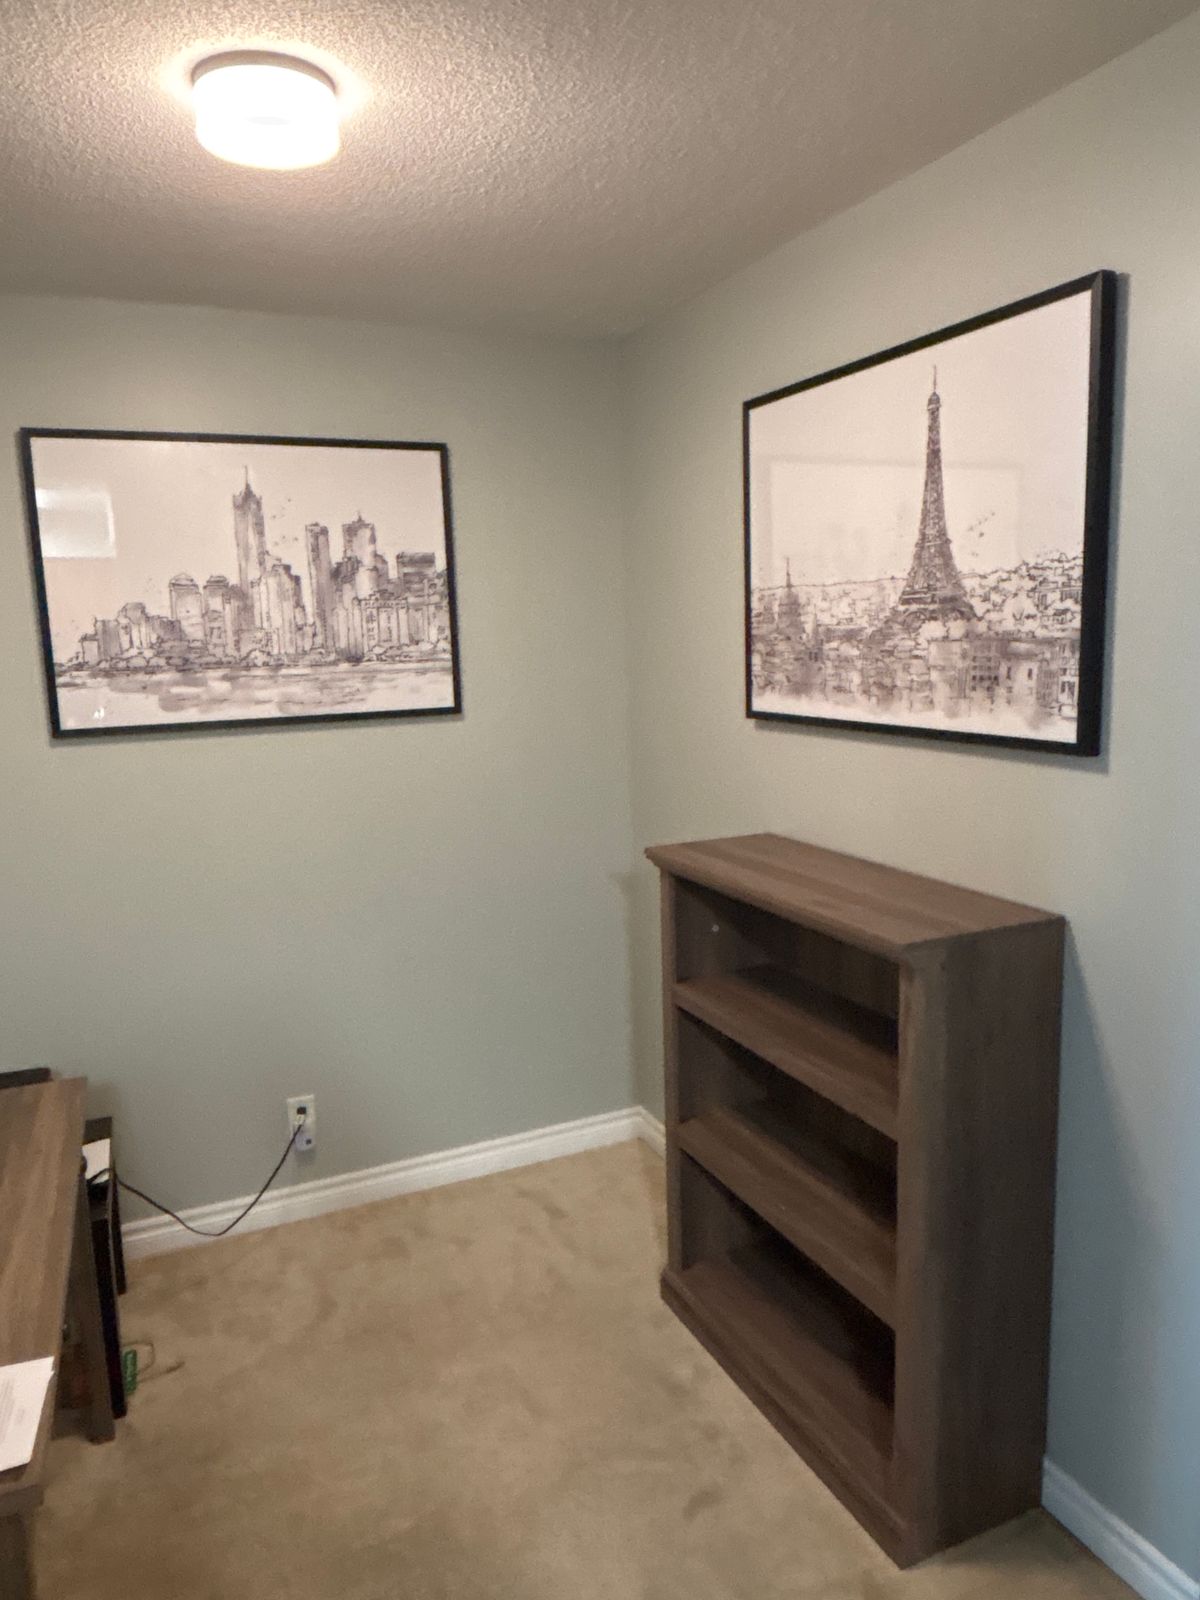
We recently completed a real project in Toronto where a homeowner wanted seven pictures and a mirror hung across three walls in a living room. Mixed wall types, different frame weights, a mirror that couldn’t go just anywhere, and a layout that needed to feel balanced. This article walks through exactly how a professional approaches it—what we look for, what we avoid, and why the small steps matter.
What the Job Actually Involves (A Real Toronto Project)
The project was seven picture frames (ranging from 16×20 inches down to 8×10) and a 30-pound mirror spread across the living room in what the homeowner described as “a gallery wall, but not too matchy-matchy.” One wall was original drywall over studs (standard Toronto 1970s construction). Another section had been renovated and included some newer drywall patching. A third wall butted against a load-bearing beam and had reinforcement behind it—details that matter when you’re anchoring anything heavier than a postcard.
The mirror was the anchor point: it needed to sit at eye level, be secure enough to not shift if someone brushed past it, and leave the wall around it open for the other frames to breathe. The pictures came in three different styles—some with glass, some with mats, one that was canvas on stretcher bars and felt lighter than it looked. Two frames had sawtooth hangers, three had wire, one had a single D-ring, and the mirror had a heavy-duty french cleat system. In most Toronto homes, you’ll see this exact mix.
Challenges included finding studs in patched drywall (stud finder sometimes lies after repairs), deciding whether to use studs or rely on quality anchors (studs weren’t always in the right spots), and balancing the visual weight of a heavy mirror against lighter frames so the wall didn’t feel lopsided. The homeowner also wanted to avoid large holes if possible—no unnecessary damage, fix-it-yourself attitude gone wrong.
How a Professional Handles Picture Hanging in Toronto Homes
We start every job the same way: stud finder, level, and a pencil. The stud finder locates the actual framing—not always where you’d guess. In Toronto’s older homes (and many newer ones), drywall joints and patches throw off your eye completely. Once we know where the studs are, we mark them lightly with pencil. If the hanging spot lands on a stud, we use a wood screw rated for the weight and call it done. Studs are the best anchor you’ll find.
When the layout doesn’t land on studs—and it usually doesn’t—we use the right anchor for the wall type and weight. For lightweight frames (under 10 pounds) in standard drywall, a toggle bolt or quality plastic expansion anchor handles it. For heavier items like the 30-pound mirror in this project, we step up to heavy-duty toggle bolts or go back to finding studs. The free estimate process includes confirming wall type and frame weight; we don’t guess.
Leveling and Layout
Leveling is non-negotiable and requires a real level, not your phone. We hang the first piece—usually the mirror or the heaviest frame—level and secure. That becomes the reference point. Every other frame gets positioned relative to it, either in a straight line, a staggered pattern, or a clustered group, depending on what the homeowner wants. The gap between frames matters: too tight and it feels cramped, too loose and it looks scattered. In this project, we spaced the frames 3 to 4 inches apart for visual flow.
We use a level at every step, check twice, and mark the wall with light pencil before driving a single nail or screw. A drywall hole is easy to fill and patch (we offer drywall repair if needed), but a wall full of nail holes from “testing” the layout looks sloppy and wastes time.
Anchors, Hangers, and Weight Limits
Here’s the breakdown for Toronto homes:
| Frame Weight | Wall Type | Best Anchor | Notes |
|---|---|---|---|
| Under 5 lbs | Standard drywall | Plastic expansion anchor + nail | Works fine on most residential walls |
| 5–15 lbs | Standard drywall | Toggle bolt or heavy-duty plastic anchor | Go larger if unsure |
| 15–30 lbs | Standard drywall | Heavy-duty toggle bolt or studs | Don’t skimp here; this is mirror weight |
| Over 30 lbs | Any drywall | Studs or reinforced backing | Heavier mirrors, shelves, TV brackets |
The mirror in the Toronto project weighed about 30 pounds in its frame. Studs weren’t available in the right spot, so we used a pair of heavy-duty toggle bolts rated for 50 pounds each—overkill is safe; underkill is a falling mirror. The smaller frames, mostly 2–4 pounds, used plastic expansion anchors with brad nails, and they’ve held solid for months.
Groupings and Eye Appeal
Picture groupings work best when they follow one of three patterns: a horizontal line (common in living rooms, easy to execute), a centered cluster (the mirror in the middle, frames radiating out), or a staggered grid (more modern, requires real planning). We sketch or use painter’s tape to map the layout before hanging anything. Painter’s tape is cheap; fixing a wall full of wrong holes is not. The homeowner in this project went for a loose cluster with the mirror as the focal point and the smaller frames arranged in an arc around it, giving the wall a sense of intentional design rather than random placement.
We measure from the center of the room, use a level religiously, and step back often to check balance. If one side feels heavier visually, we adjust before everything is permanent.
The Final Check
Once all pieces are hung, we test for security: light hand pressure on each frame or mirror to confirm it doesn’t shift. We clean the wall (pencil marks, fingerprints, dust from drilling), double-check all hangers, and take a photo to document the final layout. For Toronto homes, this is the standard we keep. If you’re dealing with multiple walls or complex arrangements in areas like North York, Markham, or Mississauga, contact RenoHeal and we’ll handle the full job start to finish.
Choosing the Right Hardware for Your Wall Type
Not all picture hooks are created equal. The wall material behind your pictures determines whether they’ll stay level for years or come crashing down in months. Toronto and the GTA have mostly drywall-constructed homes, but older buildings in North York and Scarborough often have plaster, and some commercial spaces use brick or tile.
Drywall (Most Common)
Standard toggle bolts or heavy-duty drywall anchors work best for drywall. For a single picture under 10 lbs, a basic drywall nail works fine. For 10–50 lbs, use a toggle bolt rated for your weight. For anything heavier (like a large mirror), use a stud finder to locate wall studs and screw directly into them—this is the only truly damage-free solution for heavy loads.
Plaster & Lath
Plaster walls are common in older Toronto homes. Use a plaster-specific toggle bolt or a screw-type anchor designed for plaster. Avoid simple nails; plaster crumbles easily around them. Test your anchor in an inconspicuous spot first.
Brick & Tile
Brick and tile require masonry anchors and a hammer drill. A standard drill won’t work effectively. If your Toronto or Markham home has exposed brick or a tiled feature wall, use carbide or concrete anchors rated for masonry. These are overkill for most residential work but essential if you want to avoid ruined walls.
Weight Ratings & Safety
Every hook and anchor has a weight limit printed on the packaging. Always buy hardware rated for double your picture’s actual weight. A 15 lb mirror should use anchors rated for 30 lbs. This safety margin prevents failure over time as walls settle and vibrations loosen fasteners.
If you’re unsure about your wall type or need to hang multiple heavy pieces (like the 7 pictures and mirror project RenoHeal completed in Toronto), get a free estimate from experienced technicians who’ve worked through every wall type in the GTA.
Picture & Mirror Hanging Cost Guide in Toronto
Hanging pictures and mirrors isn’t always a DIY job. Crooked frames, wall damage, and time spent drilling are common frustrations. Here’s what you can expect to pay in Toronto and the GTA for professional handyman services to get it right the first time.
| Service | Quantity / Size | Price (CAD) | Notes |
|---|---|---|---|
| Single picture hanging | 1 frame, <15 lbs | $50–$75 | Includes leveling, finding studs if needed, patching small holes |
| Picture hanging (standard) | 1 frame, 15–30 lbs | $75–$100 | Requires wall anchors or stud anchoring; includes hardware |
| Gallery wall (leveled) | 5–8 frames, mixed sizes | $250–$400 | Layout, leveling, spacing, all hardware included |
| Mirror hanging (standard) | 1 mirror, 20–40 lbs | $100–$150 | Heavy-duty anchors or stud mounting; hardware included |
| Large mirror hanging | 1 mirror, 40–80 lbs | $150–$200 | Usually requires stud mounting; may need two technicians for safety |
| Combined project (7 pictures + 1 mirror) | Mixed sizes | $400–$600 | Bulk discount applies; includes full layout, leveling, patching, wall prep |
| Hourly handyman rate | Miscellaneous hanging | $65–$85/hour | Minimum 1 hour; covers travel within Toronto & GTA |
What’s Included in RenoHeal’s Hanging Service
Our pricing covers wall anchors, hardware, layout consultation, professional leveling, and patching of pilot holes. We don’t charge extra for stud-finding or multiple wall types. A project like the one completed in Toronto—7 pictures and a mirror—typically takes 1–2 hours and includes layout design to ensure visual balance.
Why Prices Vary
Homes in Vaughan, Richmond Hill, and Thornhill often have newer drywall (simpler anchoring), while older builds in downtown Toronto may have plaster or plaster-over-lath (extra setup time). Masonry or tile surfaces also increase labor time. Heavy mirrors over 50 lbs may require two technicians for safety compliance.
Ready to hang your pictures straight and secure? Contact RenoHeal for a free, same-day quote tailored to your walls and project size.
DIY vs. Hiring a Handyman for Picture Hanging
Hanging a single small frame on drywall is absolutely a DIY job. The real question is: how many pictures, how heavy, and what wall type? If you’re dealing with 7 pictures and a mirror—like the Toronto client who recently brought RenoHeal in—the math changes fast.
DIY makes sense if: You have 1–2 lightweight frames (under 10 lbs each), standard drywall, and a level. You’ll spend $15–$30 on anchors and nails. It takes 20 minutes.
A handyman becomes worth it when: You have multiple pieces, varied weights, mirrors (which are heavy and need serious anchors), or walls that aren’t standard drywall. Plaster walls in older Toronto and Scarborough homes need different fasteners. Rental properties need damage-free mounting (command strips, removable adhesive hangers). One crooked picture annoys you for years; a professional gets the spacing, level, and alignment right the first time.
Mirrors over 20 lbs need studs or heavy-duty anchors—not guessing. If you’re hanging more than four pieces, a handyman saves you the back-and-forth adjustments. RenoHeal’s handyman service covers picture and mirror hanging across Toronto and the GTA. A free estimate costs nothing; mistakes cost time and wall repair.
Common Mistakes That Leave Holes, Marks & Crooked Frames
Wrong anchors for the wall type. Drywall anchors fail on plaster; plastic anchors fail under weight. A 25-lb mirror needs toggle bolts or studs, not a plastic expansion anchor. Many Toronto homeowners grab whatever is in the drawer and hope.
Skipping the stud check. Heavy pieces need studs. A stud finder costs $25; ignoring this costs you a mirror on the floor and a wall repair bill. Studs run 16″ apart in most Ontario homes—measure twice, find once.
Eyeballing level instead of using one. Your eye is wrong. Every time. A $10 level (or a phone level app) takes 10 seconds and prevents the “slightly tilted” look that nags you daily.
Spacing and alignment chaos. Hanging 7 pictures without a plan leaves gaps uneven. Pros measure the center point of each frame, mark the wall lightly in pencil, and hang in sequence. Adjusting 3 pictures because the first one is crooked wastes an hour.
Overloading the anchor. One 30-lb mirror on a single plastic anchor will fail. Use two anchors rated for 25+ lbs each, or hit studs. Get a free quote if you’re uncertain—handymen see these failures weekly in Mississauga, Brampton, and Markham.
Frequently Asked Questions
How much does it cost to hire a handyman to hang pictures in Toronto?
Most Toronto handyman companies charge by the hour, typically between $80–$150/hr CAD depending on the scope. A single visit to hang a gallery wall or a mix of frames usually takes 1–2 hours, so expect $100–$300 for most jobs. Getting a free estimate upfront helps you know exactly what you’re paying before any work starts.
Can a handyman hang a heavy mirror on drywall safely?
Yes — but it requires the right hardware. For mirrors over 15 lbs, a pro will locate studs using a stud finder, use French cleats or heavy-duty wall anchors rated for the load, and verify the mount can handle the weight. Drywall alone isn’t enough; the fastener system has to transfer the load into the framing or spread it across a wider wall area using appropriate toggle anchors.
How many pictures can a handyman hang in one visit?
A typical one- to two-hour visit can cover 5–15 pieces, depending on complexity. A simple row of same-size frames goes faster than a mixed gallery wall that needs layout planning and leveling. If you have a large collection or a full staircase wall, booking a two- to three-hour slot gives the tech enough time to do it properly without rushing.
Do you need wall anchors if you’re hanging into a stud?
No — studs are solid wood framing behind the drywall, so a wood screw driven directly into a stud provides a strong, reliable hold without any anchor. Wall anchors are only needed when you’re hanging between studs into drywall alone. That said, the screw gauge and length still matter; a pro uses the right fastener for the frame’s weight even when going into solid framing.
Will picture hanging leave big holes or damage my walls?
When done correctly, the holes are small — typically a 1.5–3 mm pilot hole or a small finish nail, barely visible and easily touched up with a dab of filler. The risk of larger damage usually comes from using the wrong anchor for the wall type, over-driving fasteners, or pulling frames off without removing the hardware first. A professional minimizes that risk from the start, and if you ever need a hole patched, drywall repair is a quick add-on service.
How do professionals get multiple frames perfectly level and evenly spaced?
The process starts with a paper or cardboard template for each frame, marked at the exact hanging-point location. A laser level projects a perfectly horizontal reference line across the wall, and a tape measure sets consistent gaps between frames — usually 2–3 inches for a tight gallery look or 4–6 inches for a more open feel. Every fastener is placed based on measurements, not eyeballing, which is why the results look clean and intentional rather than slightly off.
Picture Hanging in Toronto Done Right the First Time
Getting pictures level, secure, and damage-free isn’t complicated — but it does require the right tools, the right hardware, and a methodical approach. Skipping the stud finder, guessing at spacing, or using the wrong anchor for your wall type are the small decisions that lead to crooked galleries, pulled patches, and frames that won’t stay put.
A professional handyman handles all of that in one visit: layout planning, laser-level alignment, proper fasteners for your specific wall, and a result that looks like it was always meant to be there. Whether you’re hanging a single large mirror or a 20-piece gallery wall, the time saved and the frustration avoided are worth it.
Ready to get your walls looking exactly the way you envisioned? Request a free quote from RenoHeal today, or learn more about what our handyman services cover across Toronto and the GTA.