
Shower caulking Mississauga homes depend on takes a real beating. Between the daily moisture from hot showers, the freeze-thaw cycles of Ontario winters, and mold-loving humidity, your bathroom sealant doesn’t have an easy job. Most homeowners don’t think about caulk until it fails—and by then, water’s already seeping behind your tiles and into the wall cavity.
The difference between a caulk job that lasts three years and one that lasts eight comes down to the product used, how it was installed, and whether you’re maintaining it. We’ve completed hundreds of caulking projects across Toronto and the GTA, and we see the same patterns: standard silicone fails faster than people expect, while premium materials and proper application make a measurable difference.
This guide covers realistic lifespans, what actually causes failure in our climate, and what professionals use to make repairs last.
How Long Shower Caulk Actually Lasts
In Ontario’s humid climate, standard caulk typically holds up for 3 to 5 years. That’s not a failure on the caulk’s part—it’s just the reality of what water, temperature swings, and mold spores do to silicone.
Premium 100% silicone caulks rated for bathrooms can stretch to 7 to 10 years, especially if you’re wiping down your shower regularly and ventilating properly. Acrylic latex caulks (the cheaper option) fail much faster—often within 2 to 3 years in wet areas—because they shrink over time and don’t handle constant water exposure well.
| Caulk Type | Typical Lifespan (Ontario) | Best For |
|---|---|---|
| Standard silicone | 3–5 years | Budget jobs, temporary fixes |
| Premium 100% silicone | 7–10 years | Permanent shower sealing |
| Acrylic latex | 2–3 years | Not recommended for showers |
| Hybrid polyurethane | 8–12 years | High-moisture bathrooms |
The Mississauga and Toronto area’s humidity—especially in winter when homes are sealed tight—speeds up degradation. If your bathroom doesn’t have a functional exhaust fan, caulk fails faster. If you’re showering twice a day with hot water, the repeated thermal cycling (expanding and contracting) shortens the lifespan by a year or two.
One real factor most people miss: how the caulk was applied. If there are gaps in the bead, poor adhesion to the substrate, or the joint wasn’t cleaned before caulking, failure happens years earlier. That’s why getting a proper quote from someone who inspects the prep work matters.
5 Signs Your Shower Caulking Is Failing
You don’t need to wait until water damage shows up on the wall below to know your caulk is done. Here are the actual warning signs we see in bathrooms across Brampton, North York, and Scarborough.
1. Visible Mold or Black Spots
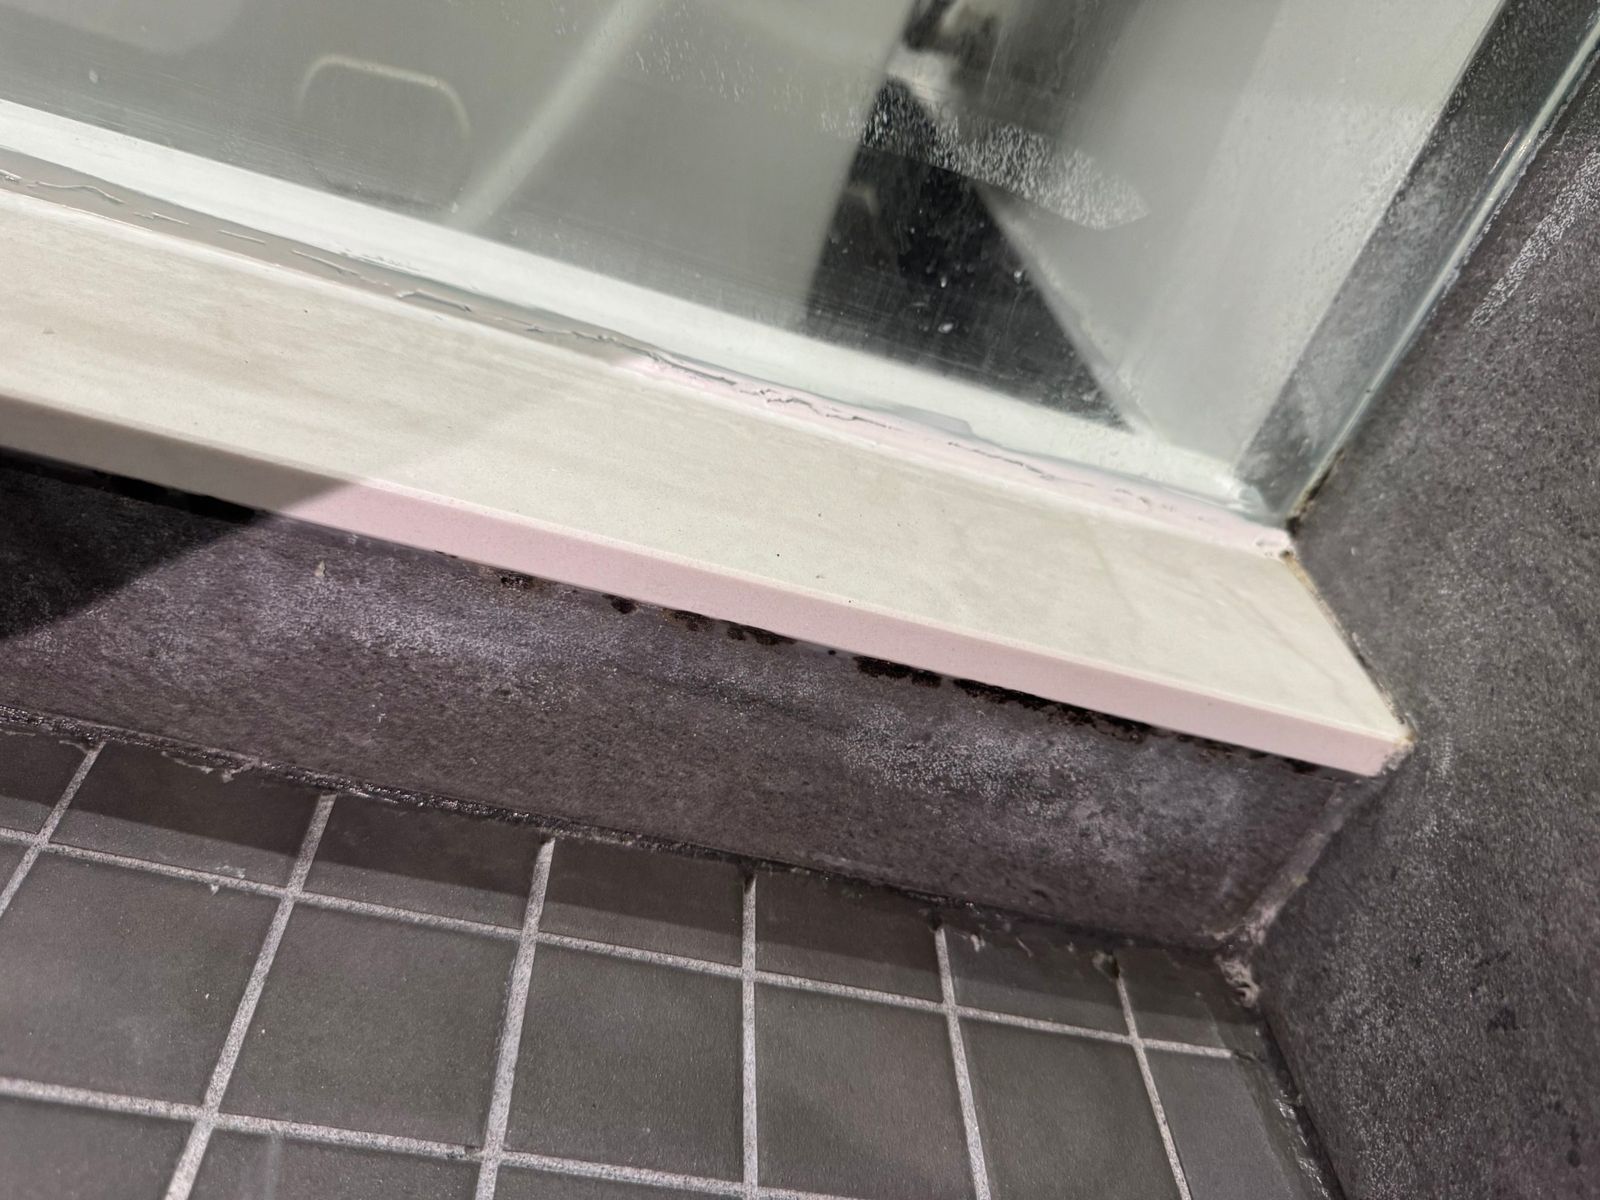
Black or greenish spots on or around the caulk are mold colonies. They’re not just cosmetic—mold indicates moisture is trapped between the caulk and tile, which means the seal is already compromised. Mold also spreads, and some types (like black mold) can affect air quality in small bathrooms.
2. Cracks or Splits in the Bead
If you see visible cracks running along the caulk line, water is getting through. Even hairline cracks act like highways for moisture. These develop from thermal cycling, shrinkage of the caulk material, or movement in the joint.
3. Edges Lifting or Peeling Away
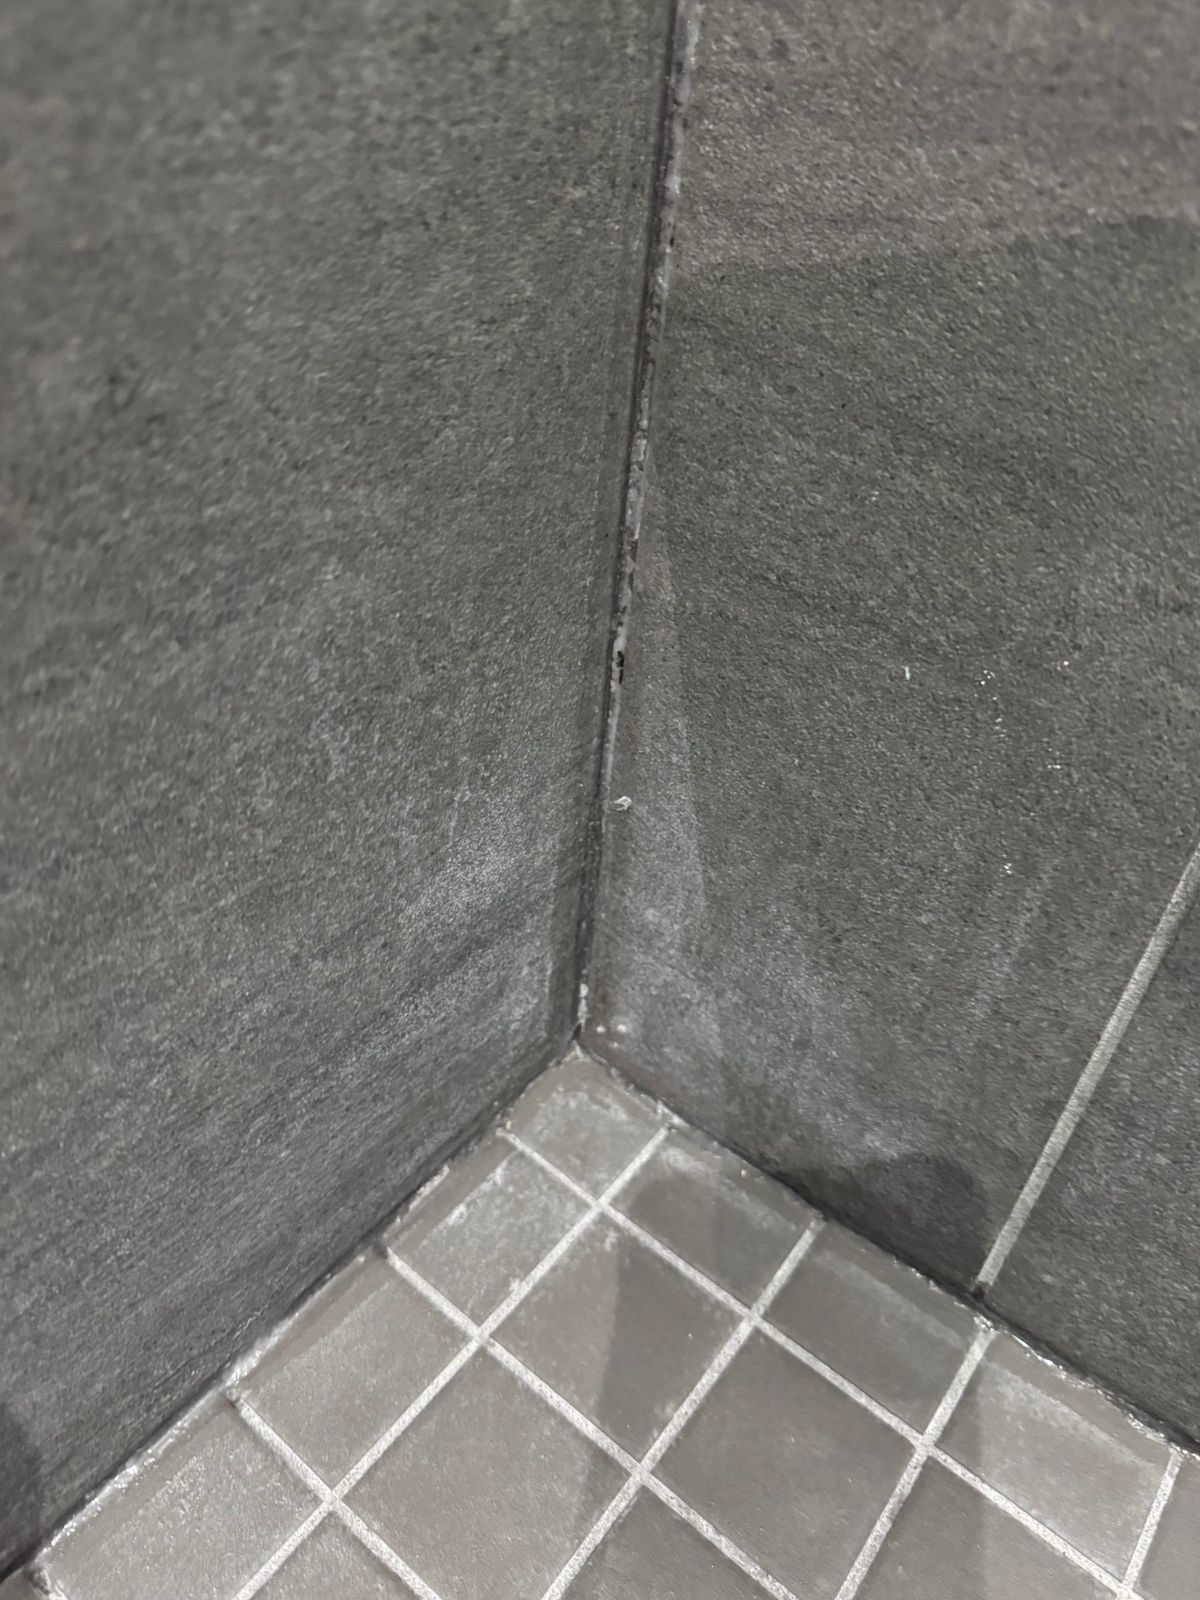
When the edges of the caulk start to curl up or pull away from the tile, the adhesive bond has failed. You’ll often see this happen first at inside corners or where water splashes most. Once lifting starts, it spreads quickly.
4. Discolouration or Yellowing
Caulk naturally yellows over time, especially if exposed to hard water mineral deposits or mold staining. While this starts as cosmetic, it’s often a sign the caulk is aging and losing its water resistance. Stubborn yellowing that won’t clean off indicates material breakdown.
5. Water Stains or Soft Spots on the Wall Below
If drywall or the base of your shower enclosure feels soft, or you see water stains spreading, your caulk failed months ago. Water has been seeping behind the tiles and saturating the substrate. This is the stage where you’re facing potential mold inside the wall and structural damage. Catching this requires a professional bathroom inspection as soon as you notice it.
The takeaway: don’t wait for stage five. Recaulking at stages one through three is straightforward. Once water enters the wall, you’re looking at drywall repair and possibly mold removal—which costs significantly more.
What Happens If You Ignore Failing Caulk
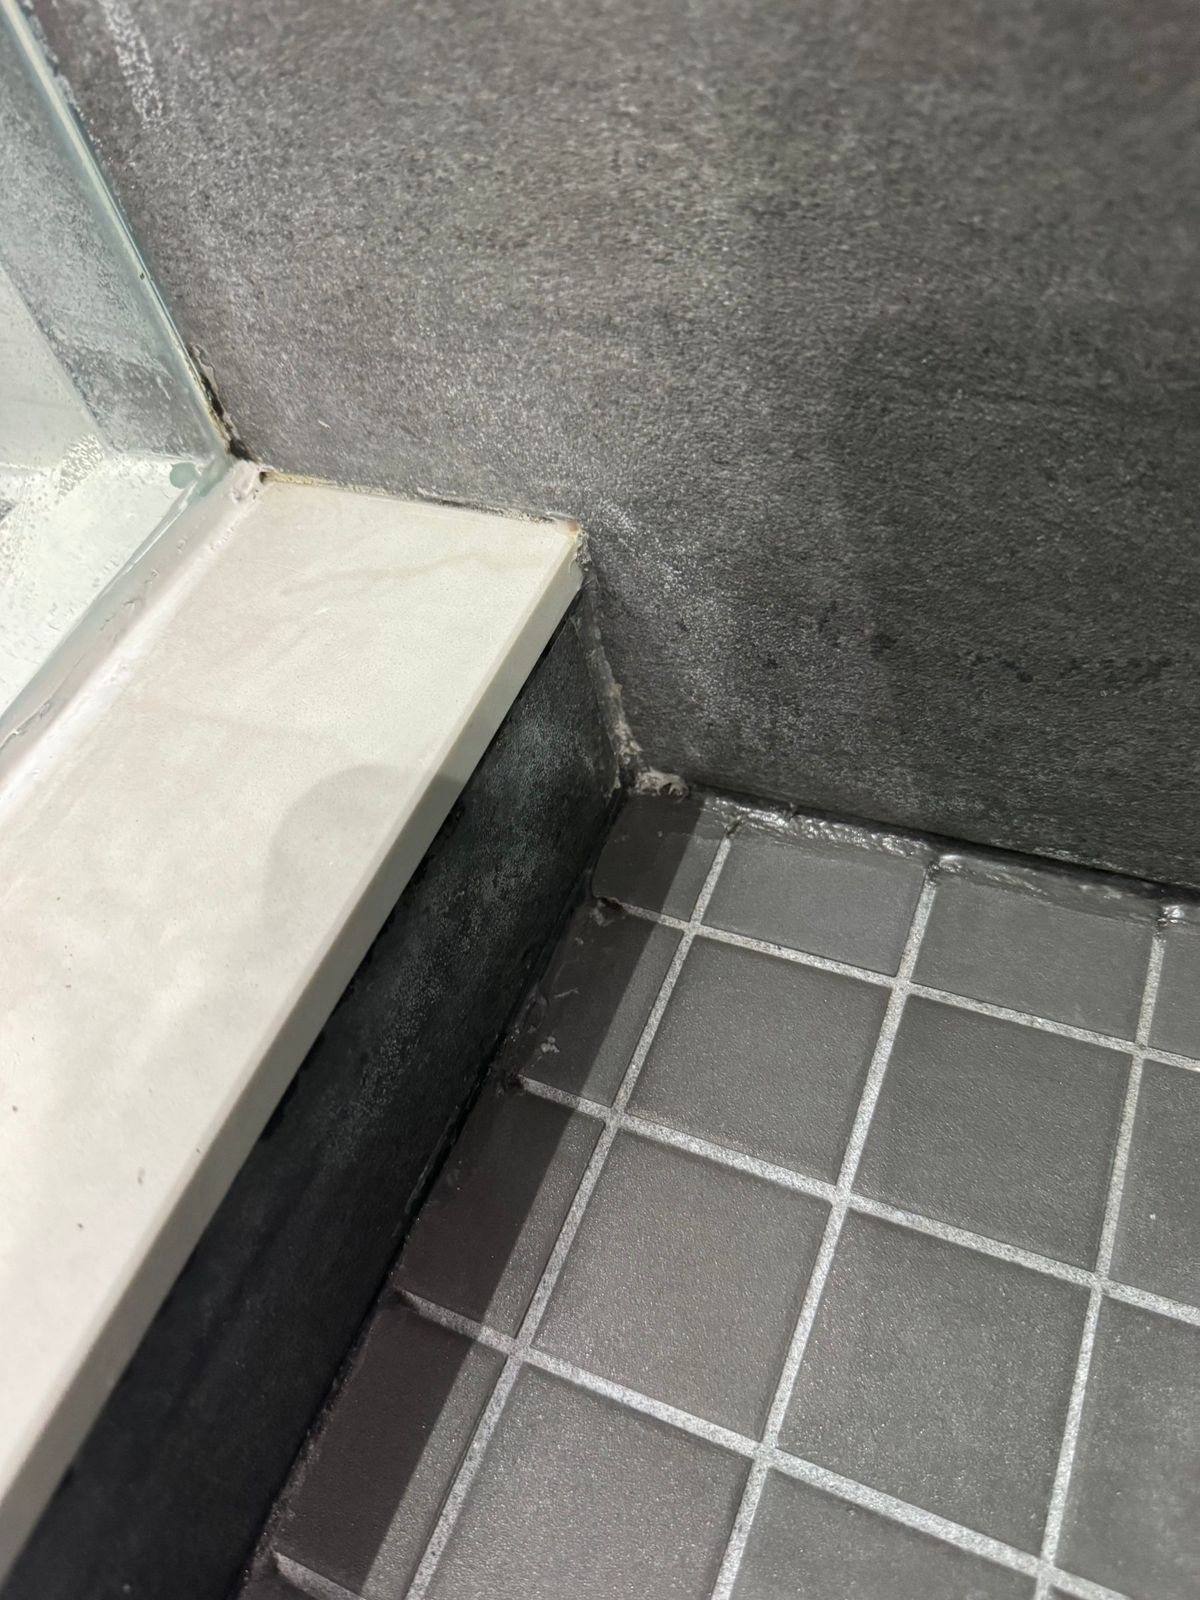
Cracked or peeling caulk looks like a minor cosmetic issue, but it’s actually a water-damage time bomb. Once water gets behind the caulk, it seeps into the subfloor, framing, and walls—places you can’t see until the damage is serious.
In Mississauga and across the GTA, the constant humid bathroom environment accelerates this decay. Subfloor rot can cost $2,000–$5,000+ to repair, while a professional caulk replacement runs $150–$400. Caught early, it’s a simple fix.
Mould loves wet cavities behind failing caulk. It spreads into drywall, grout, and framing—and becomes a health hazard. Bathroom tiles also start to loosen as the substrate softens, creating trip hazards and making replacement more expensive down the line.
Health Canada’s guide to reducing humidity, moisture and mould explains why hidden damp areas need attention quickly. The longer you wait, the more structural damage spreads. A yearly caulk inspection takes minutes but saves thousands in repairs.
What Pros Use for Shower Caulking Mississauga Jobs
Not all caulks are equal in a wet bathroom. The standard choice for professionals across Toronto and Mississauga is 100% silicone caulk—it stays flexible, resists moisture, and typically lasts 7–10 years with proper application. Latex or acrylic caulk fails in 2–3 years in shower environments because it breaks down when wet.
Mould-resistant formulas are essential in Ontario’s humid climate. Premium brands like Sherwin-Williams silicone or DAP 100% silicone include built-in mildewcide—a fungicide that prevents mould growth for the life of the sealant. Budget caulks skip this, and you’ll see black streaks within months.
Colour matching matters too. If your grout is light gray or white, mismatched caulk stands out and looks amateur. Pros select caulk shades that match your specific tile and grout, or use clear silicone if there’s any doubt. This detail alone separates a finished-looking bathroom from a DIY patch job.
Professional application also includes proper surface prep—cleaning old caulk completely, drying the joint thoroughly, and using a caulk gun at the right angle to create a concave bead that sheds water. Experienced technicians in Mississauga, Brampton, and across the GTA know these standards. Get a free estimate to see what your shower caulking needs and what materials are recommended for your specific tiles.
How the Replacement Process Works, Step by Step
Removing old caulk is the most time-consuming part, but it’s essential for longevity. A pro uses a caulk removal tool or utility knife to cut away the old material, then applies a caulk softener to dissolve residue and make cleanup easier. This step takes 20–30 minutes depending on how much buildup is there.
Next comes surface prep. The shower seam gets cleaned with a wire brush, dried thoroughly, and wiped down with rubbing alcohol to remove mold spores and soap film. Any loose tiles or grout gets addressed before caulking begins. Corners and edges are masked with painter’s tape to keep the bead clean and uniform.
Application happens with a caulking gun—the pro holds it at a 45-degree angle and applies steady, even pressure. Silicone caulk flows into the joint, filling gaps completely without voids. The bead is then tooled (smoothed) with a wet finger or caulk tool to create a concave finish that sheds water properly.
Cure time is critical. Most silicone caulk needs 24–48 hours to set before you shower. Some fast-cure products claim 3–5 hours, but waiting the full time prevents premature failure. During cure, keep the bathroom well-ventilated—moisture and heat actually help silicone harden.
Shower Caulking Mississauga Cost Guide for Homeowners
Caulking costs vary based on whether you’re doing a DIY patch or hiring a professional, and whether you’re in a condo or house. Below is a realistic pricing breakdown for the Mississauga and greater Toronto area:
| Method | Scope | Cost (CAD) | Time |
|---|---|---|---|
| DIY | Partial (one or two joints) | $15–$25 | 30–45 min |
| DIY | Full shower surround | $25–$50 | 1.5–2 hours |
| Pro (Condo) | Partial re-caulk | $150–$250 | 1–1.5 hours |
| Pro (Condo) | Full removal & replacement | $250–$400 | 2–3 hours |
| Pro (House) | Partial re-caulk | $175–$300 | 1–1.5 hours |
| Pro (House) | Full removal & replacement | $300–$500 | 2.5–3.5 hours |
Why pro pricing is higher in condos: Access challenges (parking, elevators, concierge check-ins) and tight working spaces add time. Condo jobs in Mississauga, Toronto, and North York often cost 10–20% more than house jobs for the same scope.
Why full removal costs more: Removing old caulk takes longer than applying new caulk over it. Full removal prevents water from getting trapped behind old material, which extends the life of your job by 3–5 years. A professional will almost always recommend full removal if the old caulk is failing.
Material costs are low (silicone caulk is $4–$8 per cartridge). RenoHeal’s current shower caulking promo is $175 + HST with materials included, covering one shower or one bathtub joint. The bulk of the price is labor and expertise. A pro guarantees clean lines, proper water drainage, and a workmanship warranty on eligible work—something DIY rarely delivers.
If you’re unsure whether you need a full replacement or partial touch-up, request a free estimate and have a technician inspect your shower first. We’ve completed 3,500+ projects in the GTA and can diagnose the issue in minutes.
DIY vs Hiring a Professional for Shower Caulking
You can apply caulk yourself if you’re comfortable with basic tools and have a steady hand—and if your shower walls are already clean, dry, and free of old caulk. The upside: you save labour costs. The downside: most DIY jobs fail within 12–18 months because of poor application, wrong caulk choice, or moisture trapped behind the bead. Water finds its way in, mold grows, and you’re redoing it sooner.
Professional caulkers remove all old material properly, prep the joint correctly, use the right sealant for your specific tile and substrate, and apply it at the right angle and depth. They also work fast—a shower takes 1–2 hours, not a weekend of guesswork. RenoHeal’s shower caulking Mississauga service (also available across the GTA and Toronto) includes warranty coverage on eligible work, so if it fails prematurely due to application, we fix it at no charge.
If your shower has active mold, existing water damage, or you’ve had caulk fail before, hiring a pro is the smart move. We handle the problem once, and it stays solved.
Maintenance Tips to Make Your New Caulk Last Longer
Ventilation is your caulk’s best friend. Run your exhaust fan during and for 20–30 minutes after every shower. If you don’t have one, or it’s weak, moisture lingers and softens the sealant. In Mississauga’s humid summers, this matters.
Clean gently and regularly. Wipe shower walls weekly with a dry cloth or squeegee. Monthly, use a mix of equal parts white vinegar and water to spray along the caulk line—this stops mold spores from setting in. Avoid harsh scrubbing or bleach directly on caulk; it degrades the material.
Inspect early and often. Every 3–6 months, look for hairline cracks, discoloration, or gaps. Catching a small split before water penetrates the wall saves you thousands in drywall repair or mold removal later.
Plan a reseal every 5–7 years. Even perfect caulk ages. Rather than wait for failure, schedule a fresh bead when the old one looks tired. It’s cheaper and faster than emergency repairs, and a pro can remove and replace in one visit.
Frequently Asked Questions
How often should shower caulk be replaced in Ontario?
In most Ontario homes, shower caulk should be replaced every 3 to 5 years under normal use. Bathrooms with poor ventilation, hard water, or heavy daily use may need recaulking closer to every 2 years. If you spot cracking, discolouration, or mould before that window, don’t wait — deteriorating caulk lets water into the wall cavity faster than most homeowners expect.
Can I caulk over existing shower caulk instead of removing it?
It’s not recommended. Applying fresh caulk over old caulk creates a weak bond, and the new layer tends to peel within months rather than years. The only way to get a proper watertight seal is to remove the old material completely, clean and dry the substrate, then apply a fresh bead. Skipping the removal step is one of the most common reasons DIY recaulking jobs fail quickly.
How long do I need to wait before using the shower after recaulking?
Most 100% silicone caulks used in showers need at least 24 hours of cure time before water exposure, and full cure can take up to 48 to 72 hours depending on humidity and ventilation. Keep the bathroom well-ventilated and avoid running the shower or getting the caulk wet during that window. Rushing this step is one of the main reasons new caulk fails prematurely.
What is the best type of caulk for a shower in a condo bathroom?
100% silicone caulk is the top choice for condo shower enclosures. It stays flexible under movement — which matters in high-rise buildings where slight structural flex is normal — and it holds up against daily moisture far better than latex or acrylic blends. Look for a product labelled mould-resistant with a fungicide added, since condo bathrooms often have limited ventilation compared to houses.
Why does my shower caulk keep going mouldy so fast?
Fast mould growth usually comes down to three things: poor bathroom ventilation, residual soap scum and body oils that feed mould spores, and the wrong caulk product for a wet environment. If your exhaust fan isn’t pulling air effectively or you’re using an acrylic-based caulk instead of a mould-resistant silicone, mould will return quickly no matter how often you clean. Fixing the ventilation and using the right product makes a significant difference in how long a fresh seal stays clean.
Is shower recaulking covered under any kind of warranty with a professional service?
At RenoHeal, eligible shower caulking jobs are backed by a workmanship warranty, so if the seal fails due to application issues within the covered period, we’ll come back and make it right. Warranty terms depend on the specific scope of work, so it’s worth confirming the details when you book. That kind of coverage is one of the clearest differences between hiring a professional and doing it yourself.
Shower Caulking Mississauga: The Bottom Line
A proper shower caulk job isn’t just about appearances — it’s what keeps water out of your walls, subfloor, and the units below you if you’re in a condo. Most showers in Mississauga need recaulking every 3 to 5 years, and the signs are usually obvious well before water damage sets in: cracking, mould that won’t scrub off, or caulk that’s pulling away from the tile or pan.
Using the right product matters as much as the application itself. A mould-resistant 100% silicone caulk, properly applied to a clean and dry surface, will outlast anything applied over old material or done in a rush. Ventilation plays a big role too — even the best caulk won’t hold up long in a bathroom that stays damp for hours after every shower.
If your shower caulk is overdue for replacement or you’ve had mould problems that keep coming back, RenoHeal’s team can assess the situation and get it sorted — usually the same day. Request a free quote and find out how straightforward professional caulking service in the GTA can be.