Holes in the wall happen. A doorknob swings too hard, furniture gets moved, a TV mount gets pulled out, or water gets behind your drywall and leaves a soft spot that turns into a cave-in. Whatever caused it, the damage doesn’t fix itself – and a bad patch job is worse than leaving it alone because you can always see it, especially once paint goes on.
We do drywall repair in Toronto for all types of damage – small nail holes, medium punch-through damage, large sections that need full replacement, cracks from settling, and water damage that’s compromised the board itself. Here’s what you need to know before you pick up a can of spackling at the hardware store.

The Different Types of Drywall Damage – and Why They’re Not All Fixed the Same Way
Not all drywall problems are equal. The repair approach depends entirely on what kind of damage you’re dealing with.
Small Holes (Under 2 Inches)
Nail holes, screw holes, small anchor pulls. These are the easiest to fix – a light skim of compound, sand, prime, paint. Done in a day. The mistake most homeowners make here is using too much product and not feathering the edges, so you end up with a bump that catches light and shows through paint.
Medium Holes (2 to 6 Inches)
This is your classic doorknob hole or the remnants of a failed TV mount. These need a patch – either a California patch, a mesh patch with compound, or a proper backing piece depending on the wall. Two to three coats of compound, sanding between each coat, then prime and paint. Rush this process and you’ll see the outline of the patch once the paint dries.
Large Holes and Cut-Outs (Over 6 Inches)
These need a proper drywall replacement section with backing installed in the wall cavity, new drywall cut and fitted, taped, mudded in multiple coats, and blended into the surrounding wall. Done right, it’s invisible. Done wrong, you’ll see a square outline on your wall forever.
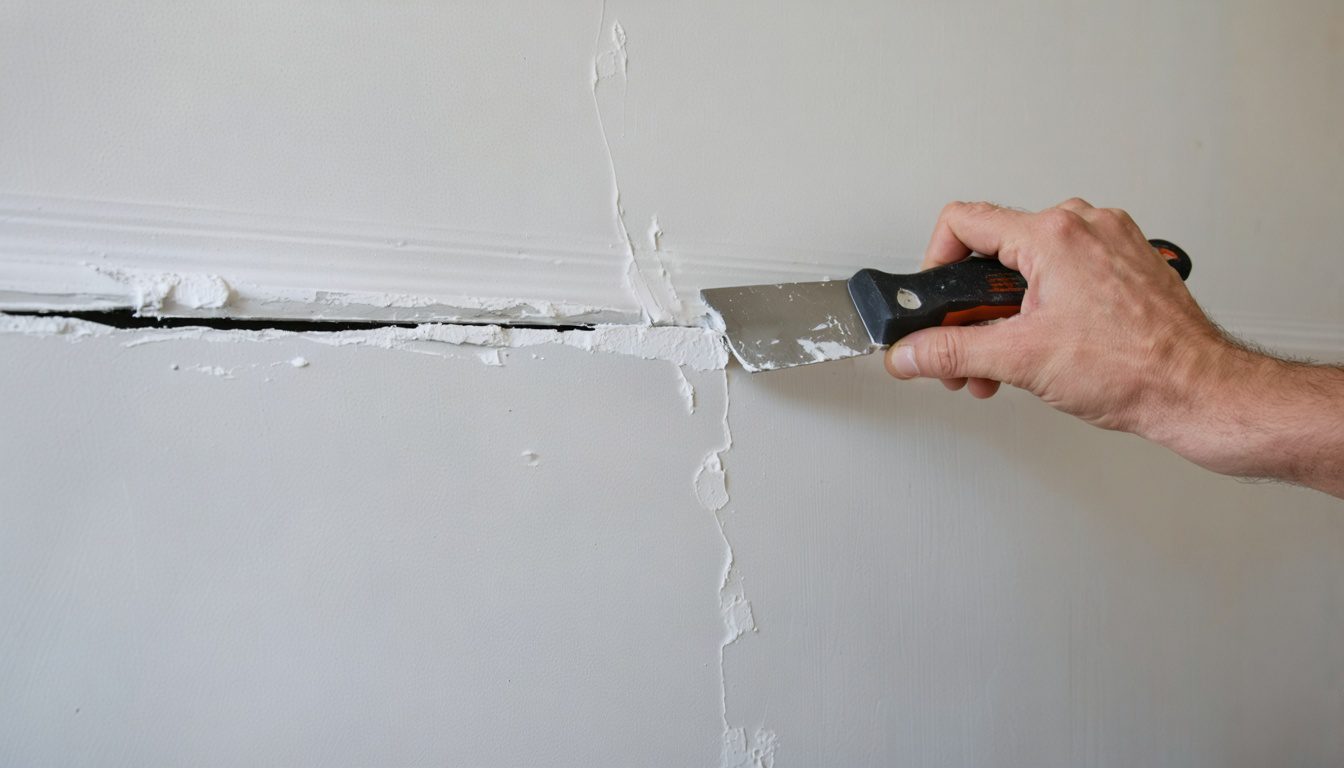
Hairline Cracks
Common in older Toronto homes, especially around door frames, window corners, and where walls meet ceilings. Most of these are caused by normal house settling and aren’t structural. They come back if you just fill them with paint or basic spackle – you need to open the crack slightly, apply compound with mesh tape if needed, and feather it smooth across a wide area so it blends.
Water Damaged Drywall
This one’s different from everything else. The truth is, you can’t just patch over water damaged drywall. If the board got wet, it may have lost its structural integrity – it goes soft, crumbles, and loses its bond with the paper facing. Before any repair happens, the source of the water needs to be identified and fixed. Then the damaged section needs to come out and new board goes in.
We handle water damaged drywall as part of our drywall repair service. If there’s mold involved, we coordinate with our mold removal service to treat it before new drywall goes up.
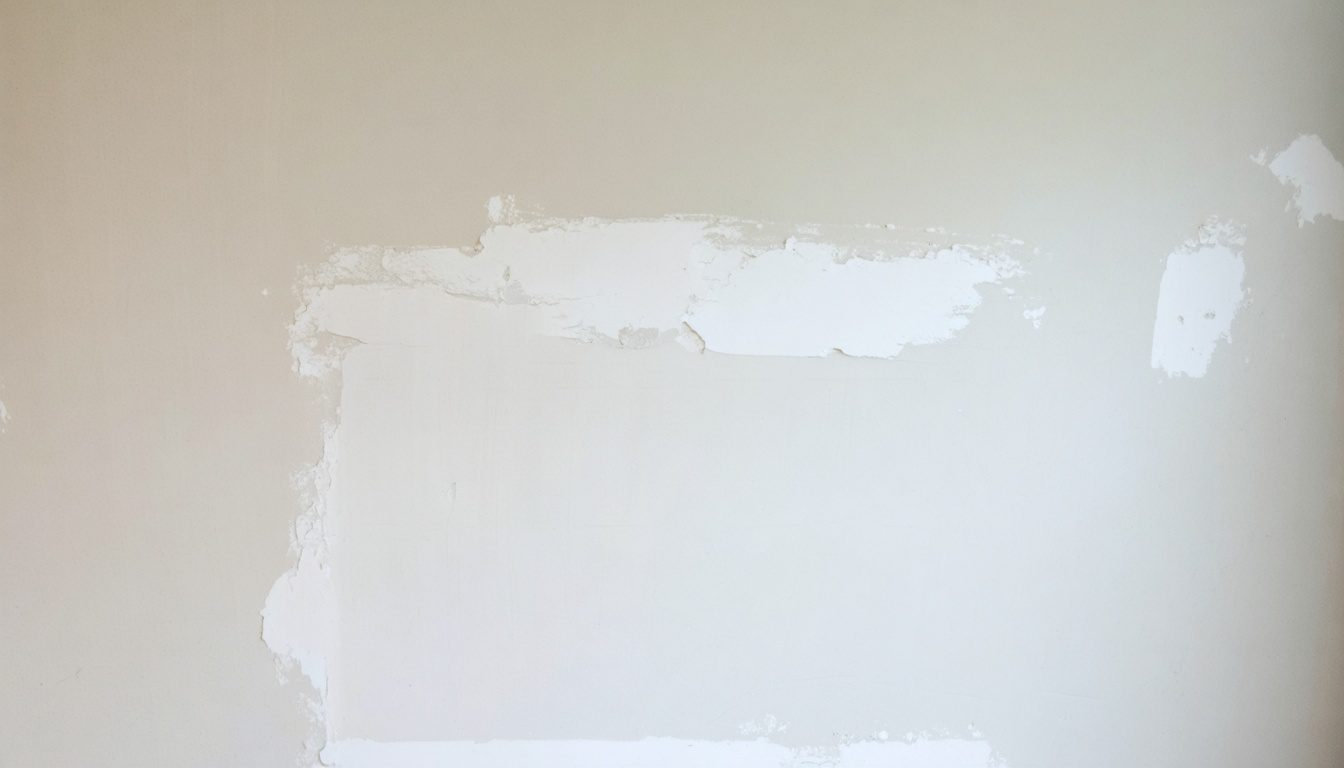
Why DIY Drywall Repairs Look Wrong
Here’s the thing – drywall compound isn’t hard to apply. What’s hard is getting the repair to disappear into the surrounding wall after paint goes on. That’s where most DIY jobs fail.
The most common reasons a DIY patch is visible after painting:
- Not enough coats of compound. You need at least two, usually three – each one wider than the last to feather the edges into the wall.
- Not sanding between coats. Each dried coat needs to be sanded before the next one goes on. Skip this and you get ridges.
- Different texture on the patch. If your walls have any texture – orange peel, knockdown, skip trowel – the smooth patch will stand out like a sore thumb once painted.
- Skipping primer. Fresh compound is porous. Paint directly over it and you get a flat spot that looks different from the surrounding painted wall. Always prime the patch before painting.
- Using the wrong product. Lightweight spackling is great for tiny nail holes. It’s not the right product for a 4-inch patch. Use proper setting compound or all-purpose joint compound.
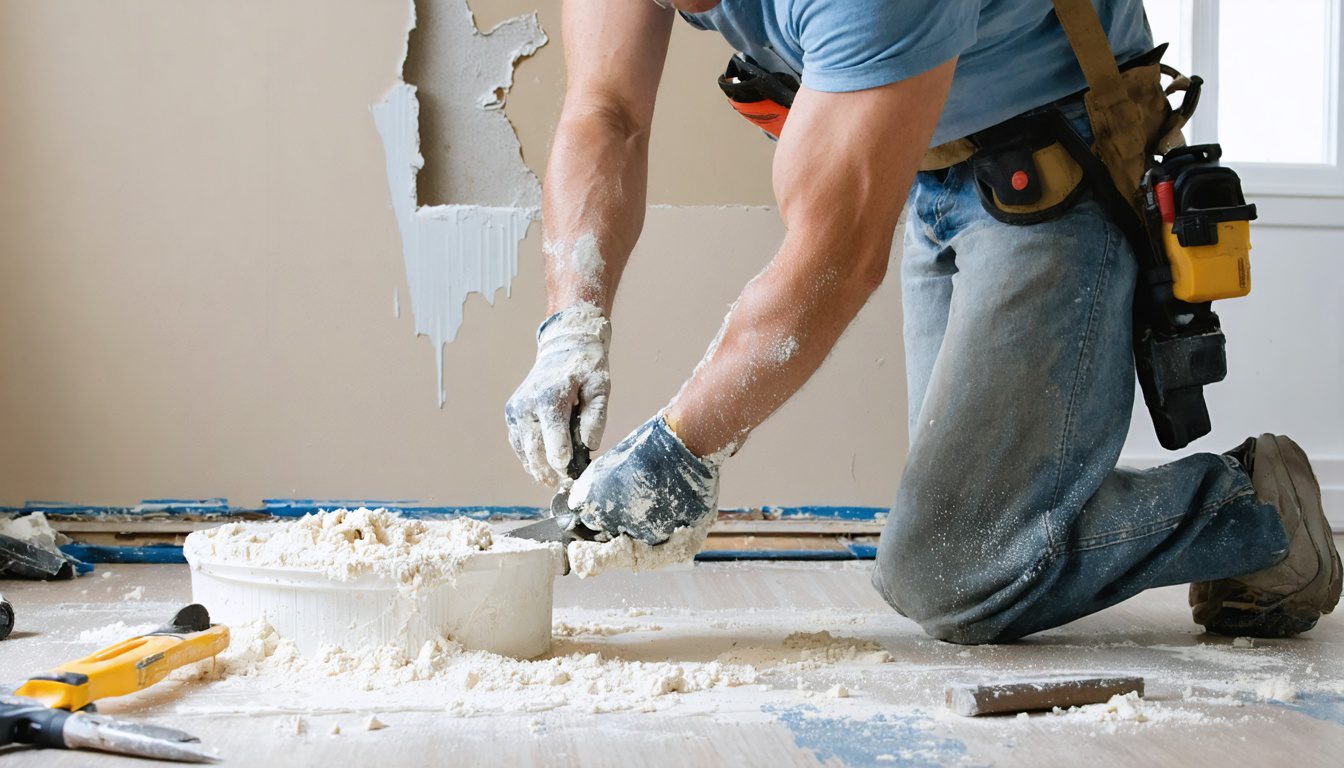
What Our Drywall Repair Process Looks Like
When we come out for a drywall repair job in Toronto, here’s what actually happens:
- Assessment – We look at the damage, check if there’s anything behind the wall that could be affected (wiring, pipes), and confirm the repair approach before starting.
- Demo and prep – For larger holes or water damage, we remove the damaged section cleanly and install backing in the wall cavity.
- Patching – Mesh or paper tape where needed, followed by the first coat of compound, feathered wide on all edges.
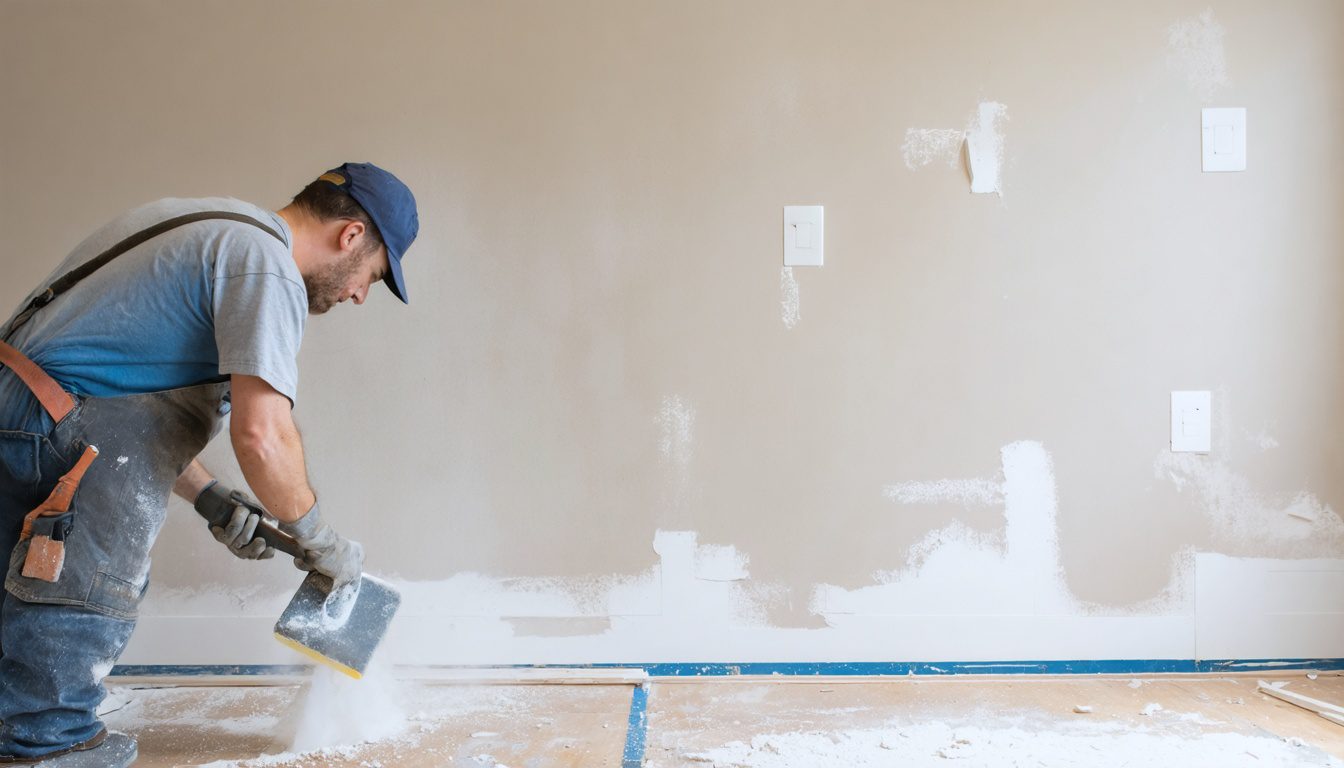
- Coat two and three – Each coat dries completely before the next one. We sand between coats. The final coat is thin and wide.
- Texture matching – If your wall has texture, we match it. This is the step that separates a professional repair from a DIY one that’s always visible.
- Prime – The repair area gets primed before paint. We can also do the painting if you want a complete finish – check out our interior painting service.
Drywall Repair vs. Drywall Installation – When You Need More Than a Patch
Sometimes the damage is too widespread for patch work. If you’re dealing with multiple large areas, whole sections affected by moisture, or walls that need to come out as part of a renovation, that’s drywall installation territory – full sheets, hung and finished from scratch.
We do both. If you’re not sure which one you need, call us and describe what you’re seeing – we’ll tell you straight.
Drywall Damage from Renovation Work
We get a lot of calls after other trades have been through a house. Electricians cut into walls to run wiring. Plumbers open up walls to access pipes. HVAC contractors cut holes for ductwork. All of that leaves drywall that needs to be patched and finished before the space looks like a home again.
If you’ve recently had any plumbing repairs or electrical repairs done, there’s a good chance there’s drywall that needs attention. We’re used to picking up where other trades left off.
How Much Does Drywall Repair Cost in Toronto?
Small repairs – nail holes, small anchor patches – typically start around $100-$150 for a service call covering a few spots. Medium holes run $150-$300 depending on size and location. Large sections or water damage repairs are quoted by scope. We don’t charge by the hole – we assess the full job and give you one number upfront.
If painting is part of the scope, we include it in the quote. No back-and-forth between trades, no extra scheduling. One call, one team, done.
We Cover All of the GTA
Our drywall repair team works across the entire Greater Toronto Area, from downtown condos to suburban houses. Same process, same quality regardless of where you are.
We serve homeowners in Toronto, North York, Vaughan, Richmond Hill, Markham, Aurora, Newmarket, Mississauga, and Brampton.
Get Your Walls Looking Right Again
Don’t leave that hole staring at you every time you walk past. Whether it’s one small patch or a wall full of damage, we’ll get it fixed fast and make it disappear. Call us at 647-657-6367 or get a free quote online. Most drywall repair jobs across the GTA are booked within the week.